
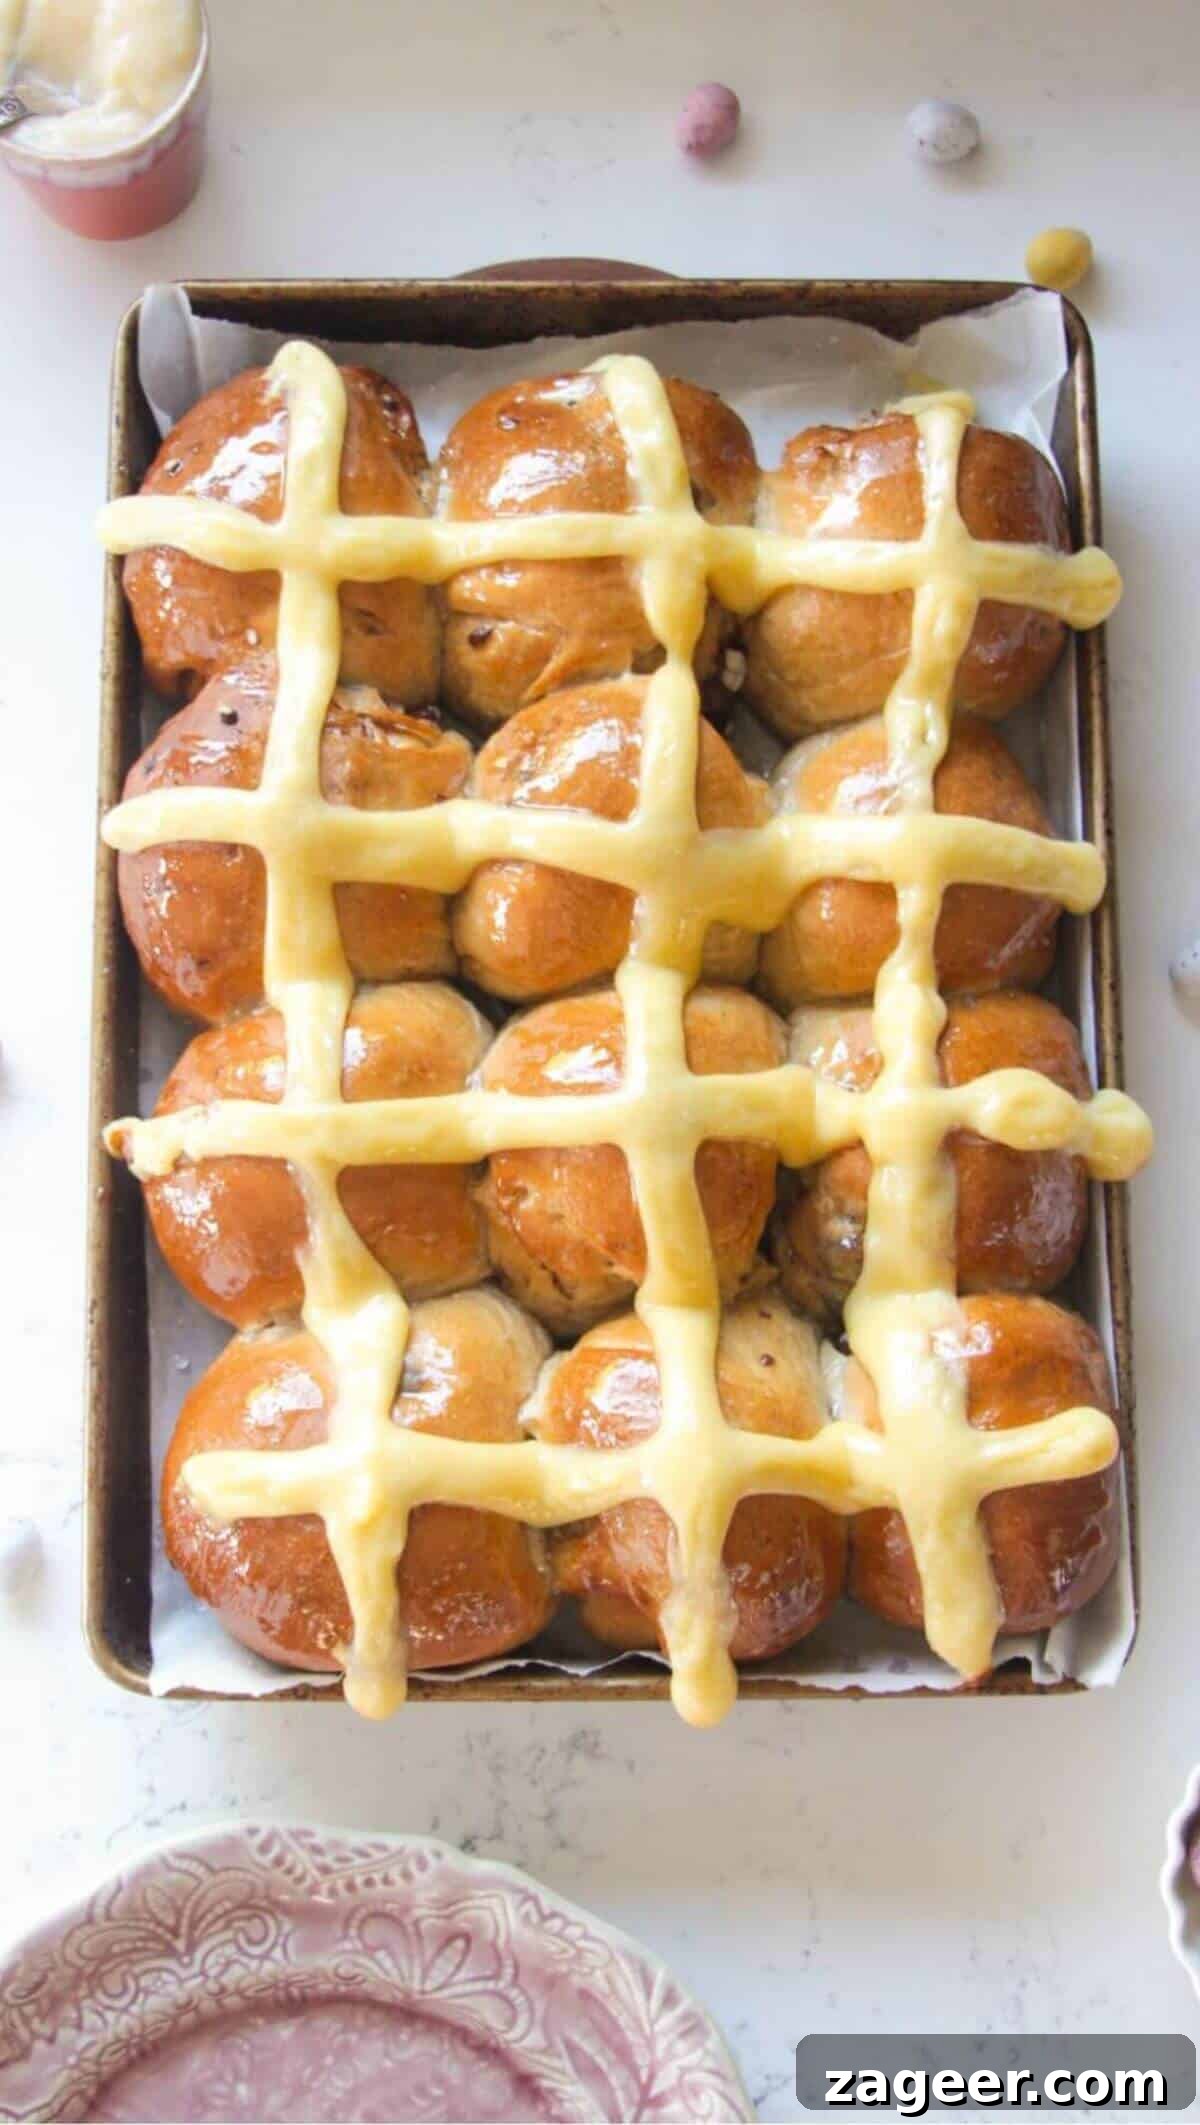
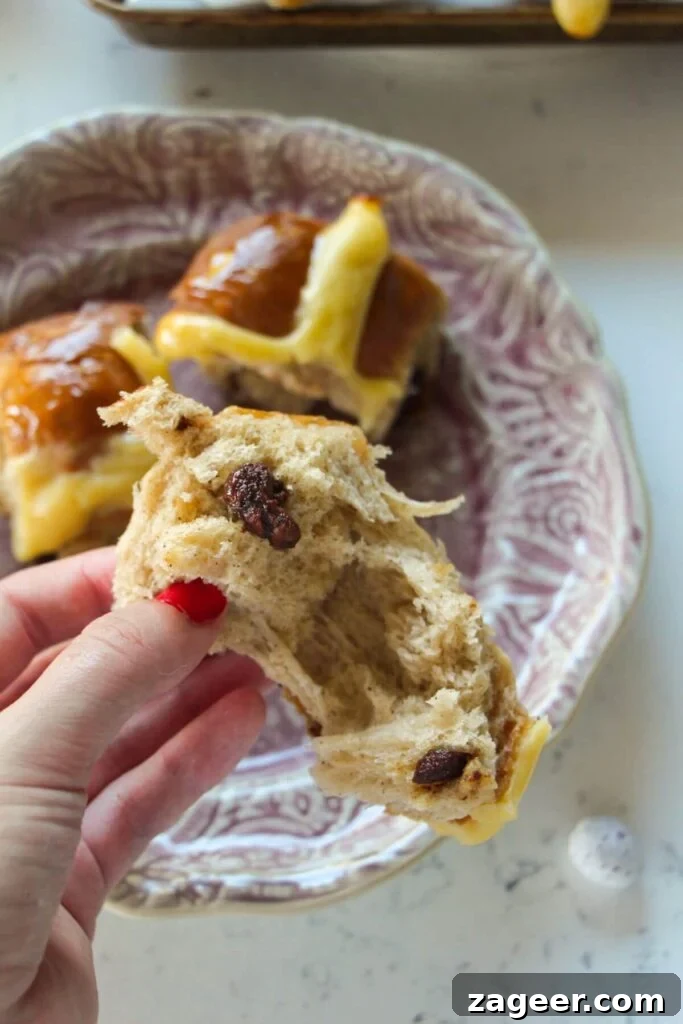
These super soft and delightfully fluffy hot cross buns are generously studded with crunchy, sweet chocolate mini eggs, creating the ultimate irresistible treat for Easter. Each bun is warmly fragrant with cinnamon and beautifully crowned with a creamy vanilla custard cross, a luxurious alternative that will make it impossible to stop at just one. Prepare to impress your family and friends with this unique twist on a beloved holiday classic.
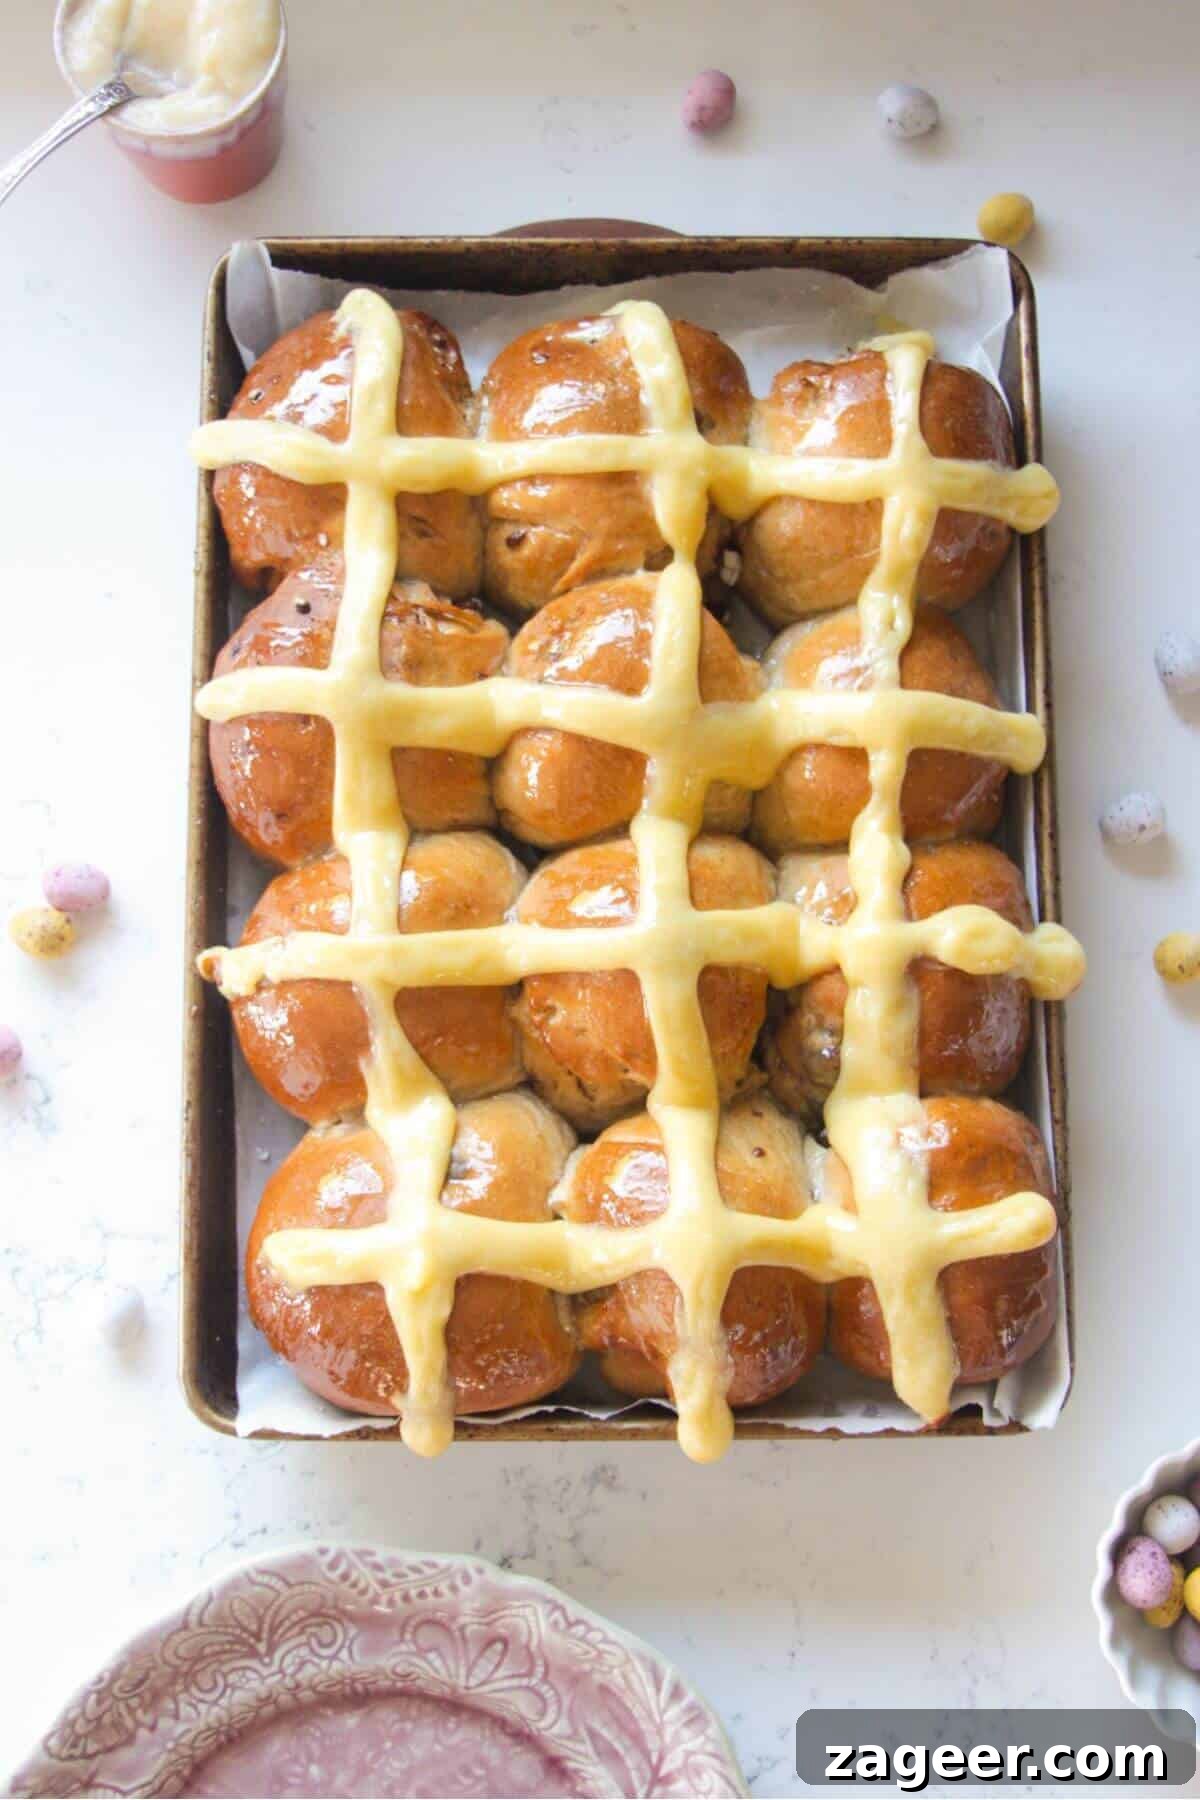
Mini eggs have firmly established themselves as an undeniable Easter staple, particularly in the UK. And honestly, who can resist those adorable, pastel-coloured, crispy-coated morsels of pure milk chocolate delight? Their charm is simply undeniable. This recipe celebrates their beloved status by combining them with another quintessential Easter tradition: hot cross buns. This fusion results in a sensational treat that perfectly blends the spiced comfort of traditional buns with the joyous crunch of chocolate mini eggs.
Traditionally served on Good Friday, hot cross buns are often associated with dried fruit. However, we’ve seen a delightful surge in popularity for alternative hot cross bun recipes. While dried fruit certainly has its place, not everyone enjoys it in their spiced buns. But here’s a secret: I have yet to meet a single person who doesn’t adore these chocolate-studded, incredibly soft, and warmly spiced Mini Egg Hot Cross Buns. They offer a universally loved flavour profile that caters to all palates, especially those who prefer chocolate over currants.
Admittedly, these buns are a labour of love, but don’t let that intimidate you. The hands-on time required is surprisingly minimal. The process is straightforward: prepare your dough in a stand mixer, gently fold in the crushed mini eggs, shape the individual buns, and bake them to golden perfection. For an added touch of elegance and flavour, I’m providing two options for the signature crosses: the classic flour and water paste, or a truly special, creamy vanilla custard cross. The idea for the vanilla custard cross hails from the brilliant bakers at Ima Cuisine in New Zealand, and I can attest that it elevates these buns to an entirely new level of luxuriousness. I wholeheartedly recommend giving the custard cross a try; it truly makes a significant difference.
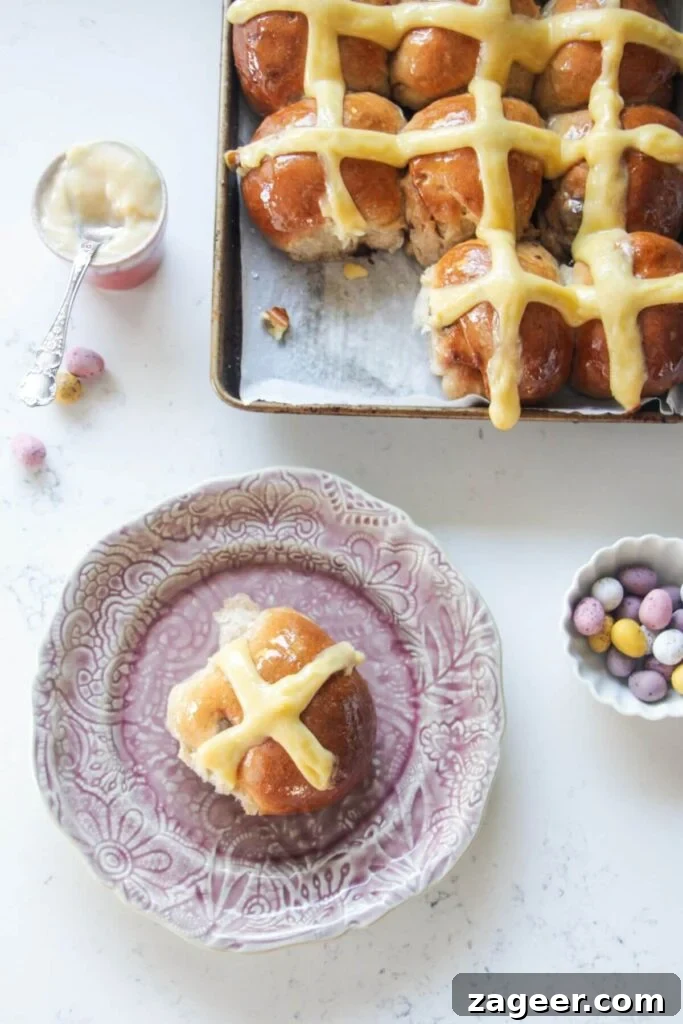
The vanilla custard cross is a game-changer because it infuses an extra layer of rich, aromatic flavour into every bite, unlike the traditional flour and water cross, which primarily serves an aesthetic purpose. While both create a beautiful visual, the custard cross adds a delectable taste dimension that complements the chocolate and cinnamon perfectly. As an added bonus, any leftover vanilla custard is absolutely divine when generously dolloped onto a toasted hot cross bun, creating a mini dessert experience in itself!
Why You’ll Adore This Mini Egg Hot Cross Bun Recipe
Prepare to fall in love with these exceptional Mini Egg Chocolate Hot Cross Buns. Here’s why this recipe will become your new Easter favourite:
- They are unbelievably soft, incredibly fluffy, remarkably light, and utterly DELICIOUS. The enriched dough, carefully kneaded and proofed, yields a tender crumb that practically melts in your mouth, making each bite a heavenly experience.
- This recipe offers a perfectly appealing alternative to traditional hot cross buns, especially for those with picky palates or children who might shy away from dried fruit. The sweet burst of chocolate mini eggs makes these buns an instant hit with everyone.
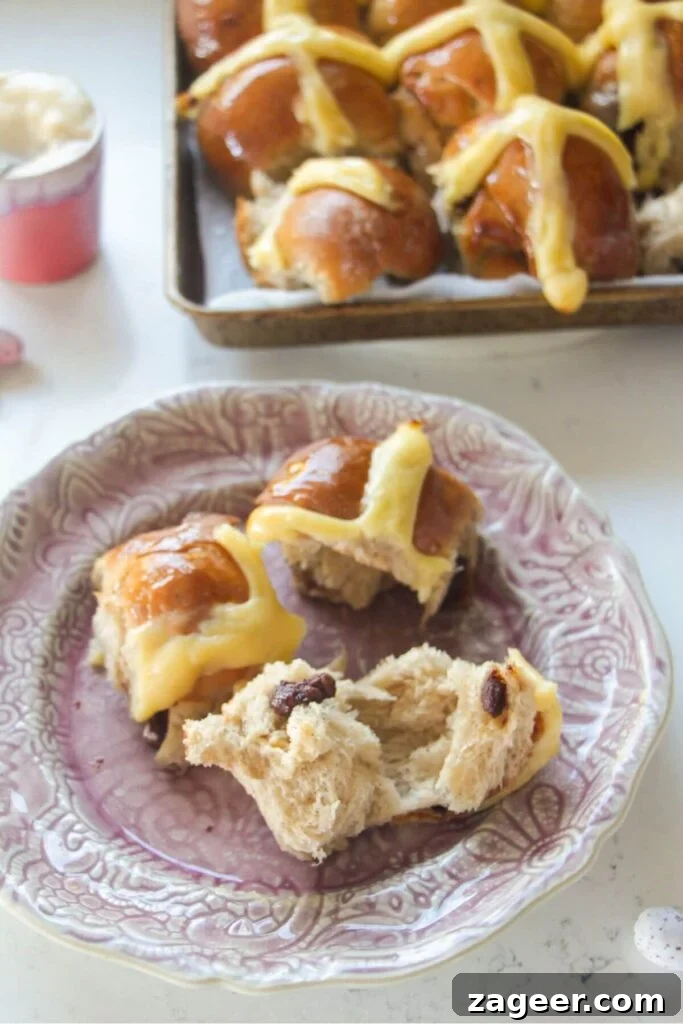
- These buns are simply magnificent fresh from the oven, with warm, gooey chocolate and a fragrant aroma filling your kitchen. They are equally splendid toasted the next day, particularly when served with any leftover vanilla custard, or ingeniously transformed into a comforting hot cross bun bread and butter pudding.
- They freeze exceptionally well, allowing you to prepare ahead for Easter or enjoy a taste of spring long after the holiday. Freezing and defrosting them is quick and effortless, ensuring you always have a delicious treat on hand.
- The inclusion of two distinct cross options – a classic flour cross and a decadent vanilla custard cross – provides versatility. The custard cross introduces a sophisticated, creamy flavour dimension that truly elevates the overall experience.
- Baking these from scratch fills your home with the most wonderful, inviting aromas of cinnamon, chocolate, and freshly baked bread, creating a truly memorable Easter atmosphere.
Essential Ingredients for Your Perfect Chocolate Hot Cross Buns
Crafting these delectable hot cross buns requires no exotic or hard-to-find components. In fact, aside from the star ingredient – the chocolate mini eggs – most items are likely already in your pantry, making this a wonderfully accessible baking project.
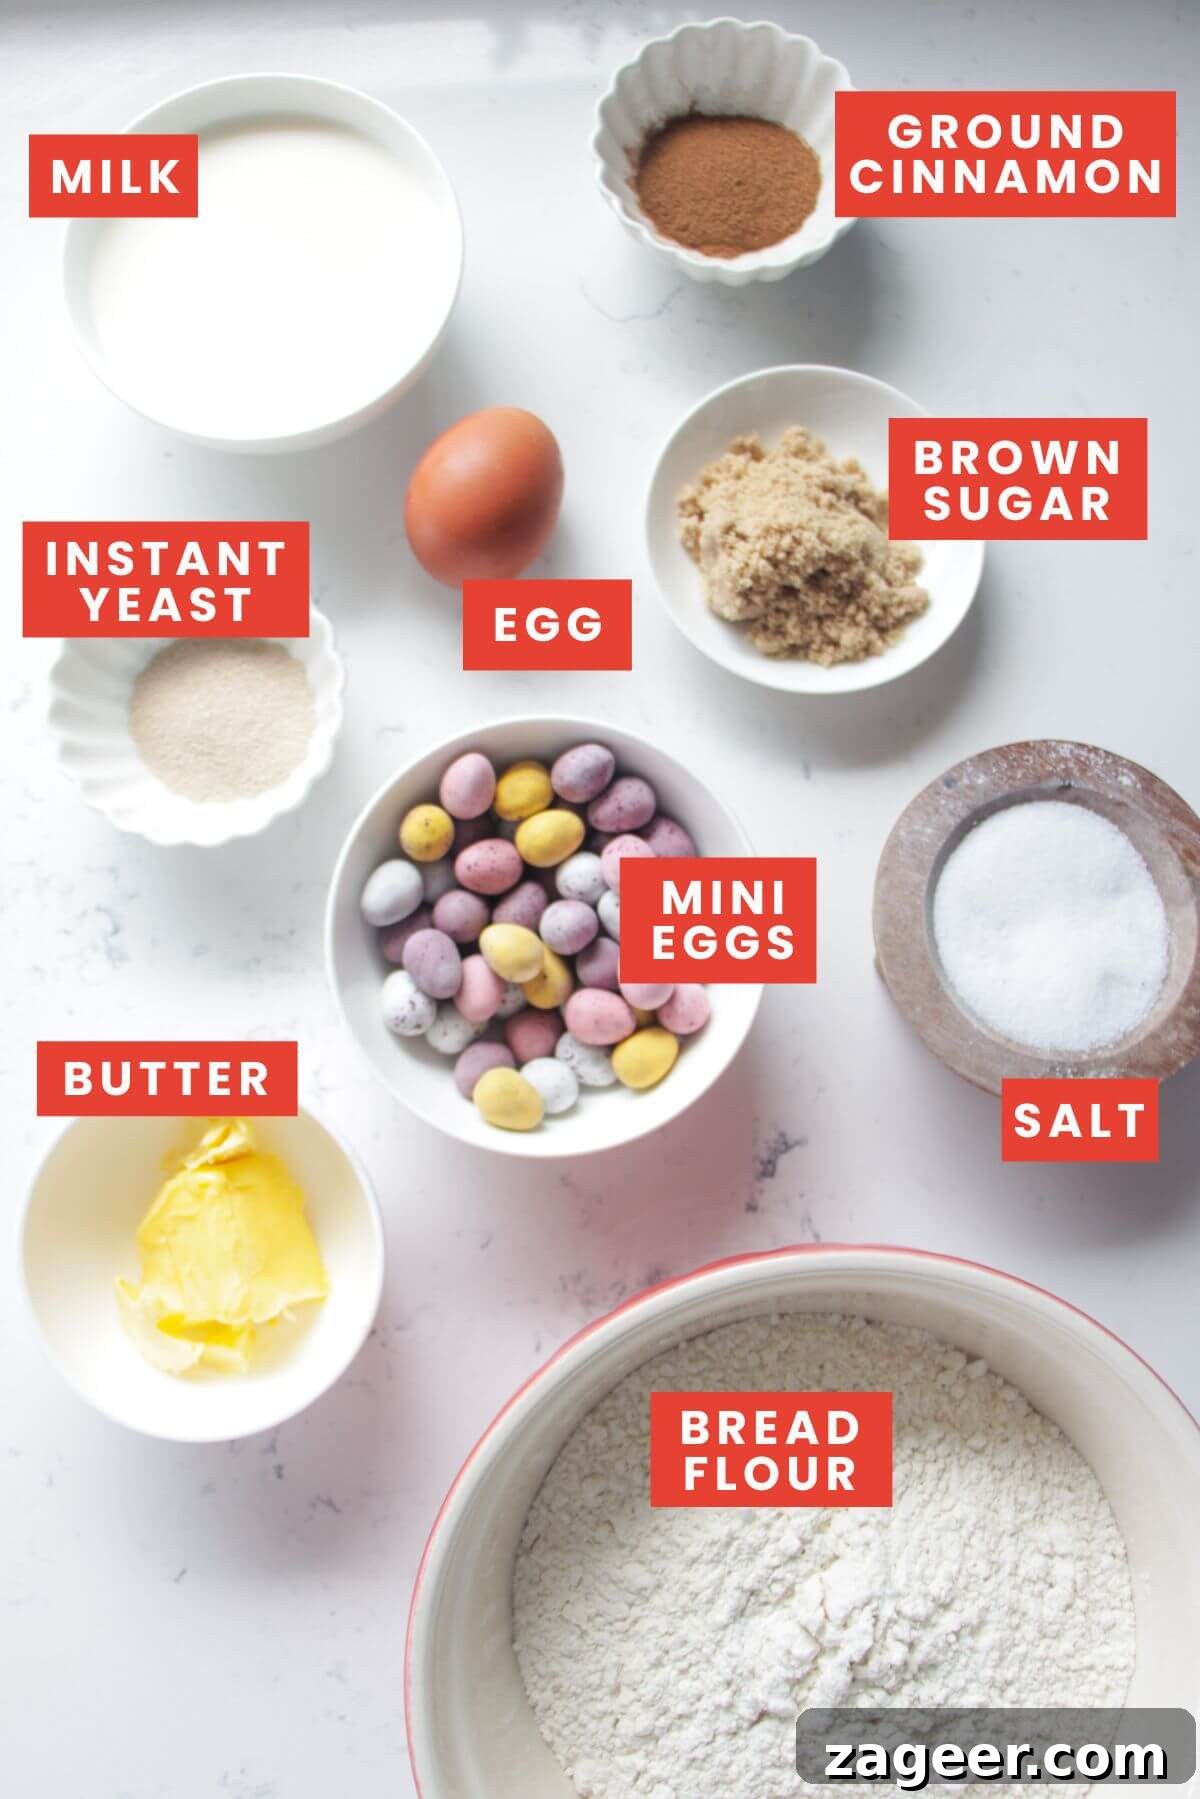
- Mini Eggs: These iconic, crispy-coated milk chocolate eggs are undoubtedly an Easter favourite. There’s something undeniably special about that crunchy outer shell that makes them taste even better than regular chocolate! For this recipe, they’re lightly crushed and folded into the dough, providing delightful pockets of melty chocolate in every bite. If you find yourself unable to source them, don’t despair! Regular mini chocolate Easter eggs, a high-quality block of milk chocolate chopped into small chunks, or even good old chocolate chips (milk or dark) will serve as excellent substitutes, ensuring your buns are still packed with chocolatey goodness.
- Instant Yeast: This is a crucial ingredient for a successful rise. It’s imperative that you use instant yeast for this recipe as written. Instant yeast can be mixed directly into your dry ingredients without prior activation. If you only have active dry yeast, that’s perfectly fine, but you’ll need to activate it first. Simply sprinkle it onto the lukewarm milk (as specified in the recipe) and let it sit for about 10 minutes until it becomes foamy. This indicates the yeast is alive and ready to work its magic. Attempting to add active dry yeast directly into the dough without activation will result in unsightly little yeast granules and, more importantly, a dough that won’t rise properly.
- Bread Flour: While you can use all-purpose flour, opting for bread flour will significantly contribute to the desired texture of these buns. Bread flour has a higher protein content, which develops more gluten, leading to a softer, chewier, and ultimately fluffier result. If plain (all-purpose) flour is all you have on hand, the recipe will still work beautifully, but the texture might be slightly less airy.
- Milk: I typically use whole milk for its richness, which contributes to a more tender and flavourful bun. However, low-fat milk can also be used without significant compromise to the final product. The key here is to ensure the milk is lukewarm – around 105-115°F (40-46°C). Heating it in the microwave for approximately 30-45 seconds should achieve this. To test, simply dip a clean finger into the milk; it should feel comfortably warm, not hot, as excessively hot liquid can kill the yeast.
- Unsalted Butter: Melted and incorporated into the dough, butter adds richness, flavour, and contributes to the soft texture. Using unsalted butter allows you to control the overall salt content of the recipe.
- Egg: A lightly beaten egg adds moisture, helps bind the dough, and contributes to its overall richness and golden colour.
- Brown Sugar & Salt: These balance the flavours, enhancing the sweetness and spice.
- Ground Cinnamon: Essential for that signature hot cross bun aroma and flavour.
For optimal results with this enriched, sticky dough, a stand mixer with a dough hook attachment is highly recommended. Working this type of dough by hand can be quite challenging due to its stickiness, often leading to the temptation to add more flour. Adding too much flour, unfortunately, can result in dense, heavy buns, compromising their characteristic softness and fluffiness. A stand mixer makes the kneading process effortless and ensures the perfect consistency.
If you choose to make the decadent vanilla custard cross, you will also need additional ingredients: vanilla extract for aromatic flavour, caster sugar (also known as superfine sugar) for sweetness and smooth texture, and cornflour (cornstarch) as a thickening agent for the custard.
Step-by-Step Guide: Crafting Your Mini Egg Hot Cross Buns
Let’s dive into the exciting process of creating these exquisite chocolate hot cross buns. Follow these detailed steps for a perfect bake every time.
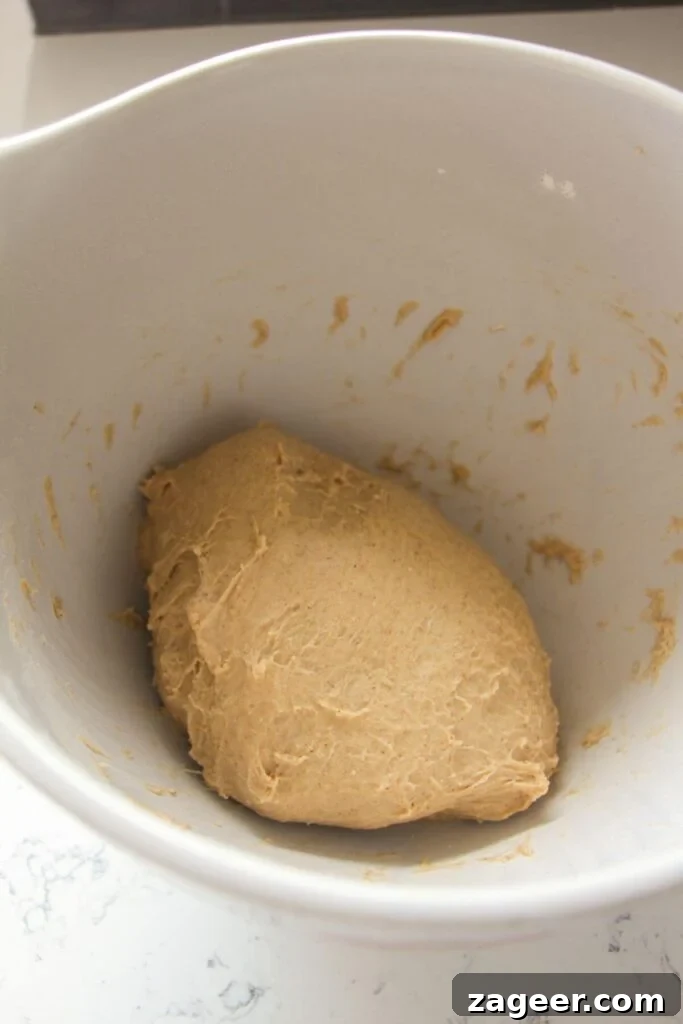
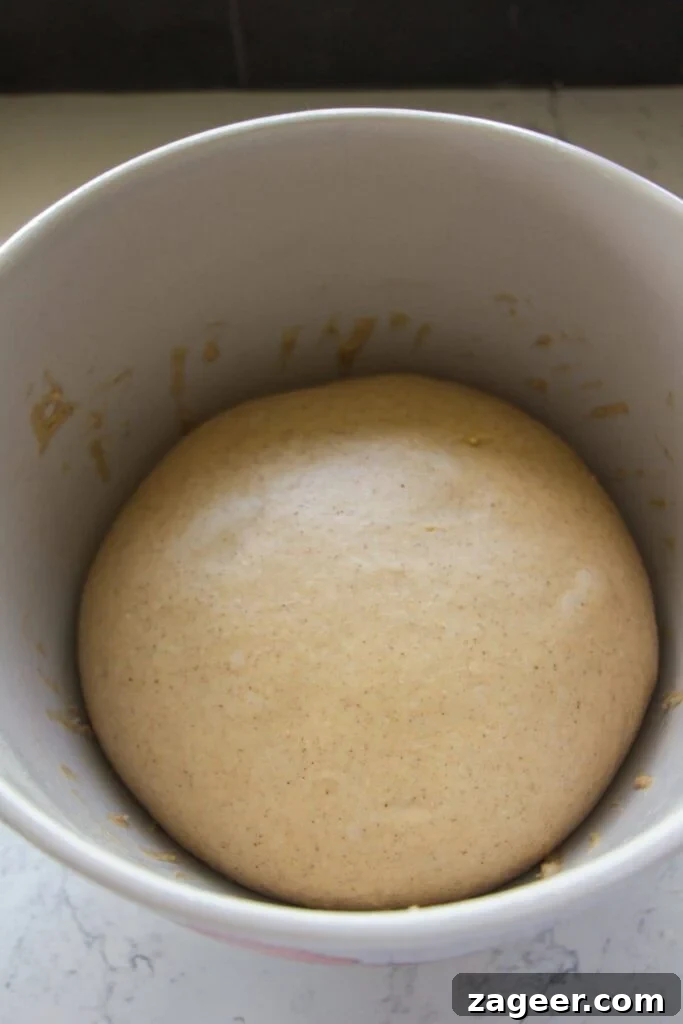
Begin by preparing the dough. Combine all your dough ingredients (bread flour, instant yeast, brown sugar, salt, cinnamon, lukewarm milk, melted butter, and a lightly beaten egg) in the bowl of your stand mixer. With the dough hook attachment, knead the mixture for approximately 10 minutes. During this time, the dough will transform from a shaggy mass into a soft, smooth, and supple consistency, visibly pulling away from the sides of the bowl. It will still feel slightly sticky to the touch, which is perfectly normal for an enriched dough. Once adequately kneaded, cover the bowl tightly with cling film and place it in a warm spot to rise until it has visibly doubled in size. This first rise is crucial for developing flavour and texture.
PRO TIP for Rising: The exact time it takes for your dough to double in size can vary significantly based on the ambient temperature and humidity in your kitchen. It could be as quick as 40 minutes on a warm day, or it might take up to 1 1/2 hours in a cooler environment. To accurately track its progress, I recommend taking a quick photo of the dough immediately after covering it. This visual reference makes it incredibly easy to compare and determine when it has truly doubled. Remember, baking is more about observation than strict adherence to a clock; always “watch the dough, not the clock.”
While your dough is happily rising, seize the opportunity to prepare your chosen cross mixture. Whether you opt for the simplicity of the regular flour and water cross or the luxuriousness of the vanilla custard version, having it ready beforehand will ensure a smooth baking process.
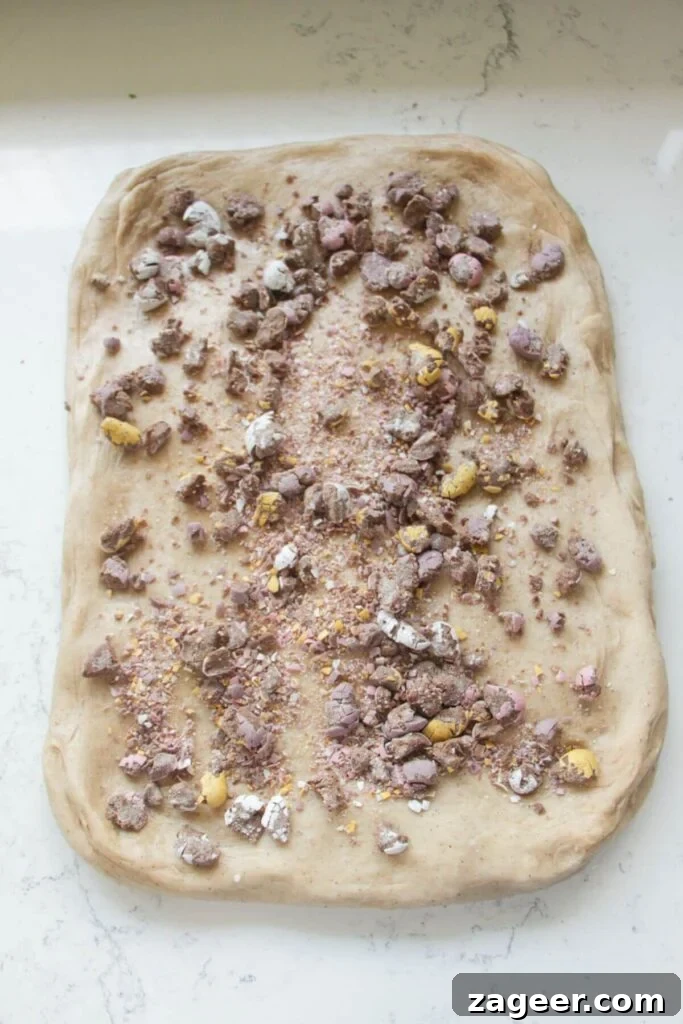
Once your dough has completed its first rise, it’s time for the star addition: the mini eggs! For best results, gently whack your mini eggs a few times (either while still in their original packet or safely secured in a ziplock bag) to lightly crush them. This prevents large, whole eggs from tearing the dough and ensures a more even distribution of chocolate throughout the buns. Turn your perfectly risen dough out onto a lightly floured surface. Using your hands or a rolling pin, gently stretch and shape it into a rough rectangle, approximately 12 inches (30 cm) by 18 inches (45 cm). This provides a good surface area for incorporating the chocolate.
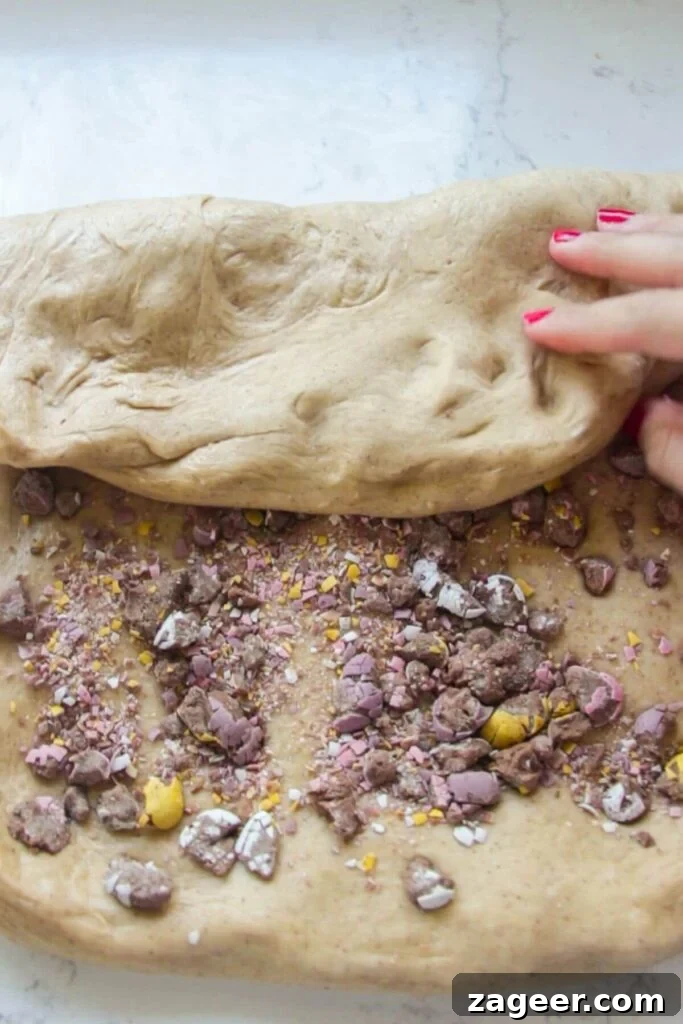
Generously scatter the crushed mini eggs evenly over the entire surface of the dough rectangle. With a light touch, press them gently into the dough to help them adhere and prevent them from shifting during the folding process. Now, for the folding technique: carefully fold one-third of the dough over onto itself, then fold the opposite end over the top of the first fold, creating a neat, compact package. Gently press the edges of the dough together to seal in the precious mini eggs. Rotate the dough so that the shorter side is facing you. Roll the dough up from the short end into a rough cylinder, then use your hands to tuck in the ends and gently form it into a cohesive ball. This folding and rolling technique ensures the mini eggs are beautifully layered throughout the dough, rather than simply mixed in.
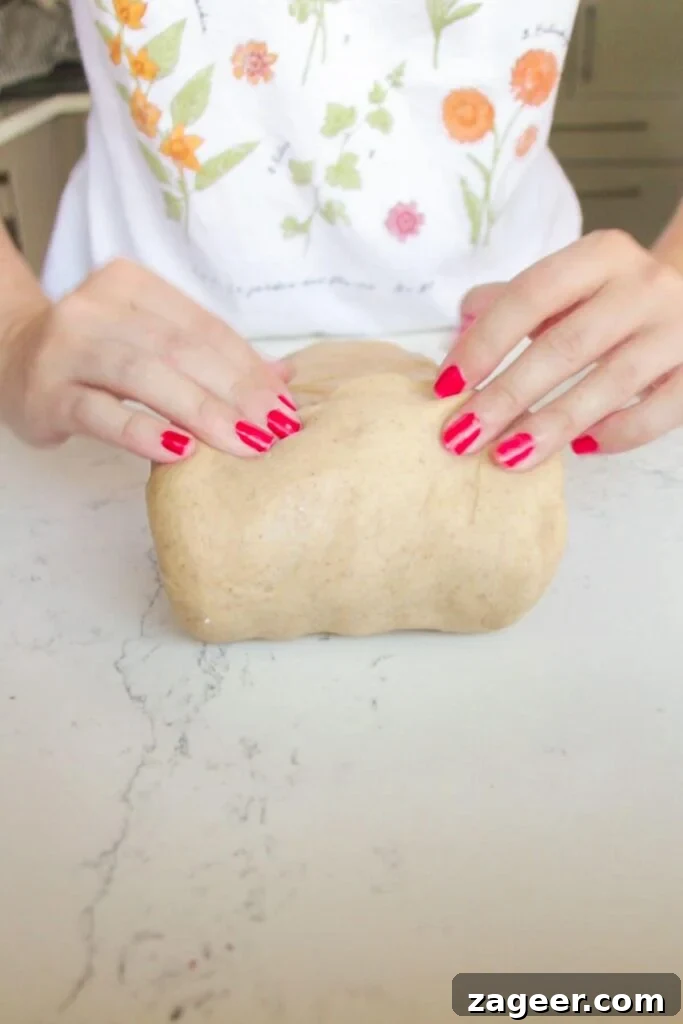
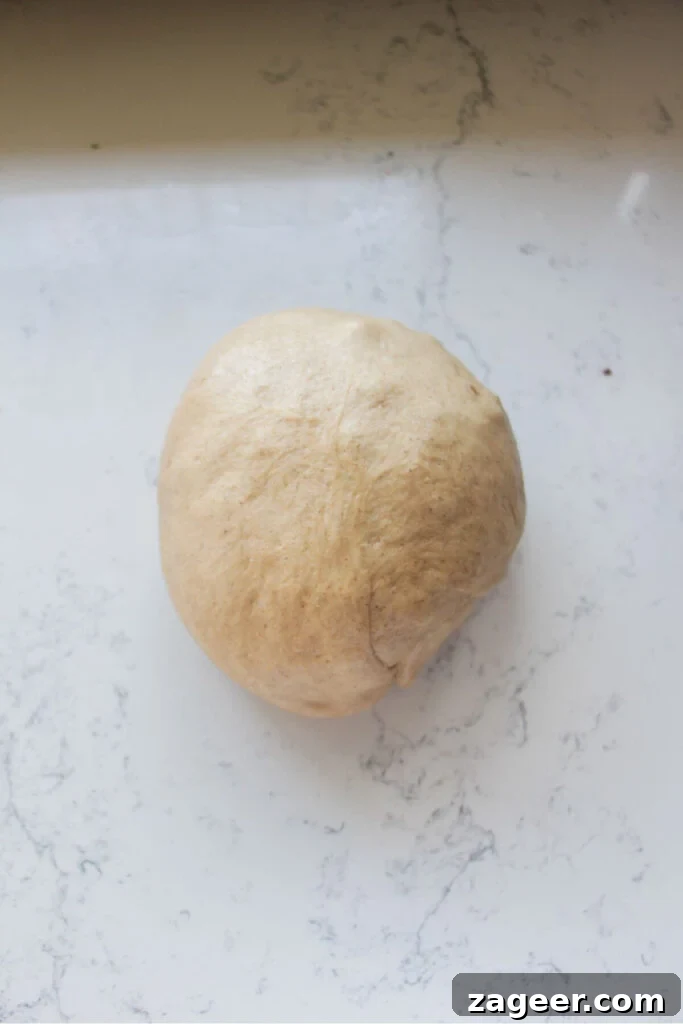
Now, carefully divide the dough into 12 roughly equal pieces. For absolute precision, especially if you’re aiming for uniform buns, I recommend weighing the entire dough ball and then dividing that total by 12 (each piece should be approximately 80g). However, don’t worry if you don’t have a scale; eyeballing it will work just fine. Take each piece of dough and lightly flatten it out. Then, bring all the edges up into the middle and pinch them firmly together to seal. Flip the ball over so the sealed seam is facing down on your lightly floured surface. Gently rotate the dough ball against the counter with the palm of your hand to form a smooth, tight, and round bun. This shaping technique ensures a beautiful, even rise. It’s common for some mini eggs to try and escape during this process; simply push them back into the dough and lightly patch up any small tears.
Arrange each perfectly formed dough ball onto a small, parchment paper-lined oven tray or baking dish. Be sure to leave a little space between each bun, as they will expand considerably during their second rise. Lightly cover the tray with cling film (plastic wrap) to prevent the dough from drying out, and allow the buns to rise again in a warm place until they appear noticeably puffy and have increased in size by approximately 50%. To confidently check if they’re ready for the oven, gently prod one bun with your finger. If the indentation slowly springs back and doesn’t disappear immediately, your buns are perfectly proofed and ready to bake.
If you’re using the traditional flour and water cross, this is the moment to pipe those signature crosses onto the risen buns. Apply the mixture slowly and steadily, allowing it to properly cling to the soft surface of the dough. This ensures clean, well-defined crosses after baking.
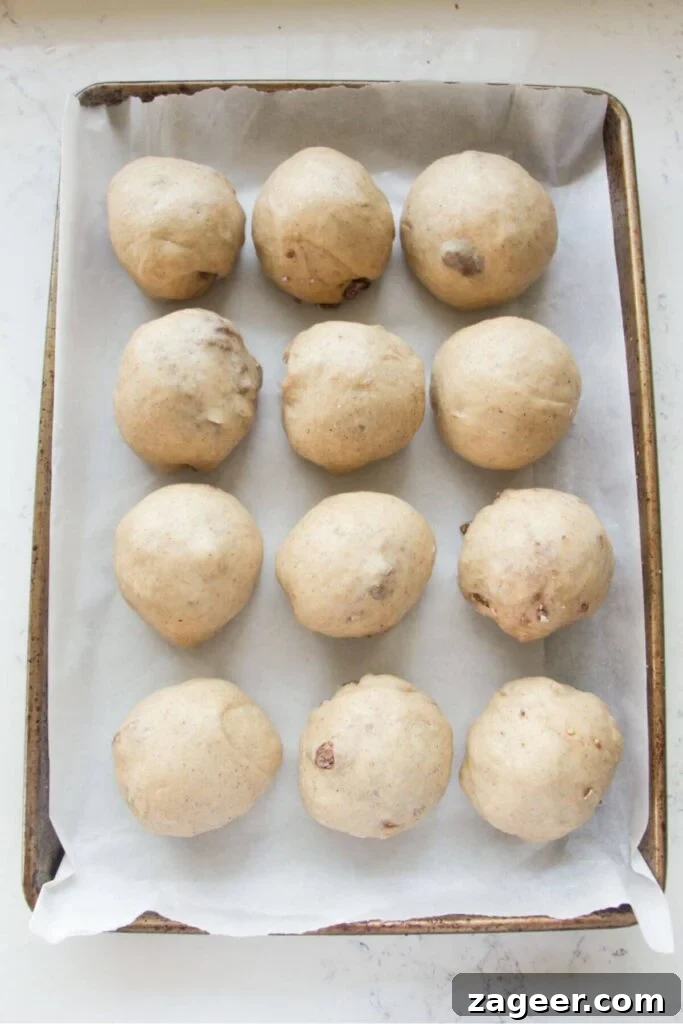
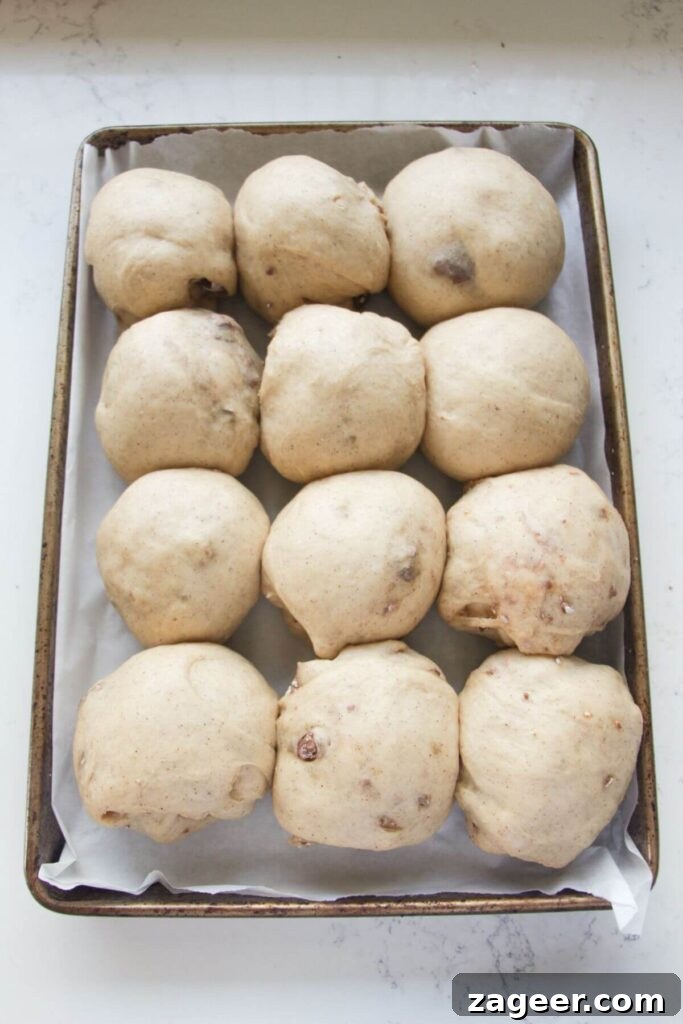
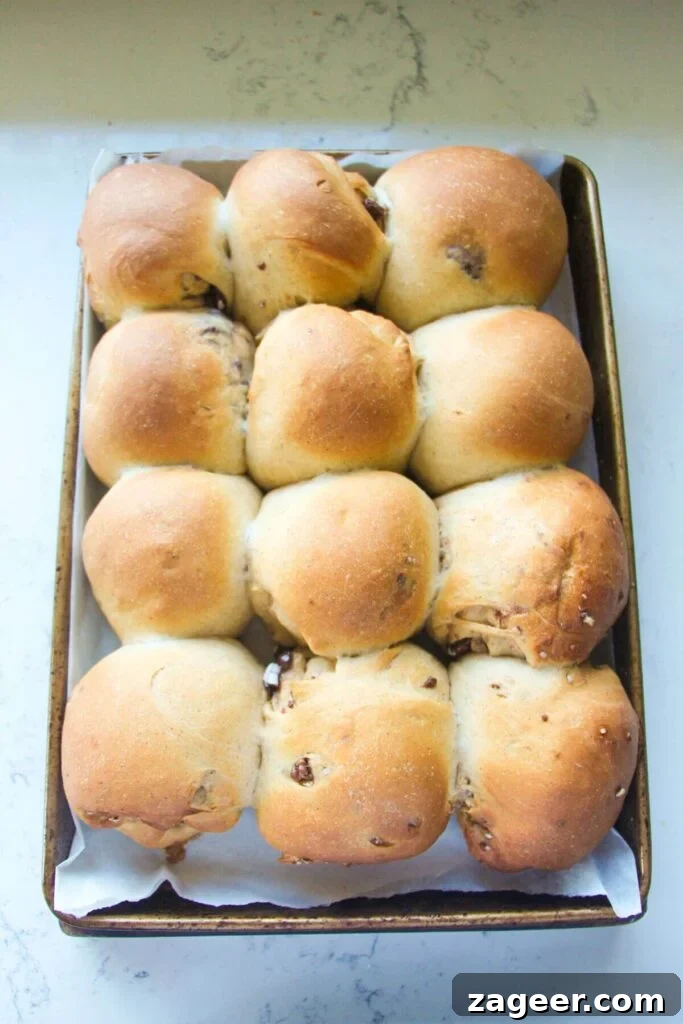
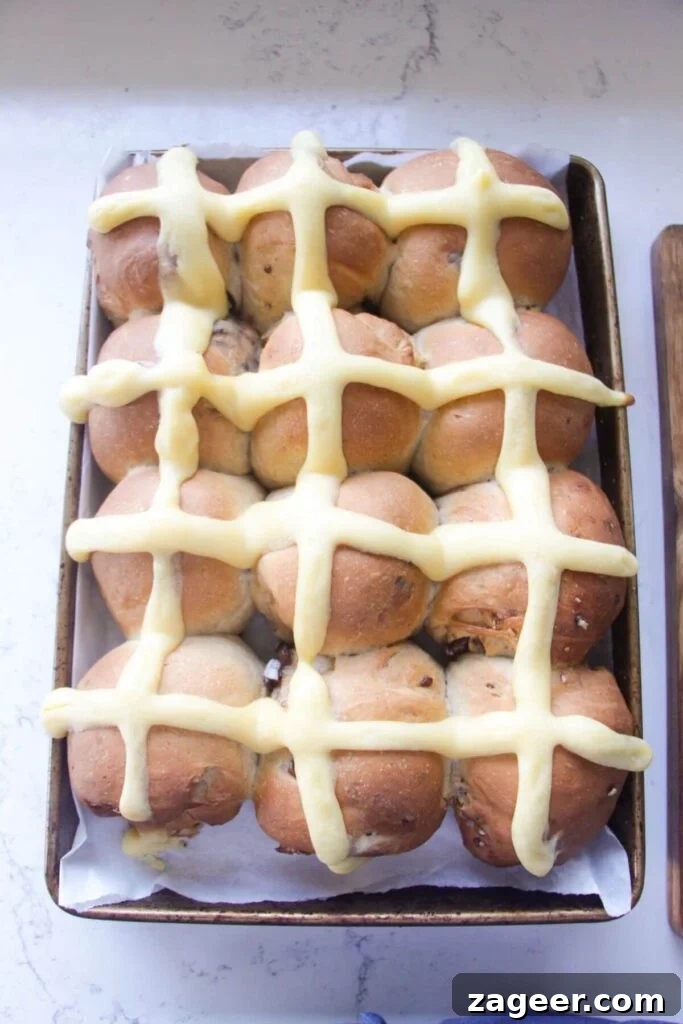
Baking is where the magic truly happens! If you opted for the luscious vanilla custard cross, you’ll bake the buns in two stages. First, place them in the preheated oven for 15 minutes. Then, gently remove the par-baked buns from the oven, pipe on your creamy custard crosses, and return them to the oven for an additional 15 minutes. This two-stage baking ensures the custard sets beautifully without over-browning. If you’re using the classic flour cross, bake the buns for a continuous 30 minutes, undisturbed, allowing them to achieve a perfect golden hue.
As soon as your glorious buns emerge from the oven, shimmering and golden brown, immediately brush them generously with the warm sugar syrup. This glaze not only adds a beautiful shine but also a touch of extra sweetness and helps keep the buns moist. Allow the buns to cool for about 15 minutes before succumbing to their undeniable allure. This brief cooling period allows the chocolate within to become wonderfully gooey and gorgeously melty, and prevents you from burning your mouth on the piping hot exterior. Enjoy these delightful treats while they are still warm, savouring every chocolate-infused, spiced bite.

Your Burning Questions Answered: Mini Egg Hot Cross Bun FAQ
Absolutely! While Cadbury Mini Eggs are iconic, this recipe is quite flexible. Any other small chocolate Easter eggs will work wonderfully. You could also chop up a regular block of your favourite milk chocolate into small pieces, or simply use chocolate chips. Feel free to experiment with dark chocolate chips for a richer flavour, or even white chocolate chips for a different sweetness profile. The goal is to have those delightful pockets of chocolate throughout the bun.
Like most freshly baked bread, these buns are undeniably at their absolute best on the day they are baked. Their softness and the gooeyness of the chocolate are truly unmatched. However, they remain wonderfully delicious for up to 3 days when stored in an airtight container at room temperature. After the first day, they are still fantastic when toasted. I particularly love slicing them in half and toasting them until golden, then serving them with any leftover vanilla custard for an extra special treat. You can also pop them into the microwave for about 15 seconds to gently warm and soften them up, making them feel almost freshly baked again.
Yes, these Mini Egg Hot Cross Buns freeze remarkably well, making them perfect for meal prepping or enjoying long after Easter! You have a couple of excellent options for freezing. You can freeze them whole by placing them in sturdy ziplock bags or an airtight container. When you’re ready to enjoy them, simply take them directly from the freezer, cover them with foil, and reheat them in a preheated oven at 320°F (160°C fan) for about 10-15 minutes until warmed through and soft. Alternatively, you can slice them in half before freezing. This allows you to defrost them quickly and conveniently directly in your toaster, giving you a warm, toasted bun in minutes.
Absolutely! Making the dough ahead of time is a fantastic way to spread out the work and enjoy fresh buns whenever you desire. There are two primary methods for this:
1. Overnight First Rise (Cold Fermentation): After mixing and kneading the dough as per the instructions, let it sit at room temperature for about 10-15 minutes. Then, cover the bowl tightly with cling film and place it in the fridge overnight (for 8-12 hours). The cold temperature will slow down the yeast activity, allowing for a long, slow rise that develops even more flavour. The next day, simply pick up the recipe from the step where you add the mini eggs, shape, and bake. Be aware that the shaped buns might take a little longer for their second rise because the dough will be cold.
2. Overnight Second Rise (Shaped Buns): Alternatively, you can mix the dough, complete the first rise, incorporate the mini eggs, and shape the buns as instructed. Once the buns are shaped and placed on the baking tray, cover them loosely but completely with cling film and refrigerate them overnight (do not exceed 24 hours). The next morning, you can take them directly from the fridge and bake them straight away. This method is incredibly convenient for fresh morning buns!
Watch the Recipe: Mini Egg Chocolate Hot Cross Buns Video Guide
Why This Recipe Uses Grams for Baking Precision
You might notice that this recipe, like many professional baking recipes, primarily lists ingredients in grams. There’s a very good reason for this, and it all boils down to precision. Baking is a science as much as it is an art, and accuracy in ingredient measurements can make all the difference between a good bake and a truly exceptional one.
Weighing your ingredients using a digital kitchen scale is by far the most accurate method. Cup measurements, while convenient, can be notoriously inconsistent. The amount of flour, butter, or sugar that fits into a cup can vary wildly depending on how tightly it’s packed, whether it’s sifted, or even the type of cup used. These variations, though seemingly small, can significantly impact the dough’s hydration, the final texture of your buns, and ultimately, your baking success. Using grams eliminates this variability, ensuring you get the exact amount of each ingredient every single time, guaranteeing results that are consistent and reliable, just as intended by the recipe creator.
To ensure you achieve the same beautifully soft, fluffy results that I do with this recipe, I truly encourage you to embrace the precision of a digital scale. They are incredibly affordable and easy to use, and you’ll quickly find them to be an indispensable tool in your kitchen for all your baking adventures. I personally rely on this digital scale from Amazon, which has served me wonderfully.
Craving More Sweet Treats? Explore These Delightful Recipes!
If you’ve enjoyed baking these Mini Egg Chocolate Hot Cross Buns, you’re sure to love these other sweet creations. Expand your baking repertoire with these irresistible ideas:
Pumpkin Spice Cinnamon Rolls (No Yeast & No Knead)
Salted Caramel Brownies
Peach, Coconut & Almond Galette
Chocolate Almond Bark
If you embark on the delightful journey of making these Mini Egg Chocolate Hot Cross Buns, I would absolutely love to hear about your experience! Please feel free to leave me a comment below and share your baking triumphs. Happy Easter baking!

Mini Egg Chocolate Hot Cross Buns
5 Stars
4 Stars
3 Stars
2 Stars
1 Star
No reviews yet
- Author: Kate Alexandra
Total Time: 2 hours 10 minutes
Yield: 12 buns
Diet: Vegetarian
Description
These super soft, fluffy hot cross buns are studded with chocolate mini eggs for the ultimate Easter treat. Fragrant with cinnamon and topped with a creamy vanilla custard cross, you won’t be able to stop at just one.
Ingredients
For the hot cross buns –
- 425g white bread flour
- 7g instant yeast
- 30g brown sugar
- 1 teaspoon salt
- 1 tablespoon ground cinnamon
- 250g milk, lukewarm
- 50g unsalted butter, melted
- 1 egg, lightly beaten
- 160g mini eggs (2 small packets), lightly crushed
- 2 tablespoons water (for glaze)
- 2 tablespoons caster sugar (for glaze)
For the regular flour cross (optional) –
- 50g plain white flour
- 4 tablespoons water
- 1 tablespoon vanilla extract
For the vanilla custard cross (optional, highly recommended) –
- 1 tablespoon cornflour (cornstarch)
- 45g caster sugar
- 1 egg
- 1 teaspoon salt
- 1 tablespoon vanilla extract
- 200g milk
- 20g unsalted butter, at room temperature
Instructions
- Make the Dough: In the bowl of a stand mixer, combine 425g bread flour, 7g instant yeast, 1 teaspoon salt, 1 tablespoon cinnamon, and 30g brown sugar. Mix these dry ingredients thoroughly with a spatula or wooden spoon. Then, add 250ml lukewarm milk (warm for 30-45 seconds in the microwave until comfortably warm), 50g melted butter, and the lightly beaten egg. Attach the dough hook to your mixer and knead the dough on medium speed for about 10 minutes until it appears smooth, supple, and begins to pull away from the sides of the bowl. The dough will still be slightly sticky, which is ideal. Scrape down the sides of the bowl 2-3 times during kneading to ensure all ingredients are well incorporated. Once kneaded, cover the bowl with cling film and place it in a warm environment to rise until it has doubled in size. This can take anywhere from 40 minutes to 1.5 hours, depending on kitchen temperature.
- Prepare Your Chosen Cross: You have two delightful options.
For the Flour Cross: In a small bowl, whisk together 50g plain flour, 4 tablespoons of water, and 1 tablespoon of vanilla extract until you achieve a smooth, thick paste. Adjust consistency by adding a touch more flour if too runny, or more water if too thick. Transfer this mixture into a piping bag fitted with a small round nozzle, or use a ziplock sandwich bag with a tiny corner snipped off, and set aside.
For the Vanilla Custard Cross: In a bowl, whisk 1 tablespoon of cornflour, 45g caster sugar, 1 egg, and 1 teaspoon salt until smooth. Heat 200g milk in a small pot over medium heat until it’s almost simmering. Slowly drizzle half of the hot milk into the egg mixture in the bowl, whisking continuously to temper the egg. Pour this tempered mixture back into the pot with the remaining milk. Cook over medium heat, whisking constantly, until the custard thickens significantly. Remove from heat, stir in 1 tablespoon vanilla extract and 20g room-temperature unsalted butter, whisking until smooth and fully combined. Transfer the custard to a piping bag (or ziplock bag) and refrigerate until needed. - Incorporate Mini Eggs & Shape Dough: Lightly crush 160g mini eggs (in their packet or a ziplock bag) using a rolling pin. Turn the risen dough out onto a lightly floured surface and gently stretch it into a rectangle approximately 12″ (30cm) by 18″ (45cm). Evenly scatter the crushed mini eggs over the dough, pressing them lightly to secure. Fold one-third of the dough over onto itself, then fold the other end over the first fold. Press to seal the dough edges. Rotate the dough so the short side faces you, then roll it up tightly into a cylinder. Tuck in the ends to form a rough ball. Divide the dough into 12 equal pieces (around 80g each if weighing for precision).
- Form & Proof Buns: Flatten each dough piece slightly. Bring the edges up towards the center and pinch firmly to seal. Flip the dough ball over so the seam is underneath, then gently roll it against the counter with your palm to create a smooth, tight bun. Place each shaped bun onto a parchment-lined oven tray, ensuring a little space between them for rising. Cover the buns lightly with cling film and allow them to rise again until they appear puffy and have increased in size by about 50%. A gentle prod should leave an indentation that slowly fills back. This second rise typically takes around 30 minutes. While they’re rising, preheat your oven to 360°F (180°C fan).
- Bake the Buns:
If using the Flour Cross: Pipe the flour/water cross mixture onto the risen buns before placing them in the oven. Pipe slowly to ensure proper adhesion. Bake for a full 30 minutes.
If using the Vanilla Custard Cross: Bake the buns plain for the first 15 minutes. Then, remove them from the oven, pipe on your chilled vanilla custard crosses, and return them to the oven for another 15 minutes to complete baking. - Glaze & Serve: While the buns are baking, prepare the glaze by heating 2 tablespoons water and 2 tablespoons caster sugar in the microwave for 15-20 seconds until the sugar dissolves. As soon as the buns come out of the oven, beautiful and golden, generously brush them with the warm sugar syrup. Allow the buns to cool on the tray for approximately 15 minutes before serving. This cooling time lets the chocolate inside become perfectly gooey and melty, making for an utterly irresistible Easter treat.
Expert Tips & Notes for Perfect Buns
Use a Digital Scale for Best Results: For precision in baking, I cannot stress enough the importance of using a digital kitchen scale for measuring ingredients in grams, rather than relying on cup conversions. Baking is a science, and exact measurements guarantee consistent results. Scales are inexpensive and incredibly useful; I use this one from Amazon.
Shaping the Buns: Don’t worry if shaping the buns gets a little messy with the mini eggs escaping. Simply push any rogue mini eggs back into the dough and gently patch up any small tears. Perfection is not the goal here; deliciousness is!
Ingredient Notes – Yeast: Ensure you are using instant yeast as specified in this recipe. If you only have active dry yeast, it’s essential to activate it first. Sprinkle it over the lukewarm milk and let it sit for 10 minutes until it gets foamy. Then, proceed with the recipe instructions. Using active dry yeast directly without activation will result in granules in your dough and a poor rise.
Substitutions:
– If mini eggs are unavailable, feel free to use other small chocolate Easter eggs, chopped milk chocolate, or chocolate chips (milk or dark).
– Bread flour provides the softest, fluffiest buns, but regular all-purpose flour will work fine if that’s what you have.
– Whole milk creates a richer bun, but low-fat milk can be used interchangeably.
Storage Instructions:
– These buns are best enjoyed on the day they are baked for peak softness and gooey chocolate.
– They will keep well for up to 3 days when stored in an airtight container at room temperature.
– To refresh day-old buns, microwave them for about 15 seconds or slice them and toast them until warmed through.
– Freezing: These buns freeze exceptionally well! Freeze them whole in ziplock bags. To reheat, bake them (covered with foil) in a 320°F (160°C fan) oven for about 10-15 minutes. Alternatively, slice them in half before freezing, then defrost them directly in your toaster for a quick and easy treat.
- Prep Time: 10 minutes
- Rising Time: 90 minutes
- Cook Time: 30 minutes
- Category: baking
- Method: oven
- Cuisine: british
Nutrition Information (per bun)
- Serving Size: 1 bun
- Calories: 317
- Sugar: 17.3g
- Sodium: 418.3mg
- Fat: 10.1g
- Saturated Fat: 5.7g
- Unsaturated Fat: 2.3g
- Trans Fat: 0g
- Carbohydrates: 48.3g
- Fiber: 2.5g
- Protein: 8.3g
- Cholesterol: 44.3mg