
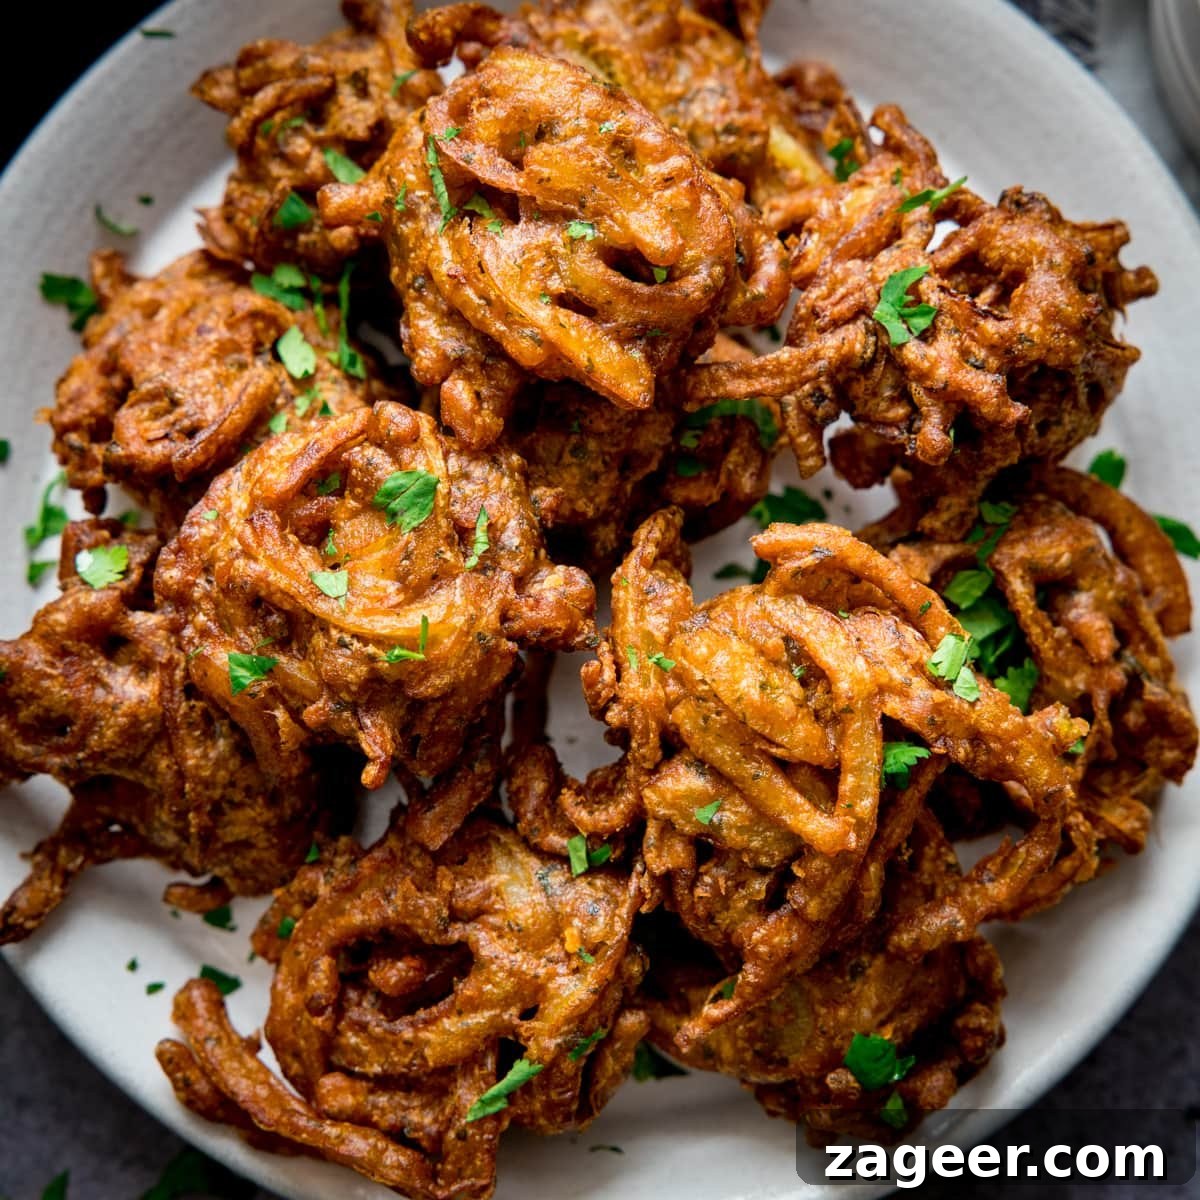
The Ultimate Crispy Onion Bhaji Recipe: Authentic, Easy & Gluten-Free!
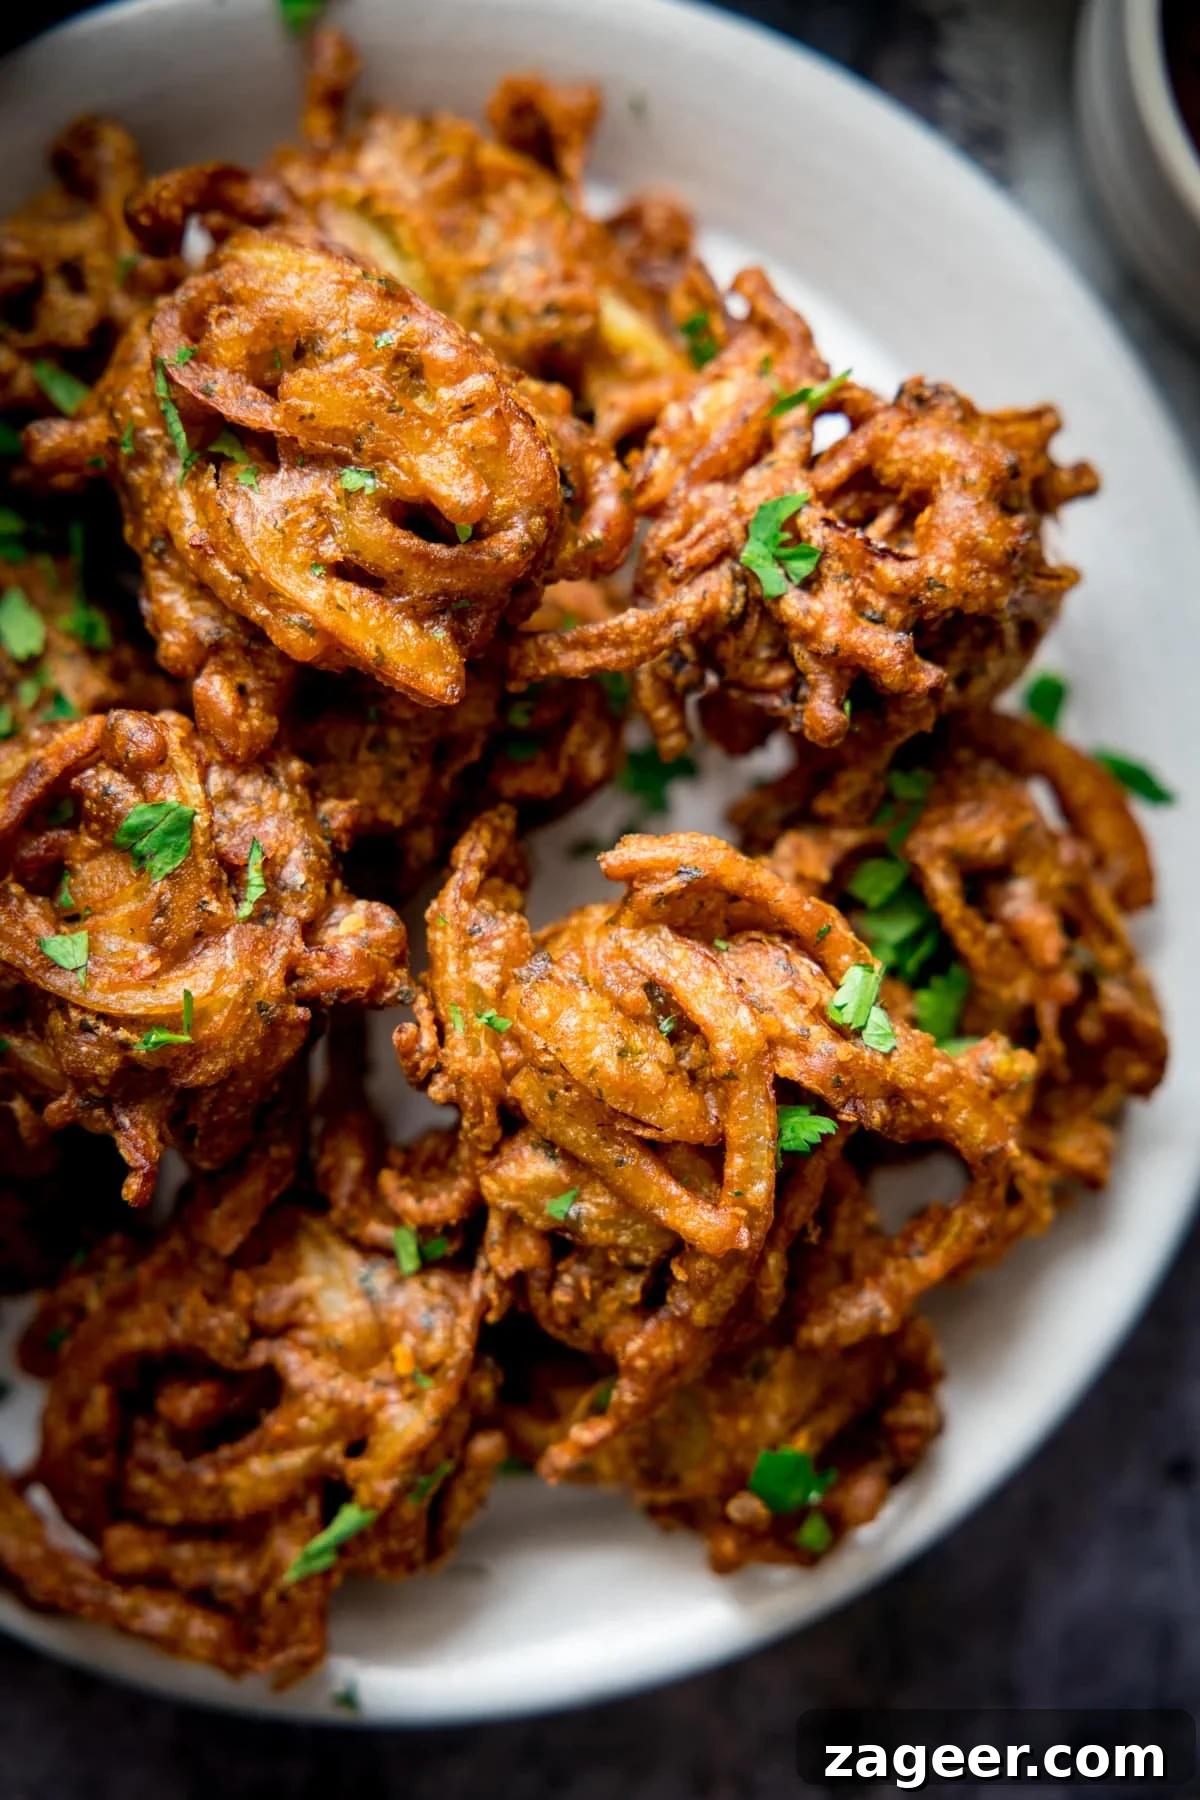
Master the art of making perfectly crisp, fragrantly spiced onion bhajis at home. This recipe uses naturally gluten-free gram flour (chickpea flour), ensuring a delightful crunch and a savoury, mildly nutty flavour that will transport your taste buds straight to India. Forget greasy takeout – your homemade bhajis will be the star of any meal!
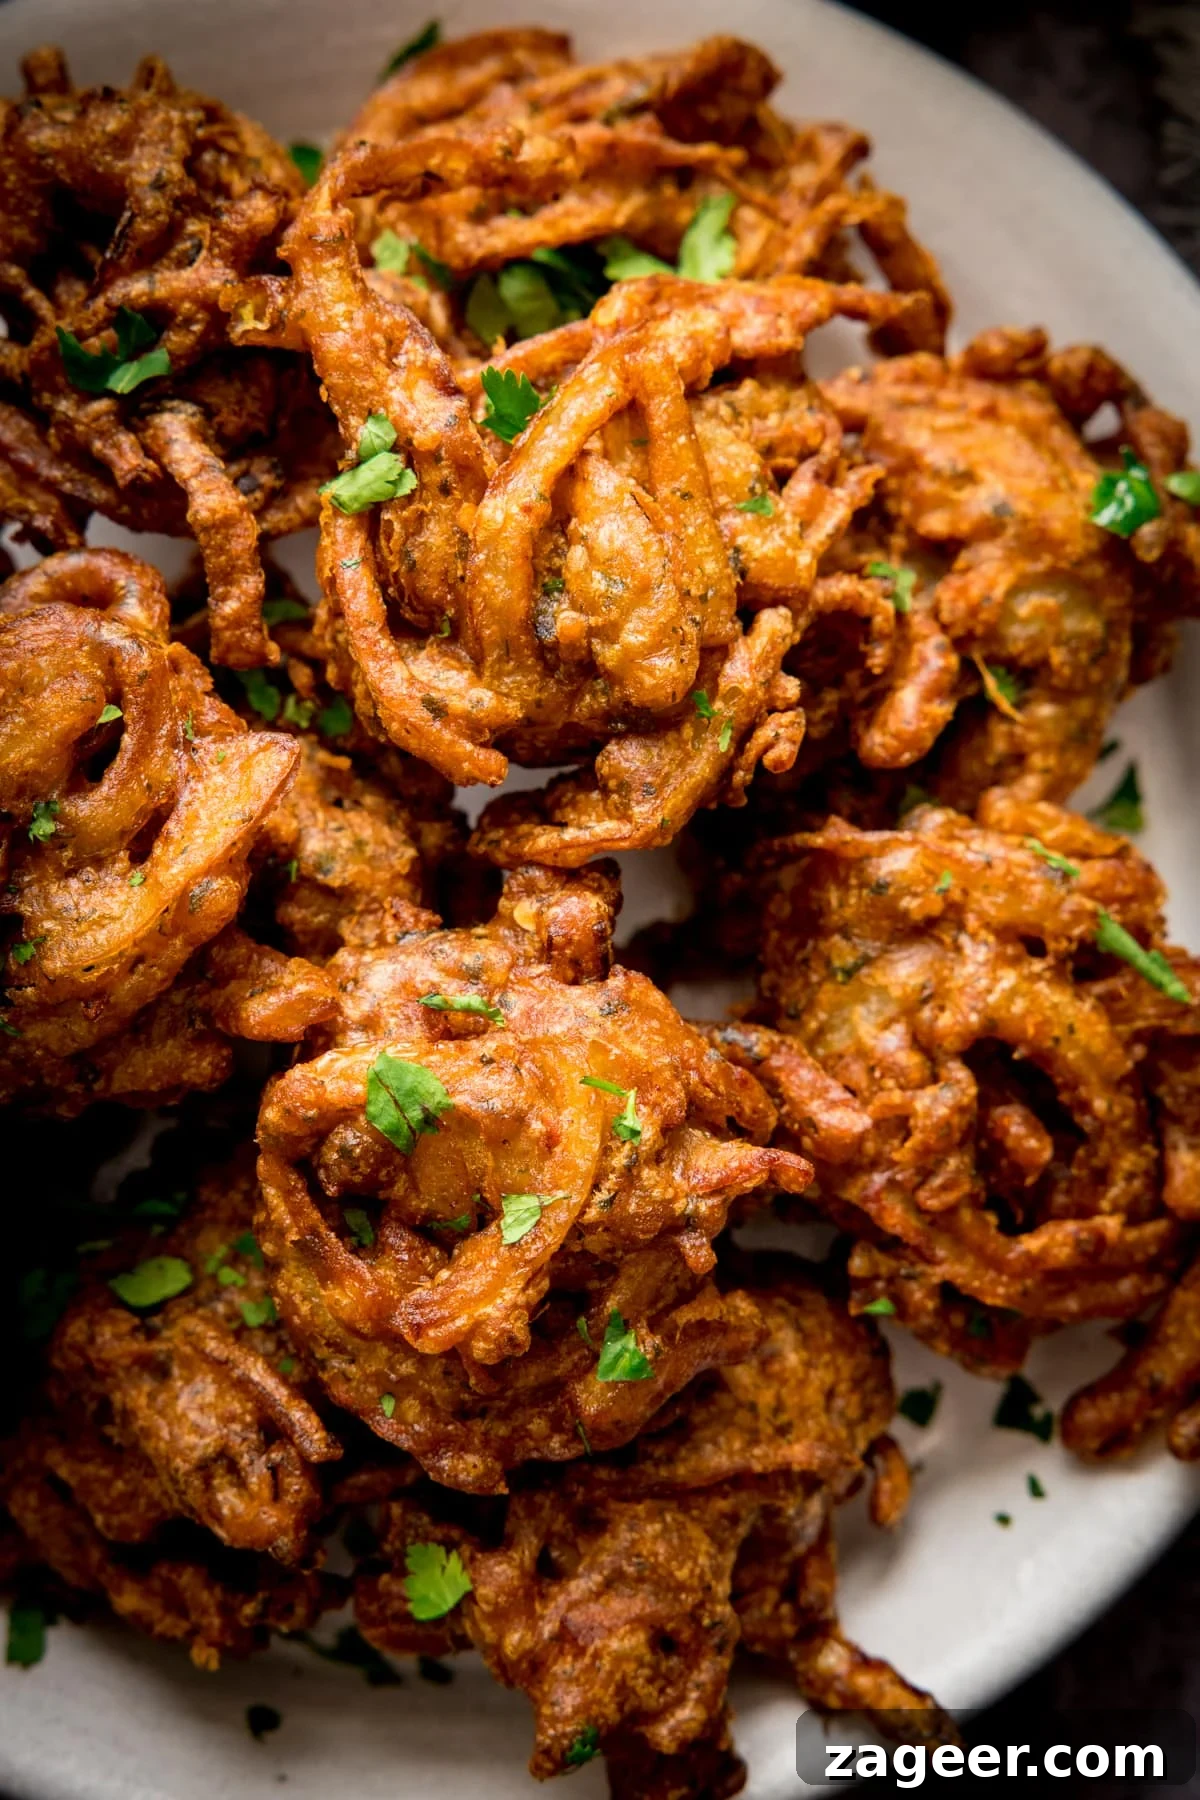
There’s nothing quite like a warm, freshly fried onion bhaji – a classic Indian starter or side dish that brings a burst of flavour and texture to any meal. These delightful fritters, made from thinly sliced onions coated in a spiced chickpea flour batter, are a staple in Indian cuisine and a favourite across the globe. Whether you’re planning an Indian ‘fakeaway’ night or simply looking for a delicious snack, this recipe promises bhajis that are wonderfully crispy on the outside, tender on the inside, and packed with aromatic spices.
While often enjoyed in Indian restaurants and takeaways, onion bhajis can sometimes be a hit or miss experience. You might encounter ones that are overly greasy, disappointingly soft, or lacking in that essential spicy kick. But when they’re done right? Oh, they’re simply irresistible! This recipe is designed to help you achieve that perfect balance: a mouth-wateringly spicy, slightly salty, and unbelievably crispy bite every single time. Plus, by making them yourself, you control the quality of ingredients and the amount of oil, ensuring a fresher and more satisfying result.
What Makes the Perfect Onion Bhaji?
The secret to an outstanding onion bhaji lies in a few key elements: the quality and preparation of the onions, the unique properties of gram flour, and a carefully balanced blend of spices, all brought together with the right frying technique. This recipe demystifies the process, guiding you to create bhajis that rival your favourite Indian restaurant, if not surpass them.
Beyond being incredibly delicious, these bhajis are also naturally gluten-free, thanks to the use of gram flour. This makes them a fantastic option for guests with dietary restrictions, or simply for anyone looking to explore the versatility of chickpea flour. Inexpensive and easy to find, gram flour is a staple ingredient in Indian cooking and can be used for many other delicious dishes, like my popular chicken pakora.
The Essential Ingredients for Crispy Bhajis
Crafting these savoury fritters requires a straightforward list of ingredients, most of which you likely already have in your pantry. Let’s delve into what we need and why each component is crucial for achieving that authentic taste and texture.
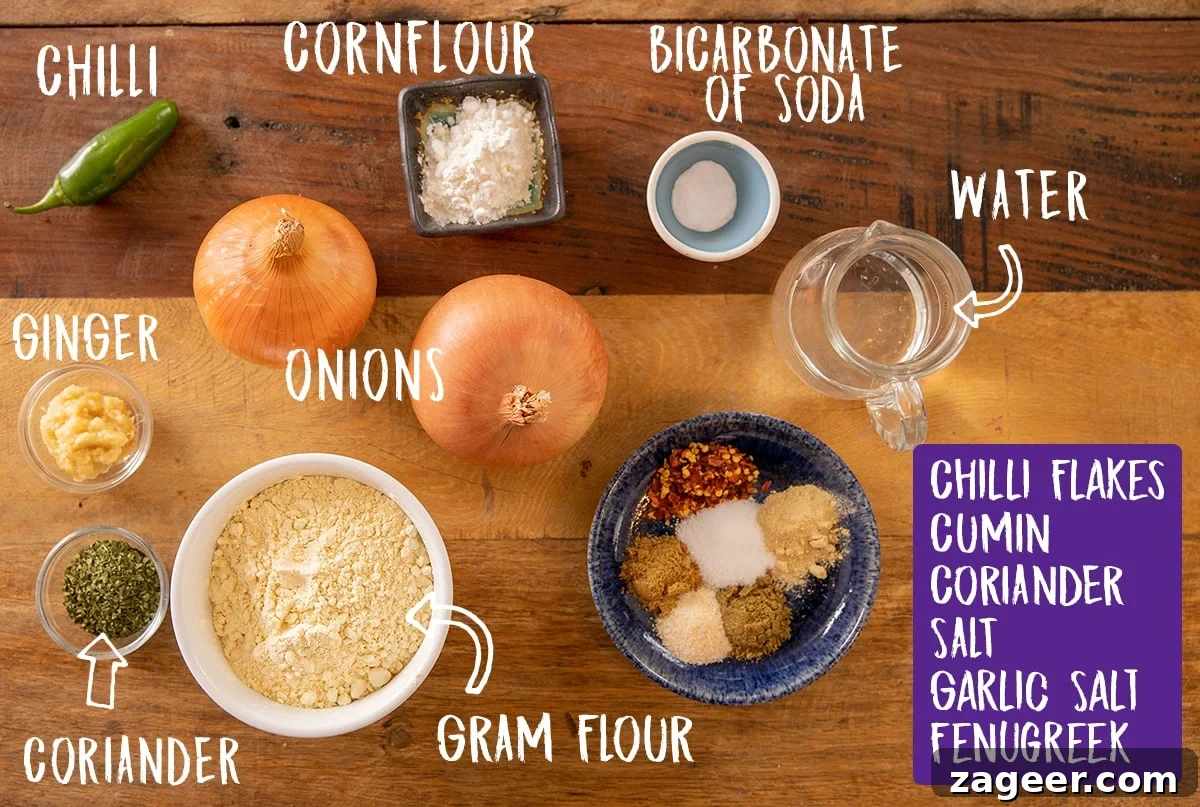
- Onions: For approximately 10-12 golf-ball sized bhajis, you’ll need 2 large brown (or yellow) onions. Brown onions are highly recommended because their robust flavour mellows beautifully during cooking, contributing a fantastic sweet and savoury depth to the bhajis. While red or white onions can be used for a slightly milder flavour, brown onions deliver the most authentic taste. Thin slicing is key here; it ensures the onions cook evenly and contribute to the overall crispiness without being overly chunky.
- Gram Flour (Besan/Chickpea Flour): This is the star ingredient for the batter! Made from ground chickpeas, gram flour imparts a mild, nutty taste and, most importantly, provides that signature crispness and light texture. Its natural gluten-free properties make this recipe accessible to a wider audience. It’s readily available in most supermarkets or Indian grocery stores and is quite affordable.
- Aromatic Spices: Our bhaji batter is generously infused with a blend of fragrant spices to create a truly authentic Indian flavour. This includes ground cumin, ground coriander, and a touch of dried coriander leaf for an earthy, fresh aroma. For that essential kick, we add finely chopped green chilli and chilli flakes, allowing you to adjust the heat to your preference. Ground fenugreek adds a subtle, slightly bitter note that enhances the overall complexity. Salt and garlic salt ensure a perfectly seasoned bhaji.
- Fresh Enhancements: Minced fresh ginger and green chilli are essential for a vibrant flavour profile. Ginger adds a warm, pungent zing, while green chillies provide fresh heat.
- Bicarbonate of Soda (Baking Soda) and Cornflour (Cornstarch): These two ingredients are your secret weapons for achieving an incredibly light and crispy bhaji. Bicarbonate of soda acts as a leavening agent, creating tiny air pockets in the batter, which makes the bhajis less dense. Cornflour contributes to the crisp texture, preventing the bhajis from becoming heavy or doughy. Together, they ensure a golden, airy fritter rather than a thick, heavy one.
- Water: To bind everything together into a thick, cohesive batter. The amount needed can vary slightly, so add it gradually until you reach the desired consistency.
- Vegetable Oil for Deep Frying: A neutral-flavoured oil is best for deep frying, as it allows the bhaji’s flavours to shine through without imparting any unwanted taste. Ensure you have enough oil for proper deep frying.
The Art of Making Onion Bhaji: Step-by-Step
Creating these delicious onion bhajis is a rewarding process that doesn’t require advanced cooking skills. Follow these simple steps for perfect results every time.

- Prepare the Onions: Begin by thinly slicing your peeled brown onions. You can use a mandoline for uniform slices, or a sharp knife if you prefer a more rustic, varied texture, which I find adds to the homemade charm of the bhajis. The goal is thin, even slices that will cook through quickly and become delightfully crisp.
- Combine Dry Ingredients with Onions: Place all the sliced onion in a large mixing bowl. Add the minced ginger, chopped green chilli, ground cumin, ground coriander, dried coriander leaf, chilli flakes, ground fenugreek, salt, garlic salt, gram flour, cornflour, and bicarbonate of soda. Toss everything together thoroughly with your hands, ensuring the onions are well coated with the spice and flour mixture. This initial dry mix helps to evenly distribute the flavours.
- Form the Batter: Gradually add water, a splash at a time, mixing continuously. You’re aiming for a thick, cohesive batter that firmly coats the onion slices. The consistency should be just enough to bind the ingredients without being too wet or runny. You might not need all the specified water, so add judiciously until you reach the desired thick, sticky consistency.
- Heat the Oil: Pour enough vegetable oil into a wok or a large, heavy-based pan to reach at least 3 inches (7-8 cm) deep. Heat the oil over a medium flame. It’s crucial not to overfill your pan; ensure the oil is less than half full to prevent it from bubbling over when you add the bhajis.
- Test the Oil Temperature: Before frying, test the oil’s heat by dropping a tiny blob of the bhaji batter into it. If the oil is at the correct temperature, the batter should sizzle immediately and float to the surface within a few seconds. If it sinks without bubbling, the oil isn’t hot enough; if it burns instantly, it’s too hot. Adjust the heat as necessary.
- Shape and Fry the Bhajis: Once the oil is ready, carefully take a rounded tablespoon of the onion bhaji mixture. I like to gently squeeze and compact the mixture in my hand before placing it back on the spoon and lowering it into the hot oil. This technique helps the bhajis hold their shape and prevents them from disintegrating during frying.
- Batch Frying: Fry 4-5 bhajis at a time, depending on the size of your pan. Avoid overcrowding the pan, as this can lower the oil temperature significantly, leading to greasy and less crispy bhajis.
- Cook to Golden Perfection: Fry the bhajis for 3-4 minutes, turning them over once or twice to ensure even cooking and a beautiful dark golden-brown crust on all sides.
- Drain Excess Oil: Once golden and crisp, remove the bhajis from the pan using a slotted spoon and transfer them to a plate lined with kitchen paper to drain any excess oil. This step is crucial for maintaining their crispiness.
- Continue Frying: Repeat the process with the remaining batter, frying in batches until all the mixture is used up. If you’re making a large batch, you can keep the cooked bhajis warm in a preheated oven (around 130°C/250°F fan) while you finish frying the rest.
- Serve Fresh: Arrange the freshly cooked onion bhajis in a serving bowl and sprinkle with a generous amount of freshly chopped coriander for an added burst of freshness and colour.
👩🍳PRO TIP: The gram flour batter can stiffen if left to sit for too long. For the crispiest results, it’s essential to fry the bhajis immediately after mixing the batter. Prepare your oil and have everything ready before combining the wet and dry ingredients.
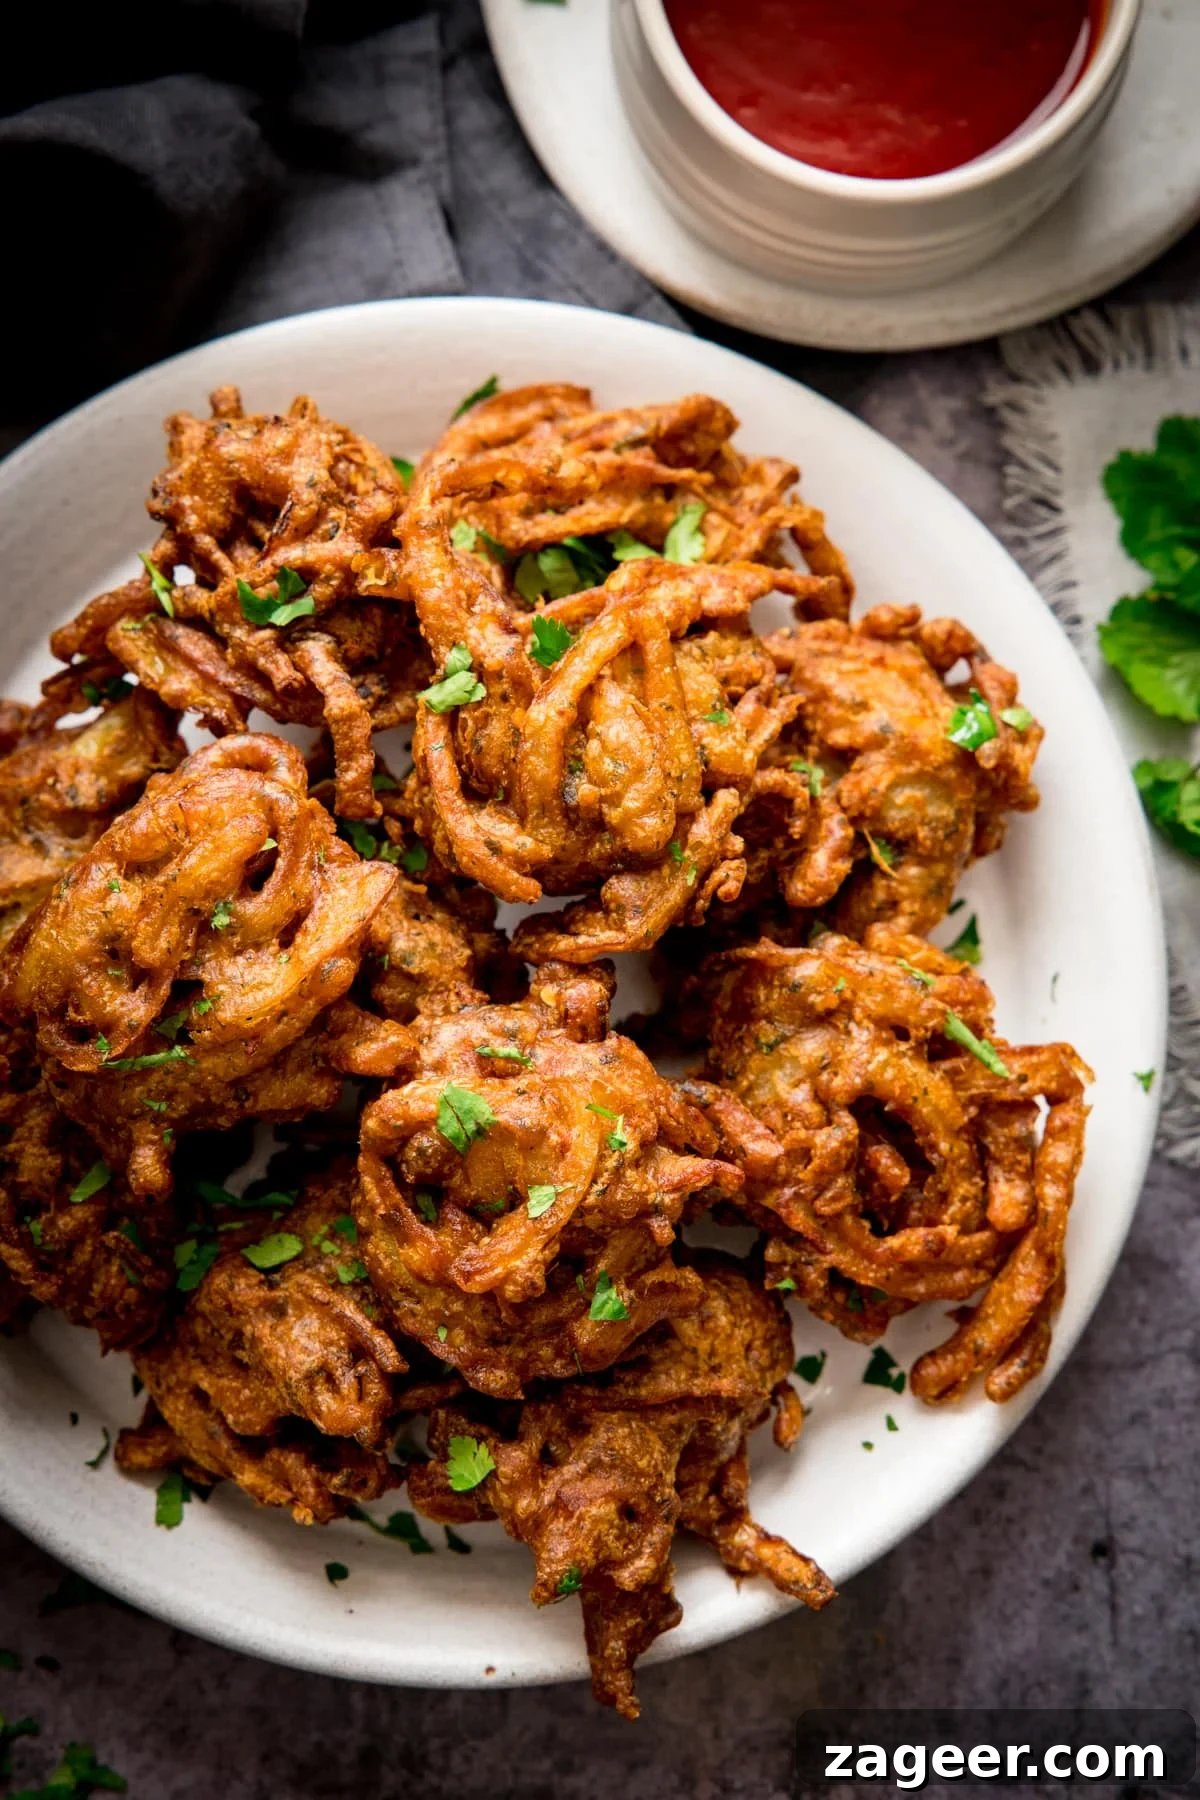
Delicious Pairings: What to Serve with Onion Bhajis
Onion bhajis are incredibly versatile and make a fantastic appetizer, snack, or side dish. Here are some perfect accompaniments to complete your Indian feast:
- Dipping Sauces: A must-have! Classic choices include a tangy sweet chilli sauce, a cooling mint and coriander chutney, a refreshing raita (yogurt dip), or a rich tamarind chutney. These sauces offer a wonderful contrast to the savoury, spicy bhajis.
- Fresh Salads: A simple, vibrant salad provides a refreshing counterpoint to the fried bhajis. Try a tomato and onion salad with a squeeze of lime or a cucumber salad.
- Other Indian Sides: Create an impressive spread with other homemade Indian-inspired extras:
- Chicken Pakora: Another excellent use for that versatile gram flour, offering a different protein option.
- Homemade Chapati: Freshly made flatbreads are perfect for scooping up sauces and curries.
- Rice Dishes: Fluffy basmati rice or a simple pilau rice can help soak up any rich sauces from your main course.
📺 Watch the Onion Bhaji Recipe in Action!
Sometimes, seeing the process unfold makes all the difference. Watch this short video tutorial to see exactly how to prepare and fry your crispy onion bhajis to perfection. It’s a great way to visually understand the consistency of the batter and the ideal frying technique.
🍲 Delicious Curries to Serve with Your Onion Bhaji
Onion bhajis are the perfect accompaniment to a hearty Indian curry. Here are some fantastic curry recipes from our kitchen to yours, guaranteed to make your meal complete:
Our Favorite Indian Main Courses
Curries
Red Lentil Dahl
Dinner
Chicken Biryani
Curries
Minute Steak Curry
Sauces and Dips
Coconut Curry Sauce
Curries
Chicken Madras
Curries
Chicken, Sweet Potato and Peanut Stew
Stay updated with new recipes!
Subscribe to the newsletter to hear when I post a new recipe. I’m also on YouTube(new videos every week) and Instagram(behind-the-scenes stories & beautiful food photos).

Onion Bhaji Recipe
By Nicky Corbishley
Finely sliced onion smothered in a simple, fragrantly spiced batter and fried to crispy perfection. They’re also naturally gluten-free! These easy-to-make Indian fritters are ideal as a starter or a side dish for your next homemade curry night.
Prep Time: 10 mins |
Cook Time: 10 mins |
Total Time: 20 mins |
Servings: 10-12 golf-ball sized bhajis
Course: Side Dish |
Cuisine: Indian
Ingredients
- Vegetable oil for deep frying (approx. 3-4 cups / 720-960ml)
- 2 large onions, peeled and thinly sliced
- 1 tbsp minced ginger
- 1 green chilli, finely chopped (adjust to taste)
- 1 tsp ground cumin
- 1 tsp ground coriander
- 1 tbsp dried coriander leaf
- 1 tsp chilli flakes (adjust to taste for heat)
- 1 tsp ground fenugreek
- ¾ tsp salt
- ½ tsp garlic salt
- 130 g (1 ½ cups + 2 tbsp) gram flour (also known as chickpea flour or besan)
- 1 tbsp cornflour/cornstarch
- ½ tsp bicarbonate of soda (baking soda)
- 135 ml (½ cup + 1 tbsp) water (add gradually)
To Serve:
- 1 tbsp freshly chopped coriander
- Sweet and sour sauce or sweet chilli sauce (for dipping)
Instructions
- Heat the vegetable oil in a wok or large, heavy-based pan over medium heat. Ensure you have at least 3 inches of oil, but the pan should be less than half full to prevent bubbling over.
- Place the thinly sliced onions in a large mixing bowl.
- Add the minced ginger, chopped green chilli, ground cumin, ground coriander, dried coriander leaf, chilli flakes, ground fenugreek, salt, garlic salt, gram flour, cornflour (cornstarch), and the bicarbonate of soda to the bowl with the onions.
- Mix all the ingredients together thoroughly until the onion slices are well coated with the dry mixture.
- Gradually add the water, a splash at a time, mixing until you achieve a thick batter that generously coats the onions. You might not need all the water; stop when the batter is sticky and binds the onions well.
- Test the oil heat by dropping a tiny amount of batter into the wok. It should sizzle and quickly rise to the surface if the temperature is correct.
- Carefully add rounded tablespoons of the onion bhaji mixture into the hot oil. For best results and uniform shape, gently squeeze the mixture in your hand to compact it before lowering it into the oil.
- Fry 4-5 bhajis at a time. Do not overcrowd the pan, as this will lower the oil temperature and can result in greasy, less crispy bhajis. Work in batches as needed.
- Fry for 3-4 minutes, turning them over once or twice, until they are deep golden brown and crispy on all sides.
- Remove the cooked bhajis from the pan with a slotted spoon and place them on a plate lined with kitchen paper to drain excess oil.
- Repeat the frying process until all the onion bhaji mixture is used up. You can keep cooked batches warm in a low oven (approx. 130°C/250°F fan) while you finish frying the remaining bhajis.
- Once all the bhajis are cooked, transfer them to a serving bowl and sprinkle generously with fresh chopped coriander.
- Serve immediately with your choice of sweet and sour sauce or sweet chilli sauce for dipping.
Notes for Perfection
Can I make them ahead?
Onion bhajis are at their absolute best when freshly cooked and piping hot for maximum crispness. However, you can certainly prepare them in advance if needed.
Make the bhajis according to the recipe, then allow them to cool completely. Once cool, cover them well and refrigerate for up to two days. To reheat, arrange them on a baking tray (uncovered) and bake in a preheated oven at 200°C/400°F (fan) for 5-6 minutes, or until they are thoroughly hot and have regained some of their crispness.
Can I freeze them?
Yes, onion bhajis freeze beautifully! Prepare and cook the bhajis as directed, then let them cool completely. For best results, flash-freeze them first by placing them on a tray in a single layer, ensuring they don’t touch, for a couple of hours until solid. Once frozen, transfer them to an airtight container or a freezer bag. They can be stored in the freezer for up to a month.
To enjoy, defrost them overnight in the refrigerator. Then, reheat them on an uncovered baking tray in an oven preheated to 200°C/400°F (fan) for 5-6 minutes until they are hot through and crispy.
Ingredient swaps and variations
- Onions: Experiment with red onions for a slightly sweeter, milder onion flavour and a subtle hint of colour in your bhajis.
- Add Vegetables: Boost the nutritional content and add extra texture by incorporating finely grated carrot, parsnip, or courgette (zucchini) into the batter alongside the onions. Ensure any added vegetables are well drained of excess moisture.
- Spice Profile: Feel free to customize the spice blend to your liking. Increase the chilli flakes for a hotter bhaji, or for a quick alternative, swap out the individual cumin and coriander for a good quality curry powder. Adding more fresh ginger can also give them an extra zing.
- Herbs: While coriander is traditional, a touch of finely chopped fresh mint or fenugreek leaves (methi) can add another layer of aromatic complexity.
Nutritional Information:
The nutritional information provided below is an approximation for one onion bhaji, based on this recipe yielding 12 bhajis. It’s estimated that approximately 1/3 cup of oil is absorbed during the frying process; actual absorption may vary.
Nutrition
Calories: 121kcal | Carbohydrates: 9g | Protein: 3g | Fat: 8g | Saturated Fat: 6g | Sodium: 313mg | Fiber: 2g | Sugar: 2g
Nutrition information is automatically calculated, so should only be used as an approximation.
Love this recipe? Share your thoughts below!
Some of the links in this post may be affiliate links – which means if you buy the product I get a small commission (at no extra cost to you). If you do buy, then thank you! That’s what helps us to keep Kitchen Sanctuary running. The nutritional information provided is approximate and can vary depending on several factors. For more information please see our Terms & Conditions.