
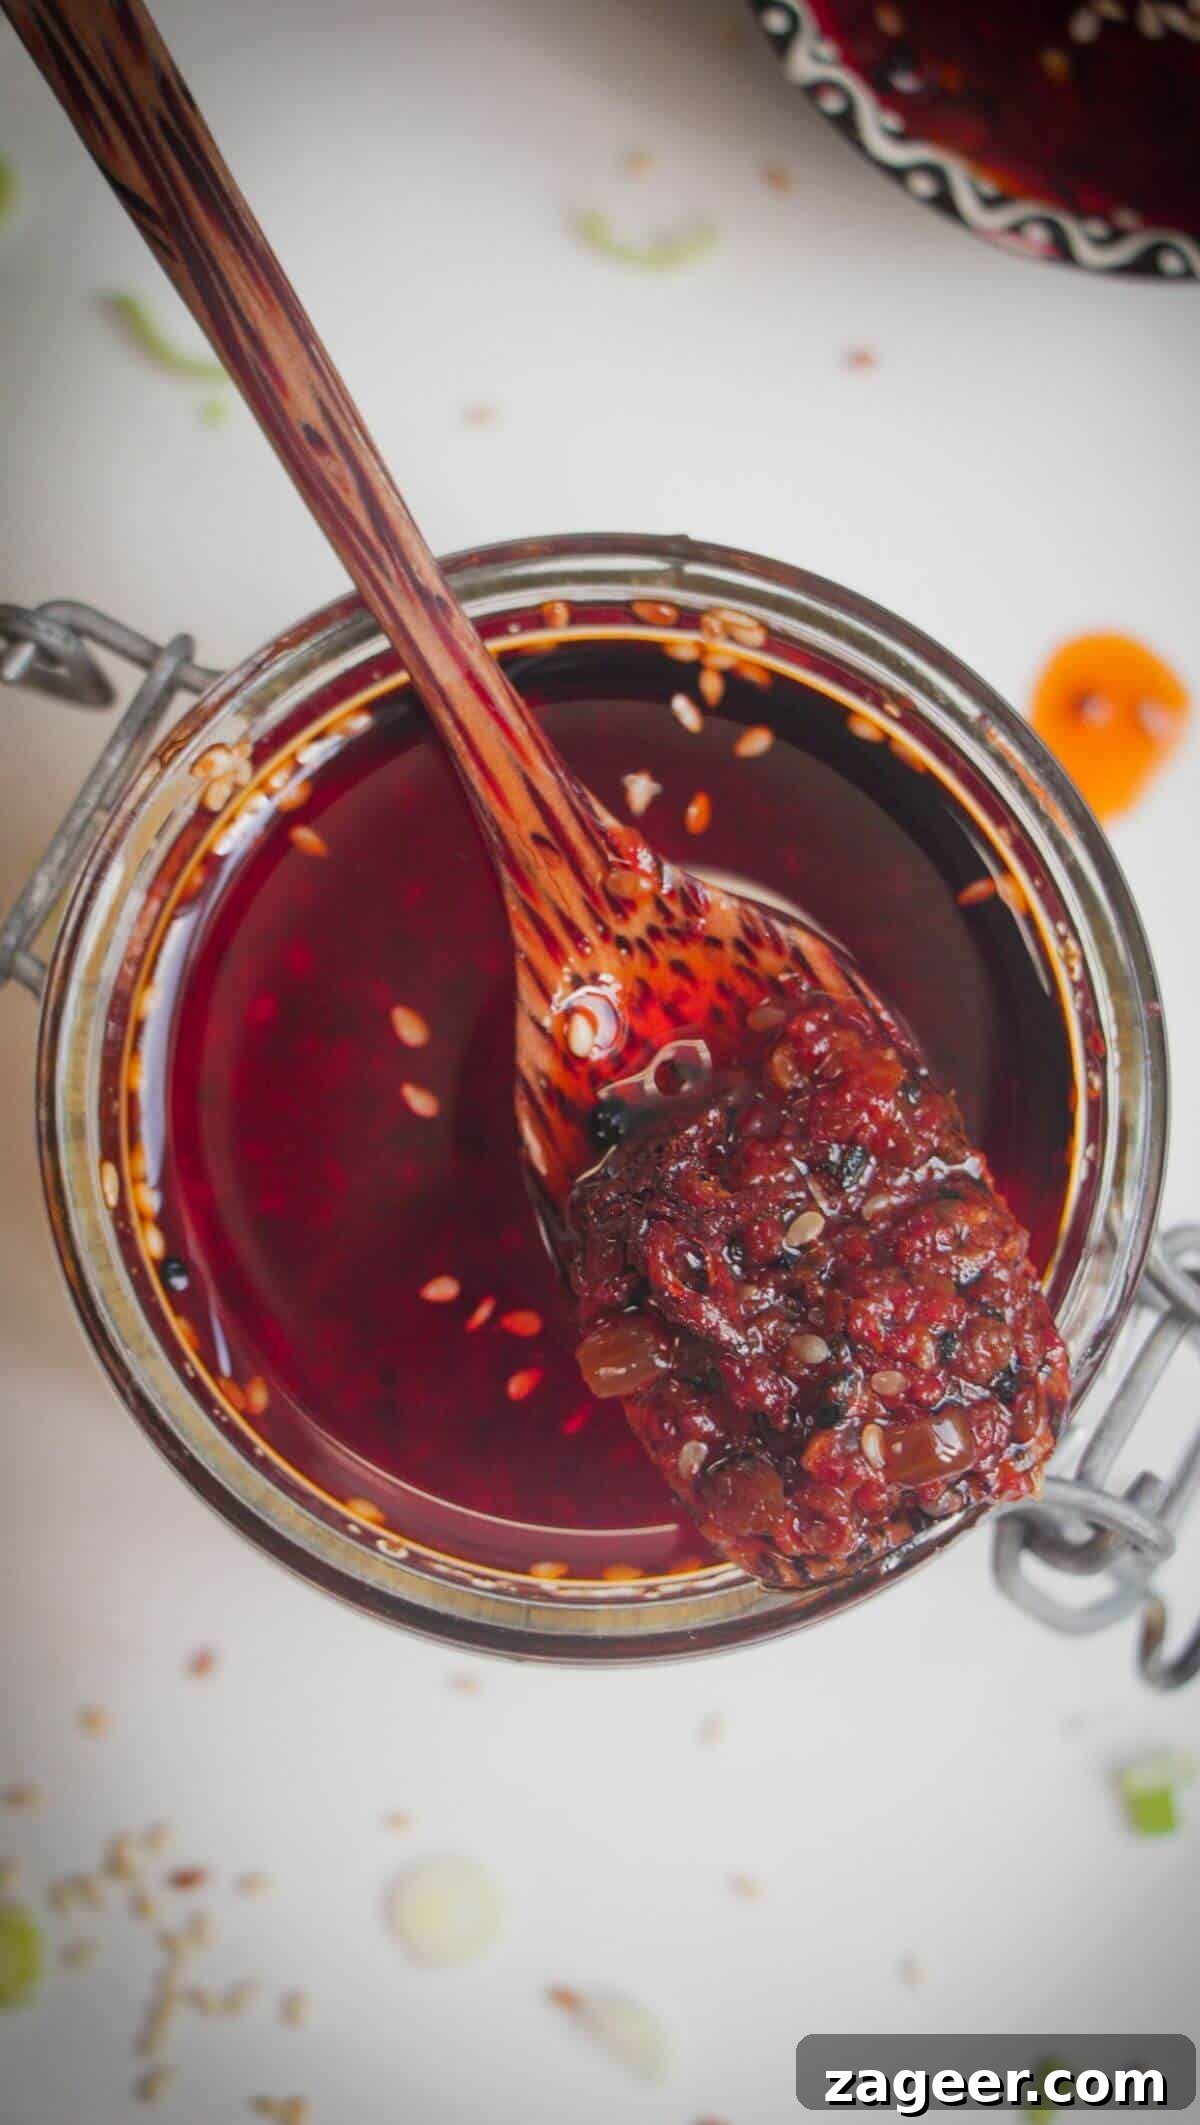
The Ultimate 30-Minute Homemade Chili Oil: Your New Favorite Condiment
Are you ready to elevate your culinary creations with an irresistible burst of flavor and a perfect hint of spice? This homemade chili oil recipe is not only incredibly easy and quick to prepare – taking just 30 minutes from start to finish – but it’s also astonishingly versatile. Imagine drizzling its vibrant, aromatic goodness over crispy pizza, tossing it through fresh pasta, or using it as a dynamic dipping sauce for your favorite dumplings. The possibilities are truly boundless!
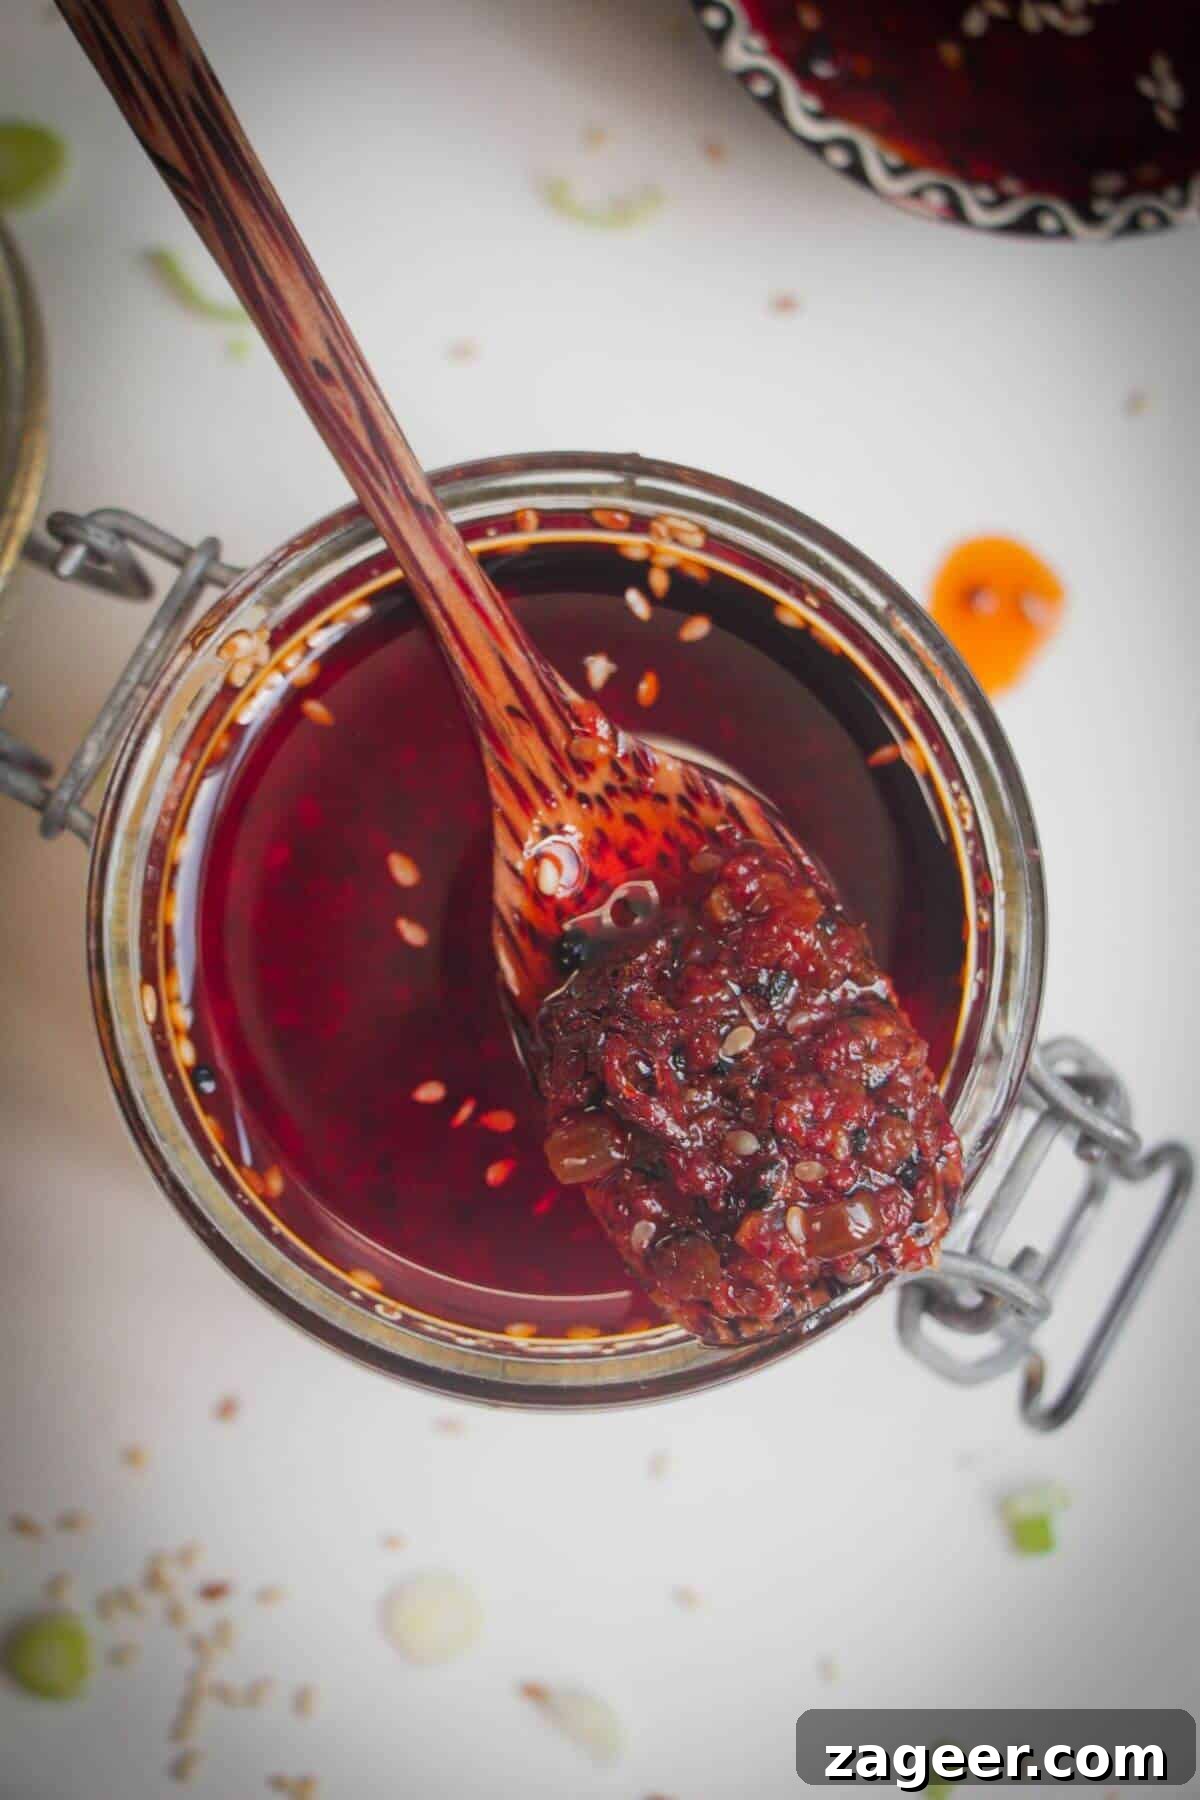
How often have you purchased chili oil only to find it either overwhelmingly hot or disappointingly bland? The beauty of crafting your own chili oil lies in the complete control you gain over its heat and flavor profile. You can perfectly tailor the spice level to your preference, ensuring every batch is exactly what you crave. This personalization guarantees a condiment you’ll genuinely adore and reach for repeatedly, making every meal an exciting adventure.
For me, chili oil isn’t just a condiment; it’s a foundational element in countless dishes. And this particular recipe? It’s simply phenomenal. My partner often finds himself spooning it directly from the jar – a true testament to its addictive deliciousness!
There are very few dishes that aren’t improved by a generous drizzle of chili oil. Transform simple eggs on toast into a gourmet experience. Give a much-needed kick to a plain salad. Elevate instant noodles or ramen from basic to brilliant. Take your avocado toast to an entirely new level of flavor. And when it comes to dipping sauces for dumplings or spring rolls, homemade chili oil is the undisputed champion.
Once you discover the simplicity of making this culinary gem at home, you’ll wonder why you ever bought it pre-made. Beyond personal enjoyment, this chili oil makes an exquisite and thoughtful gift. I love preparing large batches for friends and family during the holidays; it’s always met with enthusiastic appreciation. Stored unopened in a properly sterilized jar, it maintains its freshness for months, offering another fantastic advantage to homemade goodness.
Why Homemade Chili Oil is a Game-Changer
Beyond the undeniable satisfaction of creating something delicious from scratch, making your own chili oil offers several compelling benefits:
- Unmatched Customization: Tired of chili oils that miss the mark on heat or flavor? When you’re the chef, you decide! Adjust the amount and type of chili to achieve your perfect spice level, from a gentle warmth to an intense fiery kick.
- Superior Freshness and Quality: Commercial chili oils often contain preservatives or stabilizers. Your homemade version uses fresh, high-quality ingredients, resulting in a cleaner, more vibrant flavor that truly shines.
- Control Over Ingredients: You know exactly what goes into your oil. This is especially important for those with dietary restrictions or preferences, allowing you to select organic oils, specific chili varieties, and avoid unwanted additives.
- Economical: Making chili oil at home is often far more cost-effective than repeatedly buying gourmet versions from stores. A small investment in key spices yields a large quantity of flavorful oil.
- The Perfect Edible Gift: A beautifully bottled jar of homemade chili oil is a heartfelt and practical gift that food lovers will genuinely appreciate. It’s a wonderful way to share your culinary passion with others.
Ingredients for the Best Korean-Style Chili Oil
This chili oil stands apart, thanks to the thoughtful incorporation of a few star Korean ingredients. These aren’t just for heat; they contribute profound depth of flavor and a stunning, rich red hue that makes the oil as beautiful as it is delicious. While I highly recommend seeking out these authentic spices for an unparalleled experience, I’ve also provided accessible alternatives below.
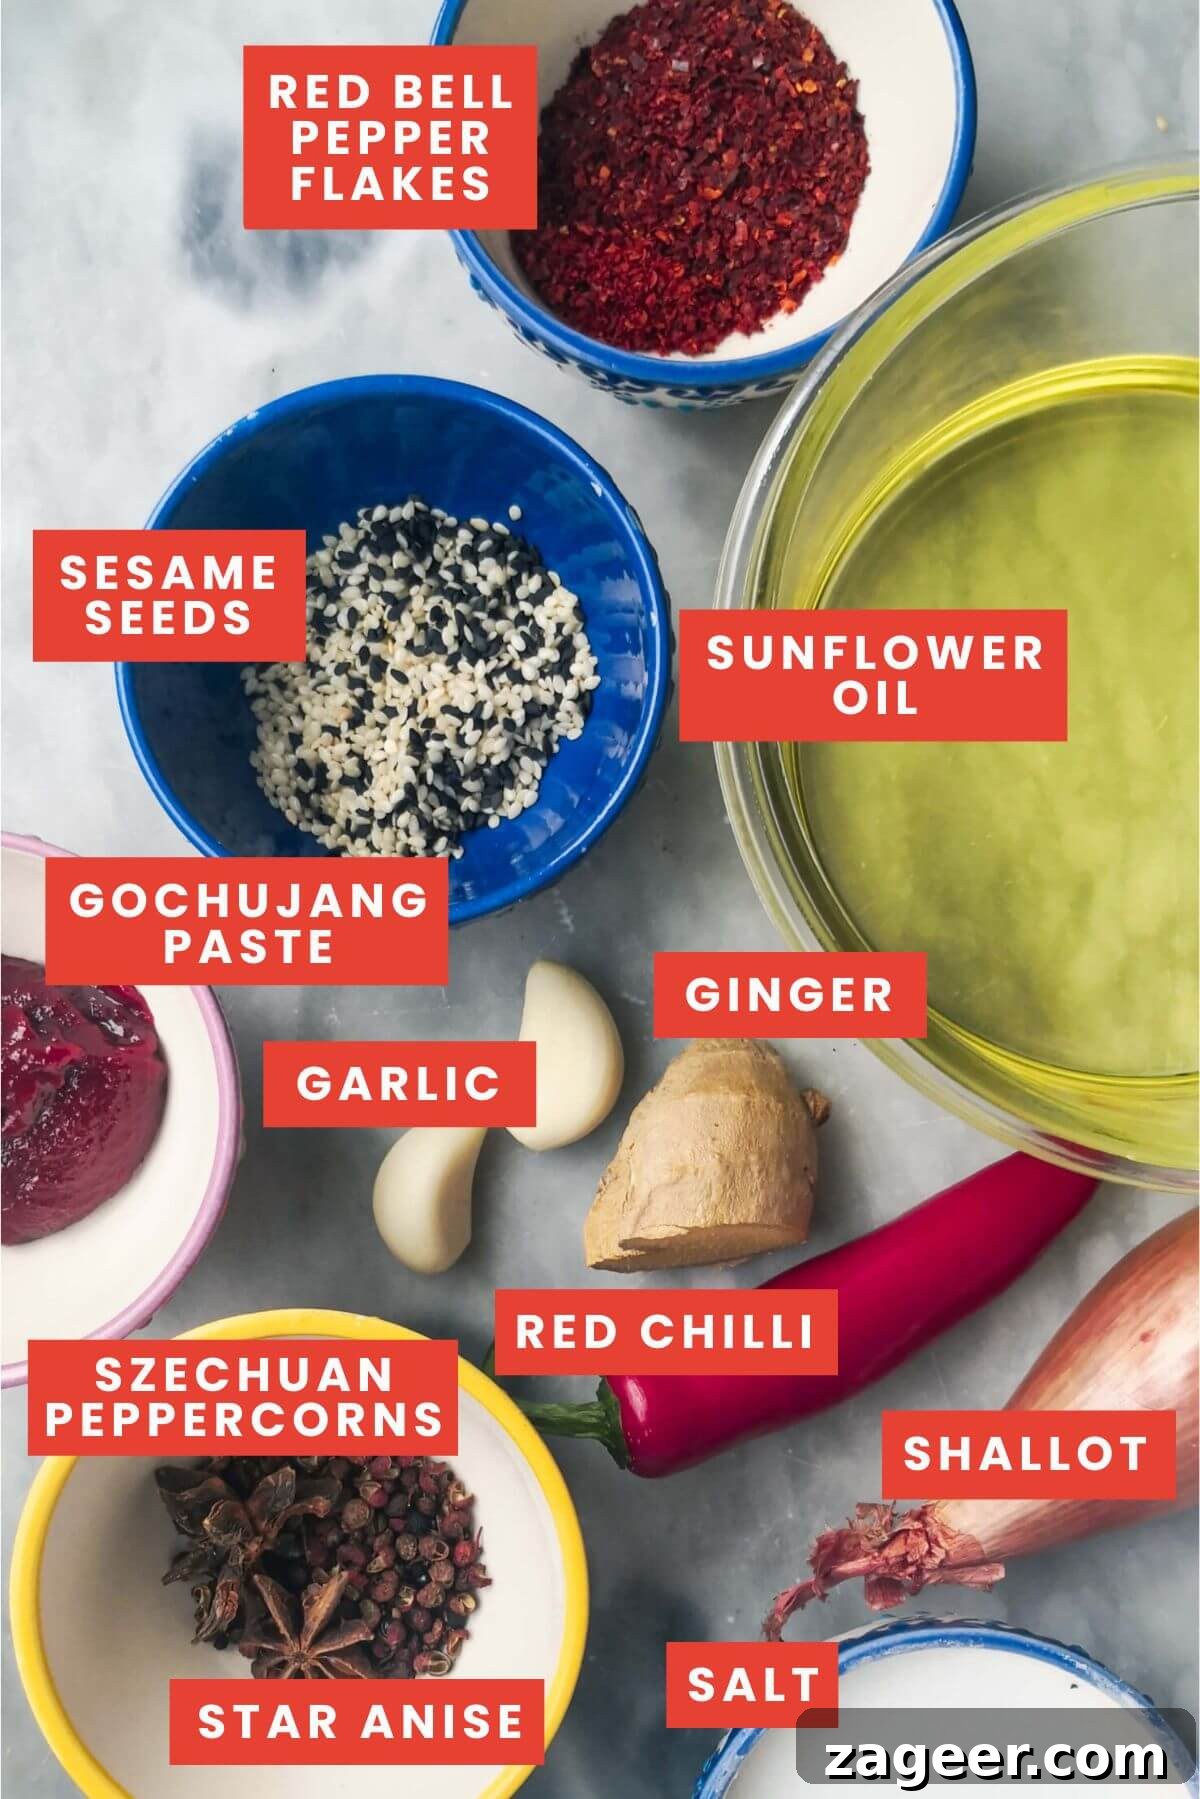
- Gochujang Paste: This is a cornerstone of Korean cuisine – a fermented chili paste that strikes a perfect balance of sweet, savory, and spicy. It infuses the oil with an incredible layer of umami complexity. I incorporate gochujang frequently in my cooking, so it’s a worthwhile pantry staple. A little goes a long way, and it’s increasingly available in major supermarkets or easily found on Amazon. If you absolutely cannot find it, tomato paste can be a workable substitute, though the flavor profile will differ.
- Korean Red Pepper Flakes (Gochugaru): These flakes are a personal favorite! They offer a unique smoky sweetness and a milder heat compared to generic chili flakes, contributing significantly to the oil’s intricate flavor and its gorgeous deep red color. Look for them in Asian grocery stores or order them conveniently from Amazon. Regular chili flakes can be used as an alternative, but the distinctive smoky-sweet notes of gochugaru will be missed.
- Szechuan Peppercorns: Crucial for that signature “mala” (numbing and spicy) sensation, these peppercorns are a must-have for an authentic Asian-inspired chili oil. They deliver a unique citrusy, woody aroma and a tingling sensation that awakens the palate. A small amount truly makes a big impact. If Szechuan peppercorns are unavailable, black pepper can provide some peppery notes, but the characteristic numbing quality will be absent.
- Neutral Oil (Sunflower Oil, Rapeseed, or Canola): The choice of oil is vital. A neutral-tasting oil allows the complex flavors of the spices and aromatics to shine without competition. Sunflower, rapeseed, or canola oil are excellent choices. Avoid strong-flavored oils like olive oil, as its robust taste would overpower the delicate spice blend.
- Shallot: Known for their delicate sweetness and milder flavor compared to regular onions, shallots provide a wonderful aromatic base. However, a regular white or brown onion can be used as a substitute if shallots are not readily available.
- Garlic: Essential for its pungent, savory depth, garlic is a non-negotiable aromatic that enriches the chili oil’s flavor.
- Fresh Ginger: Adds a bright, zesty, and subtly spicy warmth, complementing the other ingredients beautifully.
- Fresh Red Chili: For an extra layer of fresh heat and vibrant color. You can adjust the quantity based on your desired spice level.
- Star Anise: A whole star anise or two infuses the oil with a warm, licorice-like aroma, adding an intriguing layer of complexity.
- Salt: A pinch of salt enhances all the flavors, bringing them into balance.
- Sesame Seeds (Black & White): These add a lovely nutty texture and aroma. Using both black and white varieties also offers a visual appeal.
How to Make the Perfect 30-Minute Chili Oil
Making this incredible chili oil is surprisingly straightforward! The key is in the preparation and the gentle infusion process. Follow these steps for a perfect batch every time:
Preparation: Getting Your Ingredients Ready
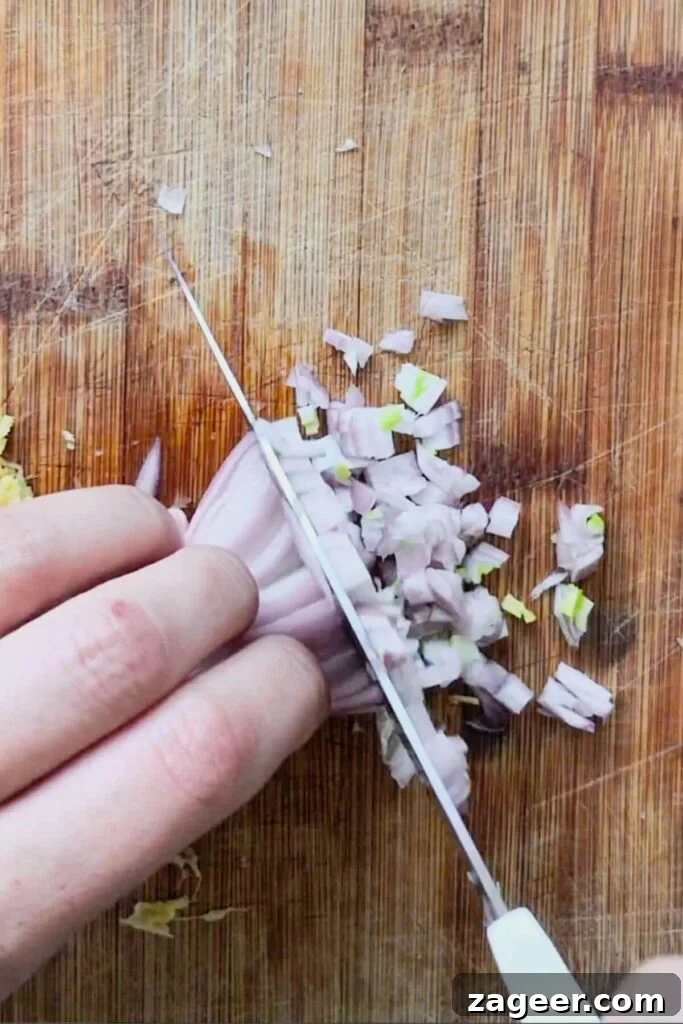
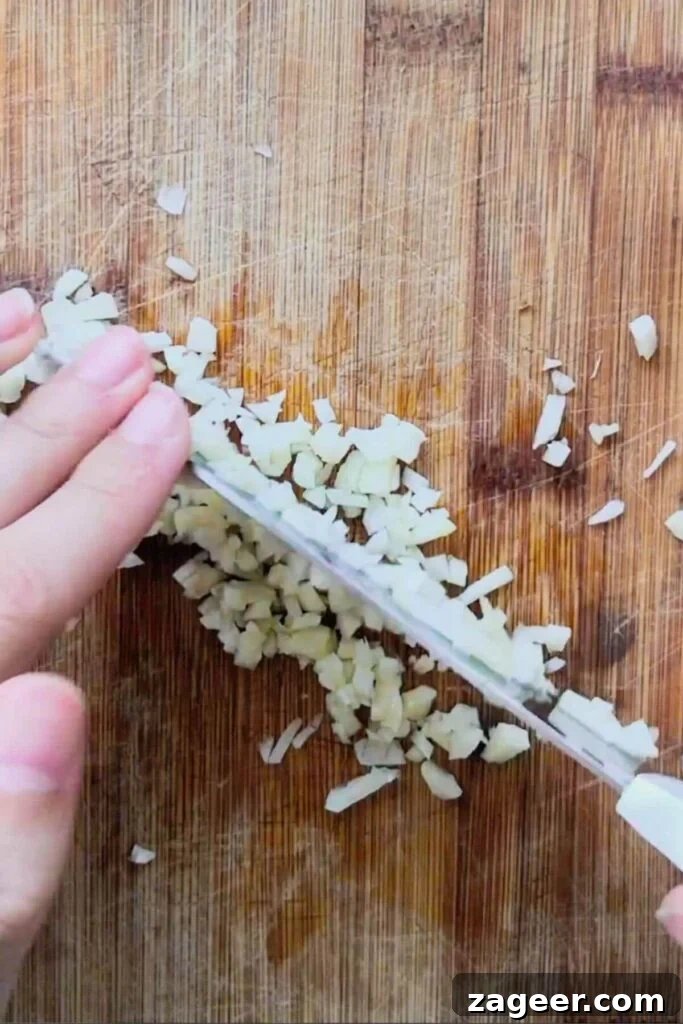
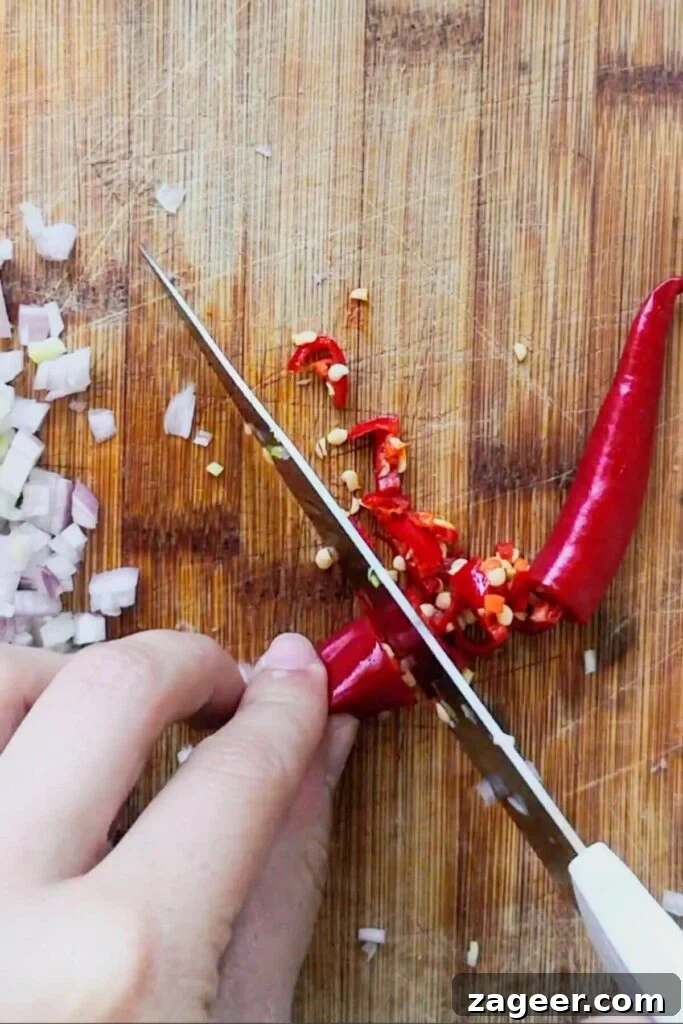
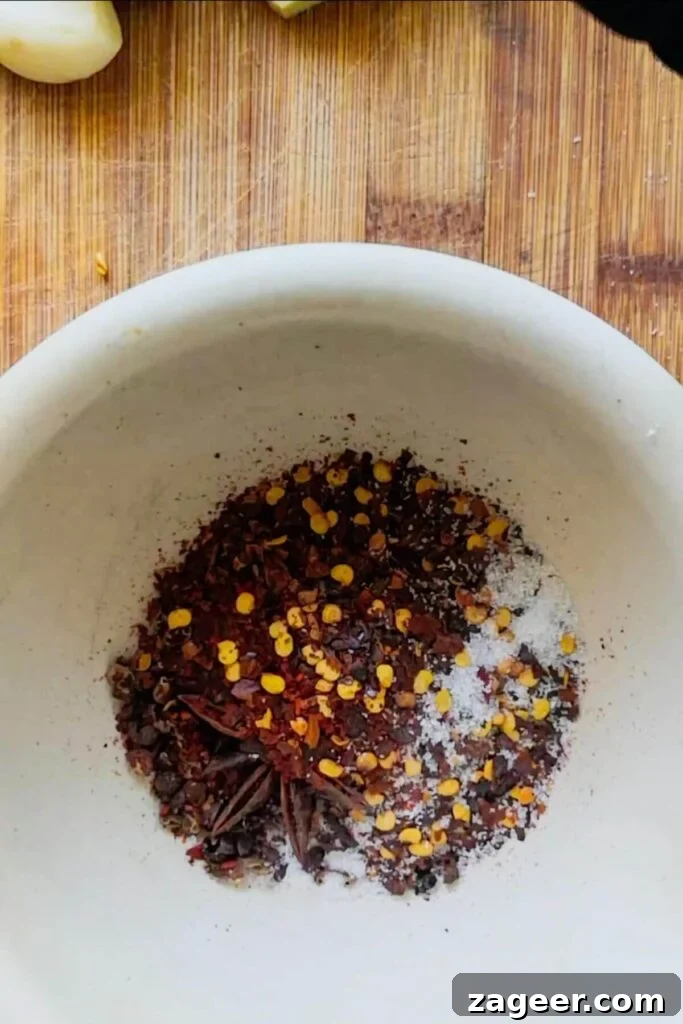
Begin by meticulously preparing all your fresh ingredients. Fine chopping the shallot, garlic, and fresh chili ensures even flavor distribution. For the ginger, grating it finely means you don’t even need to peel it – a handy shortcut! Take your Szechuan peppercorns and lightly crush them using a pestle and mortar. If you don’t have one, the flat side of a large knife or even a rolling pin can do the trick. The goal is to gently break them open to release their aromatic oils, not to grind them into a powder.
Cooking the Aromatics and Spices
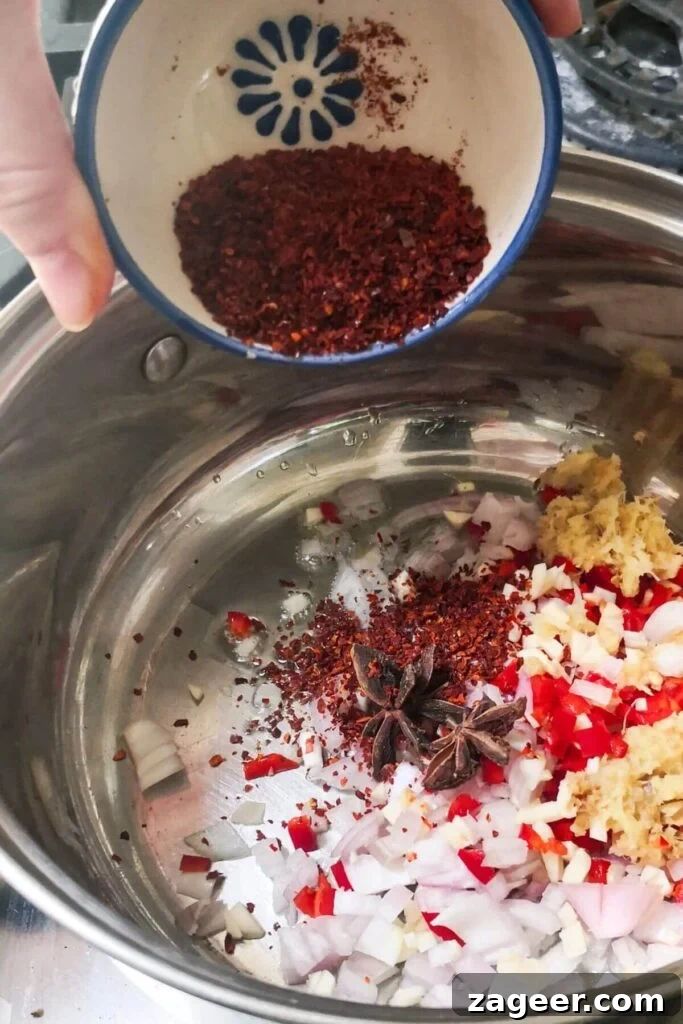
Next, add all the ingredients except the gochujang paste and sesame seeds to a medium-sized pot, along with a small amount of your chosen neutral oil (about 2 tablespoons). Place the pot over medium heat and cook, stirring frequently, until the shallots become beautifully soft and translucent. This crucial step usually takes around five minutes and allows the aromatics to gently release their flavors into the oil, forming a fragrant base.
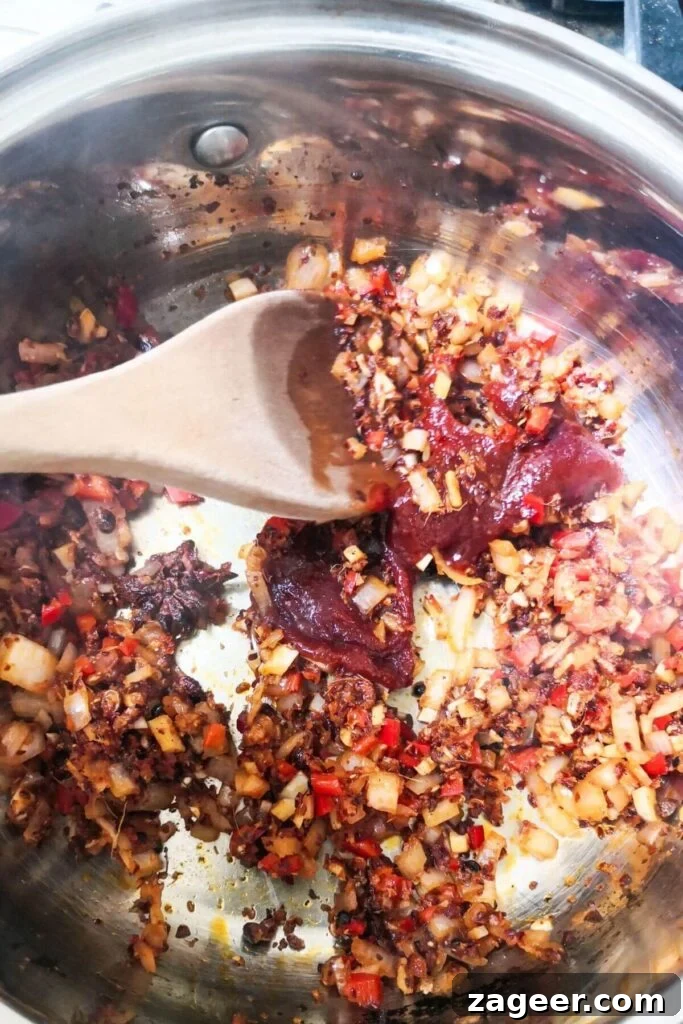
Once the shallots have softened, it’s time to introduce the gochujang paste. Add it to the pot and continue cooking and stirring for another three minutes. This process, known as “blooming” the gochujang, is essential. It softens the paste’s initial spiciness and allows its complex sweet, savory, and umami notes to develop fully, integrating seamlessly with the other ingredients. Do not skip this step! After the gochujang has bloomed, stir in the sesame seeds.
The Gentle Infusion
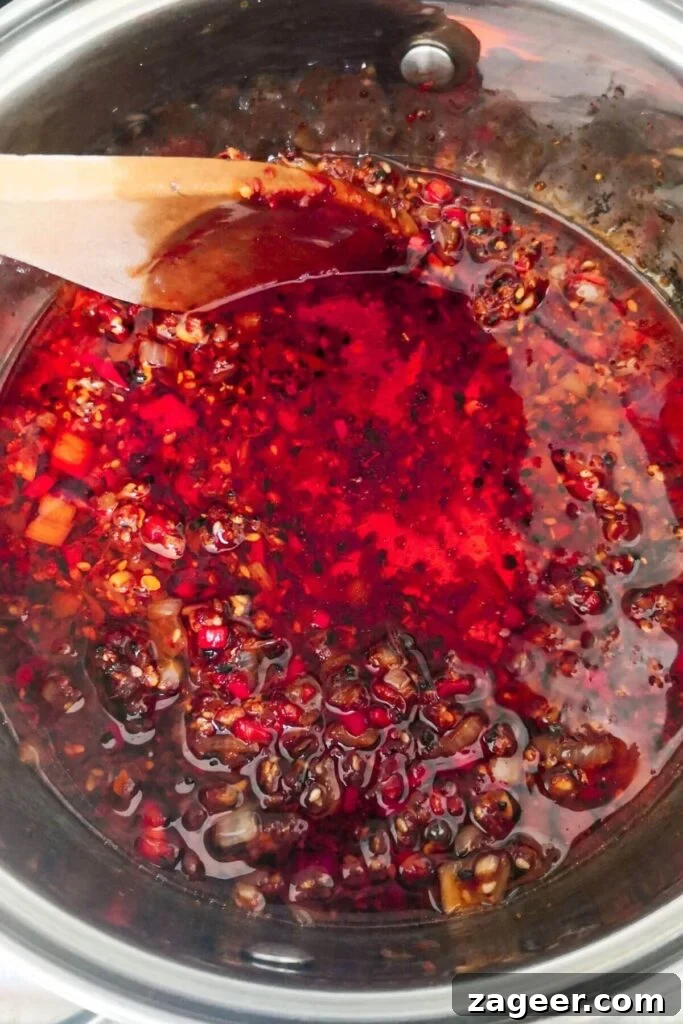
Finally, pour in the remaining sunflower oil. Reduce the heat to a very gentle, low simmer. Allow the mixture to infuse for approximately 15 minutes. The goal here isn’t to fry the ingredients, but to gently warm the oil, allowing it to slowly absorb all the wonderful aromas and flavors from the spices and aromatics. Keep a watchful eye on the oil; it should barely be bubbling. If it starts to bubble too vigorously, simply remove it from the heat for a minute or two to cool slightly, then return it to the gentle heat.
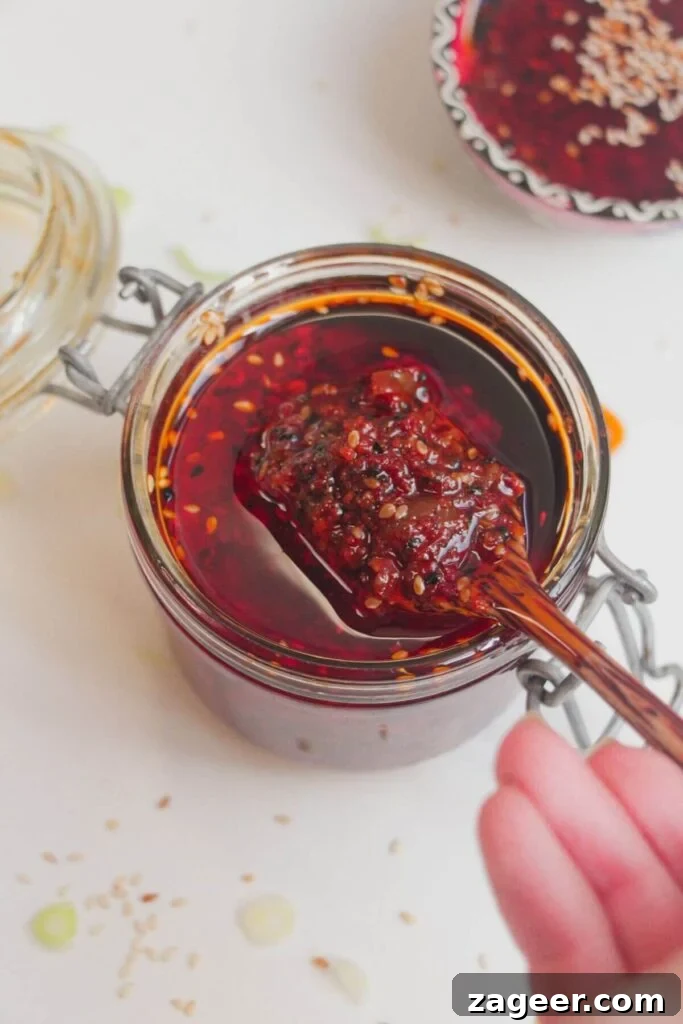
Once the 15 minutes are up, remove the pot from the heat and let it cool completely. This cooling period is vital, as it allows the flavors to continue infusing and deepening, resulting in a more potent and delicious chili oil. Once cooled, carefully transfer your homemade chili oil into sterilized glass jars for storage. It’s that simple!
Endless Ways to Enjoy Your Homemade Chili Oil
This chili oil isn’t just a condiment; it’s a flavor enhancer that can transform everyday meals into extraordinary culinary experiences. Here are some of our favorite ways to incorporate it:
- Smacked Cucumber Salad: It forms a key component of the dressing in a refreshing smacked cucumber salad, adding a vibrant kick that perfectly complements the cool crispness of the cucumbers.
- No-Knead Focaccia: Elevate the easiest homemade bread by drizzling this savory oil over easy no-knead chili cheese focaccia before baking, creating a wonderfully aromatic crust.
- Quick Spicy Coconut Noodles: Use it as a quick shortcut to infuse delicious flavor into these quick spicy coconut noodles, providing a depth that’s hard to achieve otherwise.
- Butter Board Perfection: Drizzle it generously over a show-stopping butter board for an exquisite pop of color, texture, and an unforgettable savory heat that will impress any guest.
- Breakfast Brilliance: A spoonful over scrambled eggs, fried eggs, or even an omelet adds an exciting layer of flavor and makes your morning meal far from ordinary.
- Soup and Stew Enhancer: Stir a teaspoon into your favorite ramen, pho, or lentil soup just before serving for an instant flavor boost and a comforting warmth.
- Marinade Magic: Incorporate it into marinades for chicken, tofu, or vegetables to infuse them with complex Korean-inspired flavors before grilling, roasting, or stir-frying.
- Sandwich and Wrap Upgrade: Spread a thin layer on your sandwiches or wraps for a subtle but impactful heat that invigorates your lunch.
- Roasted Vegetable Revitalizer: Toss roasted broccoli, Brussels sprouts, or potatoes with a bit of chili oil for a spicy, savory glaze.
How to Sterilize Your Jars for Long-Lasting Chili Oil
Sterilizing your storage jars is a critical step for making any kind of preserve, including chili oil, to ensure it remains fresh and shelf-stable at room temperature. Properly sterilized jars mean your chili oil can be stored unopened for months. Once opened, it should always be refrigerated.
Fortunately, the process is incredibly simple:
- Clean: Wash your glass jars and lids thoroughly with hot, soapy water.
- Rinse: Rinse them well, but do not dry them with a towel.
- Bake: Stand the wet jars upright on an oven tray (you can line the tray with parchment paper for easy cleanup). Place them in a preheated oven at 160°C / 320°F (fan-assisted) and leave them for 20 minutes.
- Cool: Turn off the oven and let the jars cool down gradually inside before removing them.
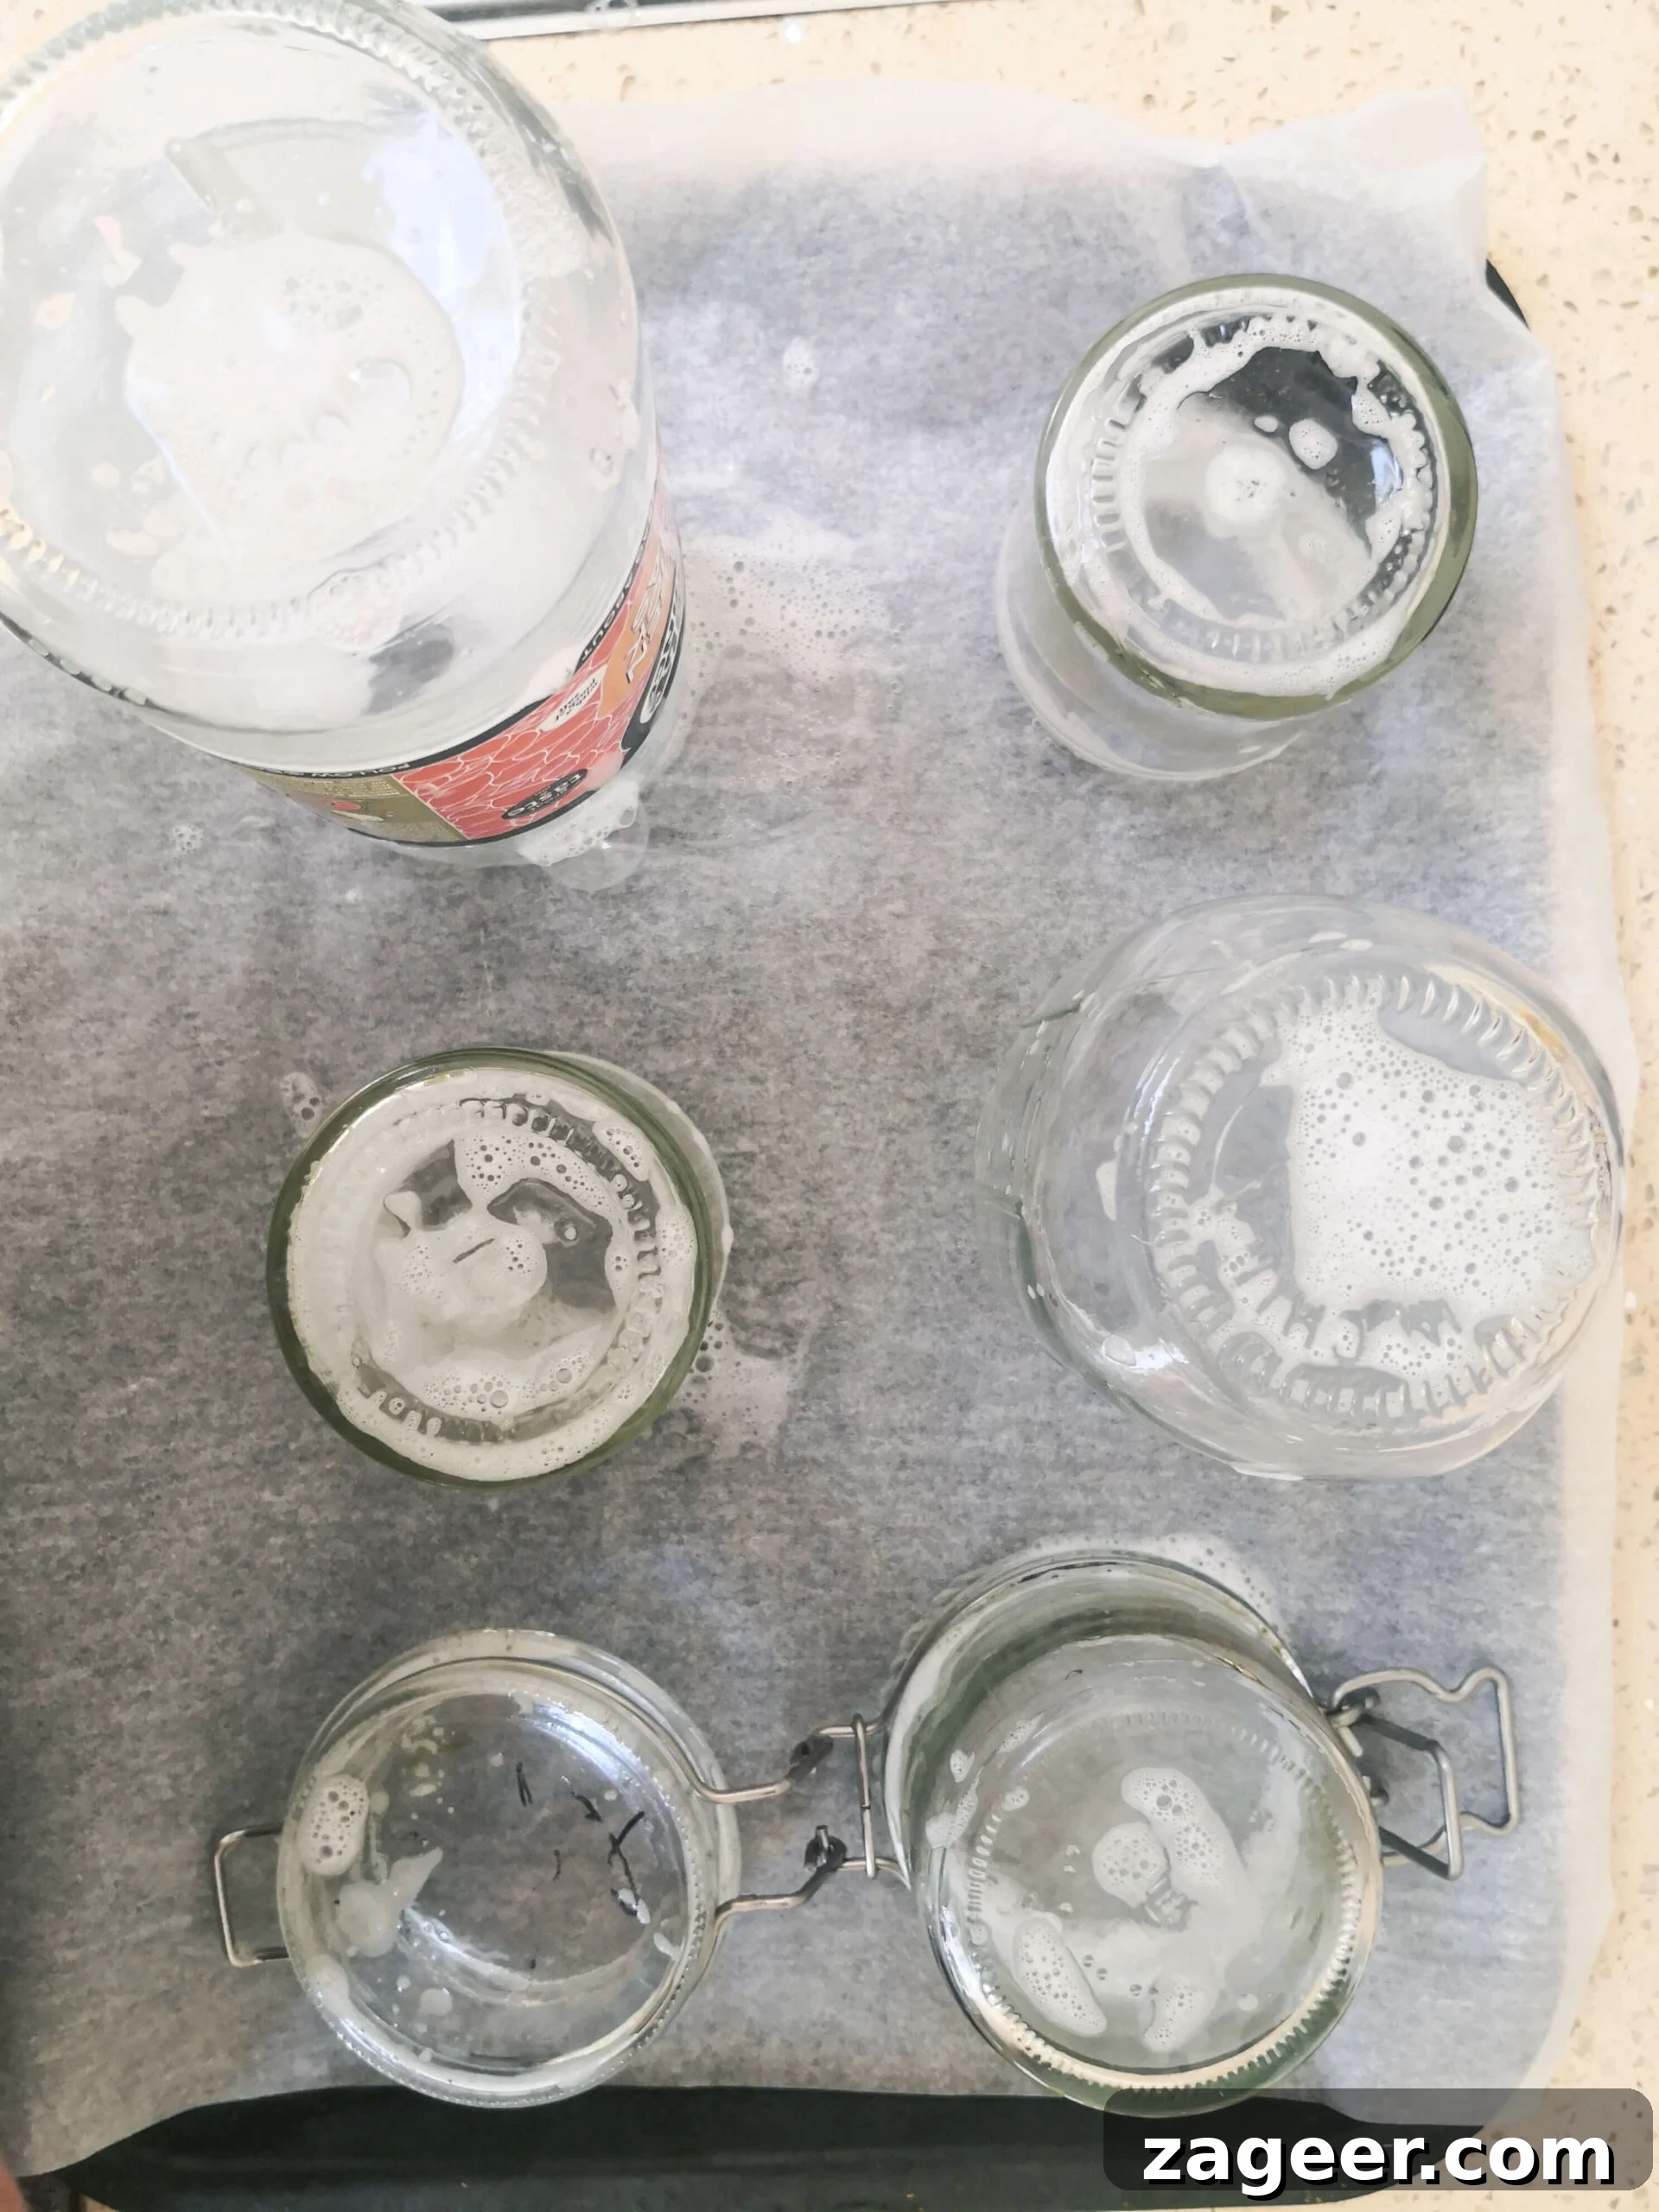
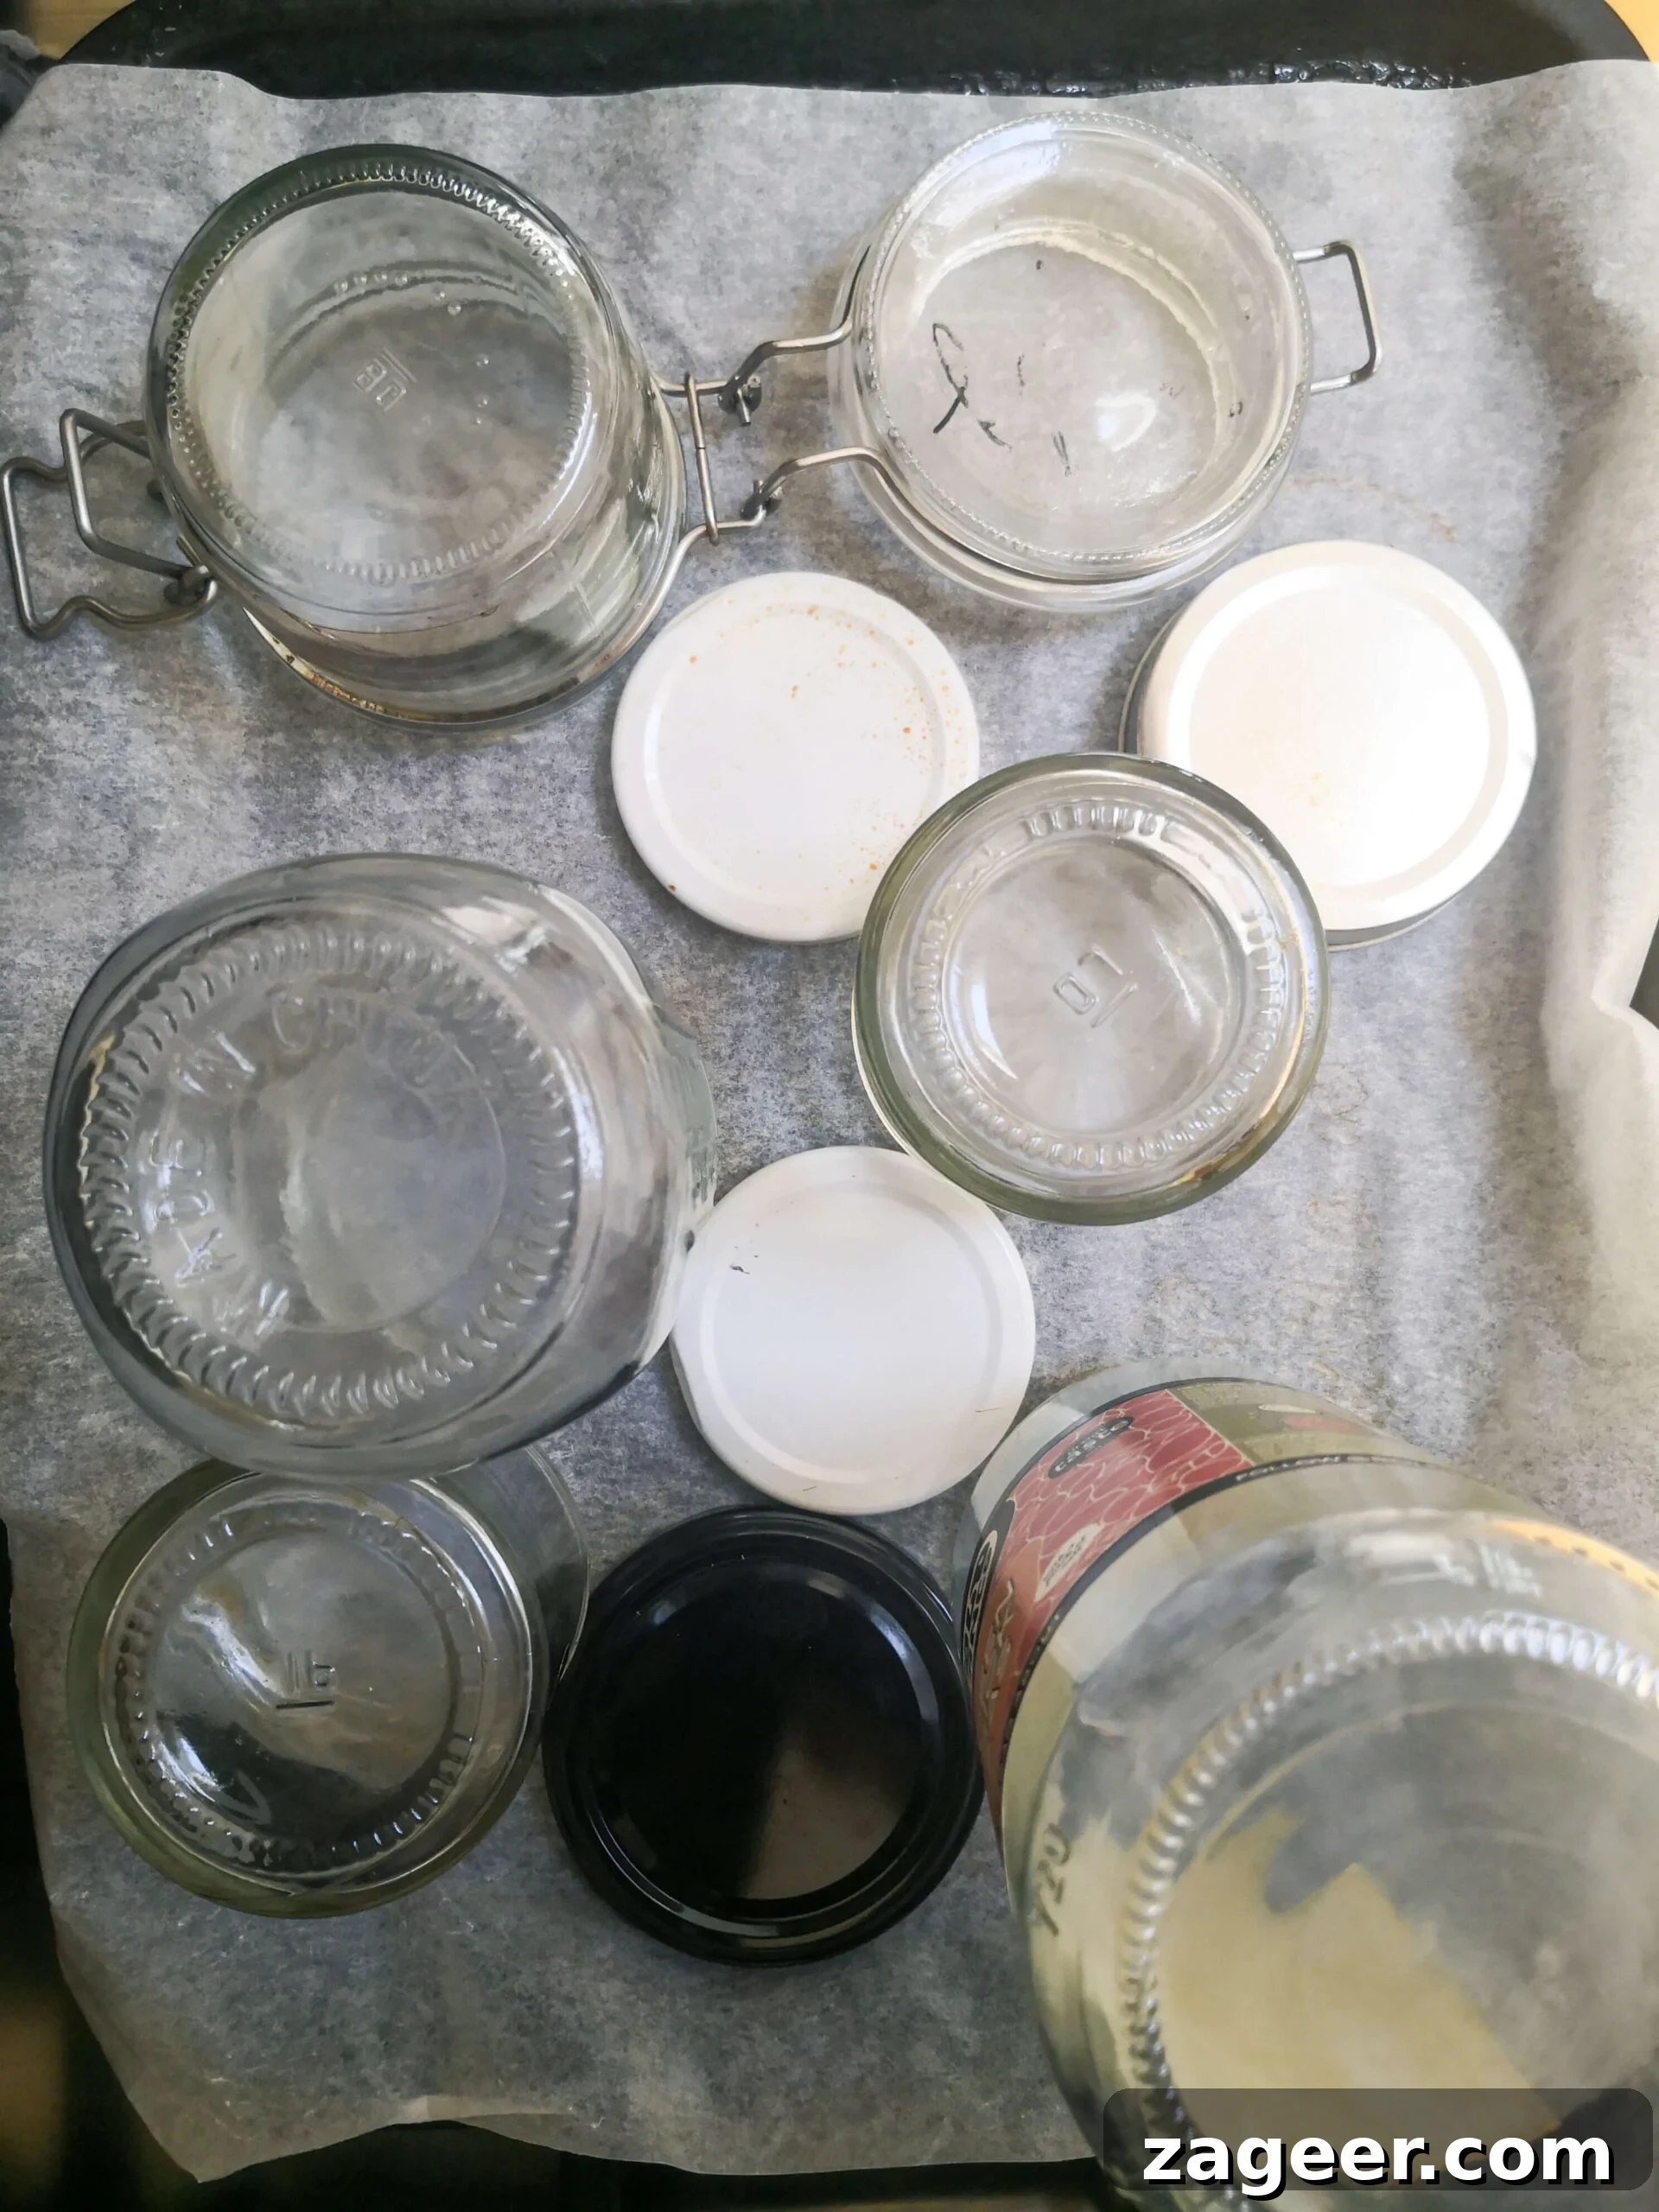
That’s all there is to it! For more in-depth information and additional tips, I have a dedicated post all about how to sterilize jars.
PRO TIP: If your jar lids have rubber rings, remember to remove them before placing the lids in the oven, as high heat can damage the rubber.
IMPORTANT REMINDER: Glass is sensitive to sudden temperature changes. Always ensure that your chili oil and your jars are at similar temperatures when you combine them. Adding boiling hot oil to cold jars, or cold oil to jars fresh out of a hot oven, can cause the glass to shatter. Learn from my mistakes – I discovered this the hard way!
Frequently Asked Questions About Chili Oil
I’m worried the oil will be too spicy – can I reduce the amount of chili?
Absolutely! You can easily adjust the heat to your preference. Start by using half a fresh chili instead of a whole one and reduce the generic chili flakes to half a teaspoon. I recommend keeping the Korean red pepper flakes (gochugaru) at one tablespoon; they offer a beautiful smoky flavor and rich color with a relatively mild heat, making them perfect for building a complex base without overwhelming spiciness.
How long will the chili oil last?
When stored in properly sterilized glass jars and left unopened, your homemade chili oil can last for several months at cool room temperature. Once you open a jar, it’s best to store it in the refrigerator and aim to use it within one month for optimal freshness and safety. To further extend its shelf life, always use a clean, dry spoon each time you retrieve oil from the jar. This prevents the introduction of moisture or contaminants.
What’s the best oil to use for chili oil?
The best oils for chili oil are those with a neutral flavor profile. Sunflower oil, rapeseed oil, or canola oil are all excellent choices as they allow the vibrant flavors of the spices and aromatics to truly shine. For this particular recipe, it’s best to avoid olive oil, as its strong, distinctive flavor can overpower the delicate balance of the chili and Korean spices.
I can’t find Gochujang, what can I use instead?
While gochujang offers a unique sweet, savory, and spicy umami depth, if you can’t find it, you can substitute it with tomato paste. Keep in mind that the flavor profile will be different, lacking the fermented complexity of gochujang, but it will still provide a good base for the chili oil.
Can I add other spices or nuts to this chili oil?
Absolutely! This recipe is a fantastic base for experimentation. For added texture and flavor, consider adding finely chopped peanuts or cashews during the simmering stage (be careful not to burn them). Other whole spices like bay leaves or cinnamon sticks can also be infused for a different aromatic profile. Always remember to toast nuts slightly before adding them for enhanced flavor.
What if my chili oil doesn’t turn bright red?
The vibrant red color largely comes from the Korean red pepper flakes (gochugaru). If your oil isn’t as red as expected, it might be due to the quality or type of gochugaru used. Ensure you’re using a good quality gochugaru, which is known for its intense color. Prolonged, gentle infusion during simmering also helps extract maximum color and flavor from the chili flakes.
Explore More Sauces You Might Enjoy
If you’ve fallen in love with making your own sauces, here are a few other delectable recipes to broaden your culinary horizons:
If you give this chili oil recipe a try, I would absolutely love to hear about your experience! Feel free to leave a comment below and share how you used your delicious homemade creation.
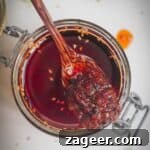
30-Minute Chili Oil Recipe
★★★★★ (No reviews yet)
- Author: Kate Alexandra
- Total Time: 30 minutes
- Yield: 2 cups
- Diet: Vegan
Description
This 30-minute chili oil is easy, incredibly delicious, and offers endless culinary possibilities. Drizzle it over salads, pizza, pasta, or use it as a versatile dipping sauce. Once you try making it, you’ll be amazed by its simplicity.
It also makes a thoughtful gift, keeping for months in properly sterilized jars.
Ingredients
- 1 cup sunflower oil (or rapeseed, canola, or another neutral tasting oil – avoid olive oil)
- 1 shallot, peeled and finely chopped (or use white or brown onion)
- 2 garlic cloves, peeled and finely chopped
- 1 inch piece of fresh ginger, finely grated (no need to peel it)
- 1 fresh red chili, finely chopped (adjust to taste for less spice)
- 2 whole star anise
- 1 tablespoon Korean red pepper flakes (gochugaru)
- 1 teaspoon chili flakes (regular)
- 2 teaspoons Szechuan peppercorns, roughly crushed
- 1 teaspoon salt
- 1 tablespoon gochujang paste (or use tomato paste)
- 2 teaspoons black sesame seeds
- 2 teaspoons white sesame seeds
Instructions
- Cook the aromatics: Heat two tablespoons of the neutral oil in a small saucepan over medium heat. Add the finely chopped shallot, garlic, grated ginger, fresh red chili, star anise, Korean red pepper flakes, regular chili flakes, roughly crushed Szechuan peppercorns, and salt. Cook, stirring continuously, for five minutes until the shallot has softened and become translucent.
- Add the Gochujang paste: Stir in the gochujang paste along with both black and white sesame seeds. Continue to cook, stirring for another 4 minutes. This step helps to bloom the gochujang, enhancing its flavor.
- Simmer the chili oil: Pour in the remaining oil. Reduce the heat to a very gentle low simmer and let it infuse for 15 minutes. Monitor the oil to ensure it doesn’t bubble too vigorously. If it does, briefly remove it from the heat before returning it to a lower setting. After 15 minutes, take the pot off the heat and allow it to cool completely, letting the flavors deepen.
- Transfer to jars: Once the chili oil has cooled to room temperature, carefully transfer it into sterilized glass jars. It can be stored unopened at room temperature for months. Once opened, keep it in the fridge and use within a month, always using a clean spoon.
Notes
STORAGE INSTRUCTIONS: If you don’t have sterilized jars, you can store the chili oil in an airtight container in the fridge for up to one month. Always use a clean spoon when serving to prevent contamination and prolong freshness.
HOW TO STERILIZE YOUR JARS: Sterilizing jars is simple. Wash glass jars and lids with hot soapy water, then place them upright on an oven tray (do not dry them). Bake in an oven preheated to 160°C / 320°F (fan) for 20 minutes. Remember that glass reacts to sudden temperature changes: do not add hot oil to cold jars, or cold oil to hot jars, as this can cause them to shatter. Ensure both the oil and jars are at similar temperatures when combining. For a full guide, see my post on how to sterilize jars.
- Prep Time: 10 minutes
- Cook Time: 20 minutes
- Category: Sauces
- Method: Stove Top
- Cuisine: Asian
Nutrition
- Serving Size: 1 tablespoon
- Calories: 53
- Sugar: 0.4g
- Sodium: 79mg
- Fat: 5.6g
- Saturated Fat: 0.6g
- Carbohydrates: 0.9g
- Fiber: 0.2g
- Protein: 0.2g
- Cholesterol: 0mg