
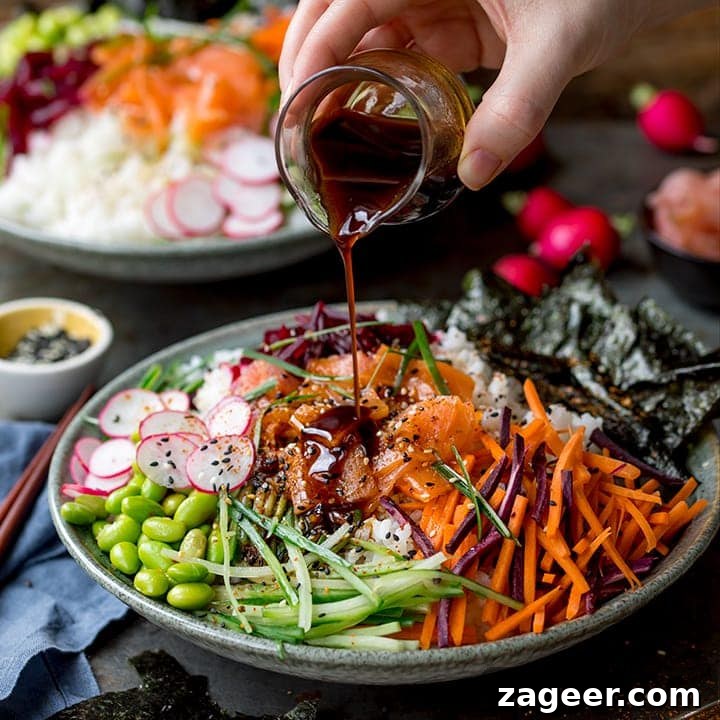
An easy-to-make Salmon Sushi Bowl — all the flavours of sushi in minimal time. Plus a simple 2-minute soy and ginger dressing that tastes much better than those tiny soy-fish plastic containers!
I’m still getting used to having my own book out. I’m an introvert at heart, so the idea of shouting about it from the rooftops or standing in front of large groups fills me with dread. Thankfully Chris nudges me out of my comfort zone now and then (he’ll be with me on stage at the Big Feastival in August), and I always feel good after doing it. Then I’m happy to retreat to my cozy office or the sanctuary of my kitchen and hide again.
That introverted tendency does mean I can share more recipes with you. This Salmon Sushi Bowl is the second recipe I’ve shared from my book (the first was my Chimichurri Steak Salad). I’ll probably post three or four recipes from the book over the coming months, and I wanted to share this one while the weather is still warm.
We also made a short video for the sushi salad — making recipe videos used to give me the same introvert dread, but after doing it often I hardly notice it now. Repeated exposure really helps.
How to make Sushi Rice:
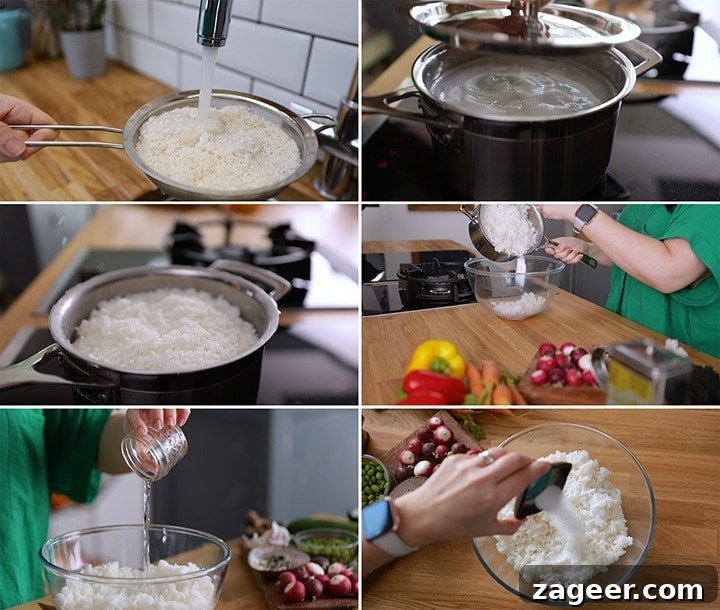
- Rinse the sushi rice first. Unlike long-grain rice, short-grain sushi rice is much starchier and can become overly sticky if not rinsed. We want some stickiness, but not gluey rice.
- Add the rinsed rice to a pan with cold water. Bring to the boil, cover, reduce the heat and cook for 10 minutes. Turn off the heat and leave the pan covered for 30 minutes so the rice finishes cooking gently in the residual heat.
- Once the rice has cooled to room temperature, fold in a mixture of rice vinegar, sugar and salt to give the rice that classic slightly sweet, tangy sushi flavour.
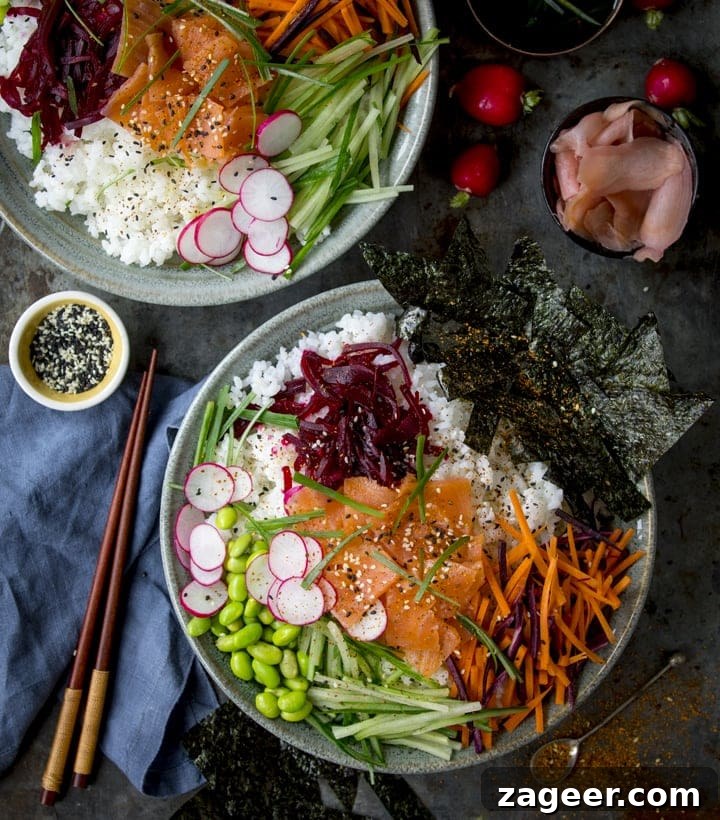
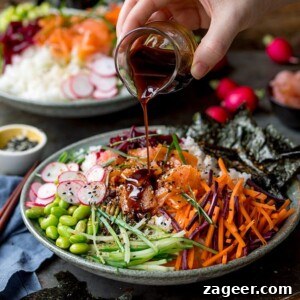
Divide the finished rice between bowls and top with thin strips of cucumber, shredded beetroot and carrot, cooked edamame beans and thinly sliced radishes.
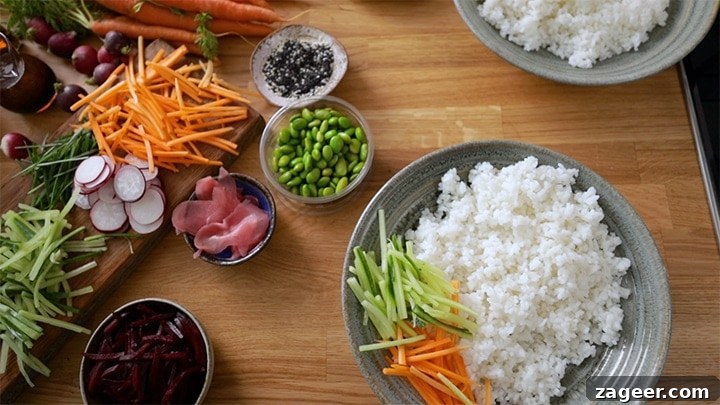
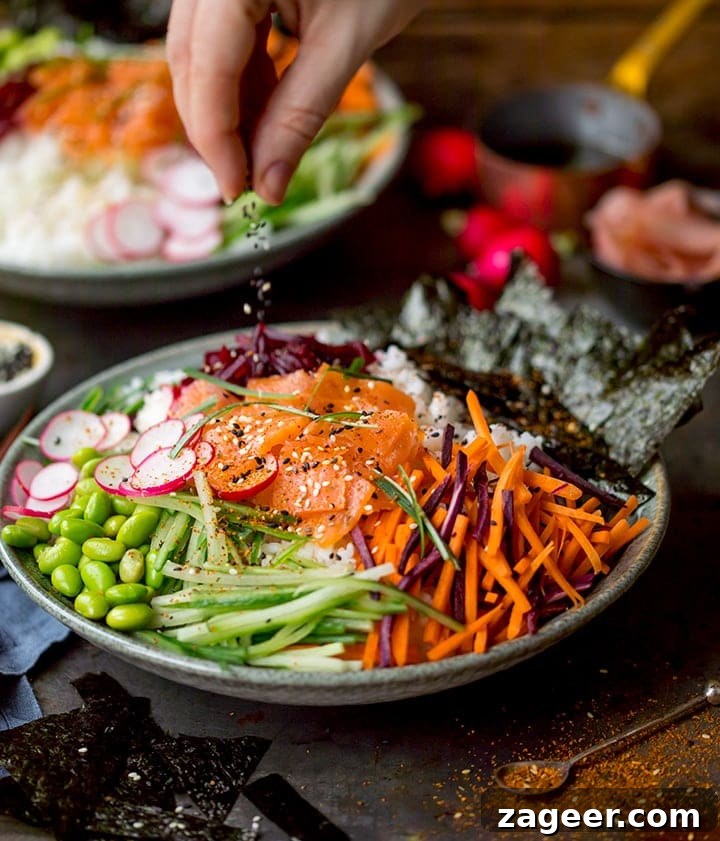
Finish each bowl with slices of smoked salmon. While smoked salmon isn’t traditional for sushi, it works beautifully here and is much easier to source than sushi-grade sliced salmon.
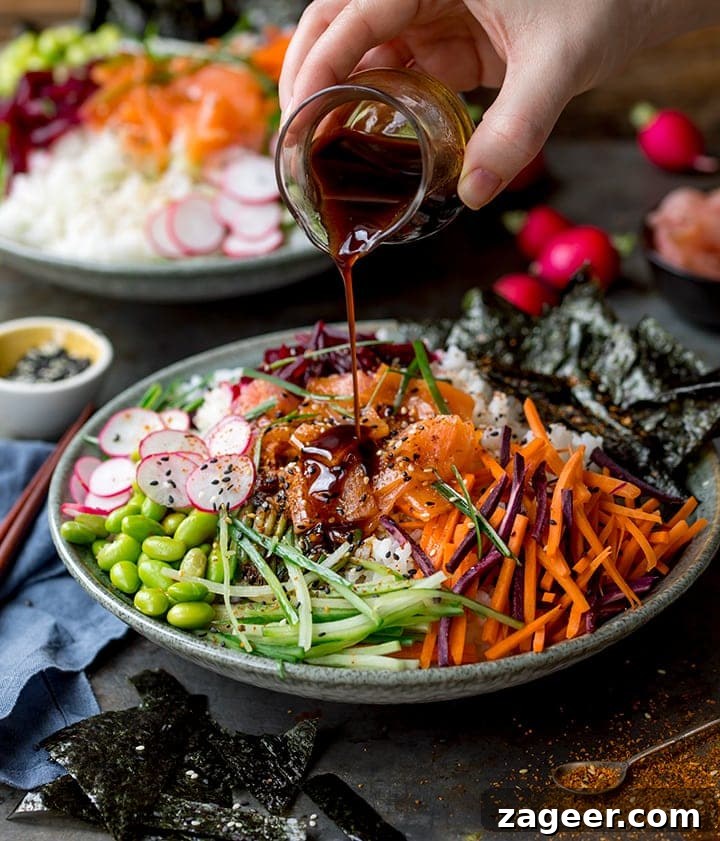
The dressing is a perfectly matched combination of sesame oil, olive oil, soy sauce, fresh ginger, garlic and black pepper. Whisk the ingredients together and drizzle over the bowls, then sprinkle with sesame seeds. A light dusting of shichimi togarashi adds a lovely, warm heat and is best added just before serving. Add strips of nori just before eating too, as it quickly becomes soggy if left on the rice.
And that’s it — once the sushi rice is ready, the bowls come together in minutes.
More recipe highlights from the book
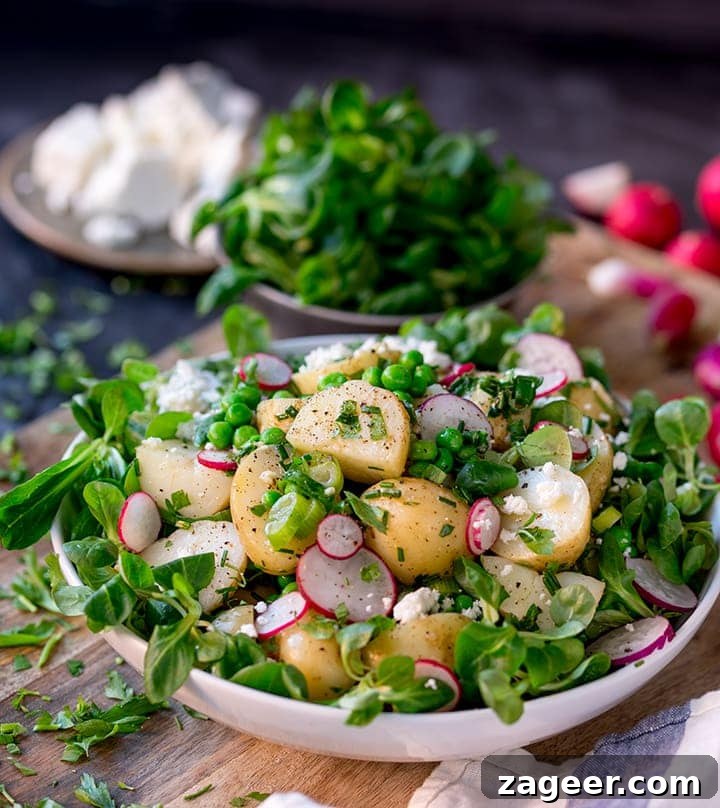
Garlic Herb and New Potato Salad — with a buttery warm dressing
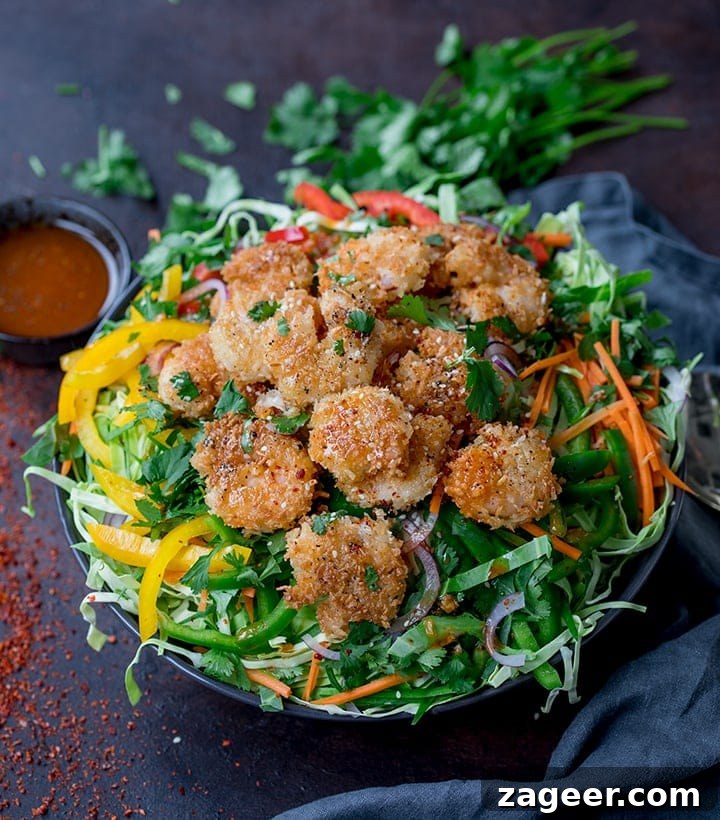
Coconut Shrimp Salad — with a sweet sriracha dressing
Warm Bacon and Pea Salad — with a light lemon dressing
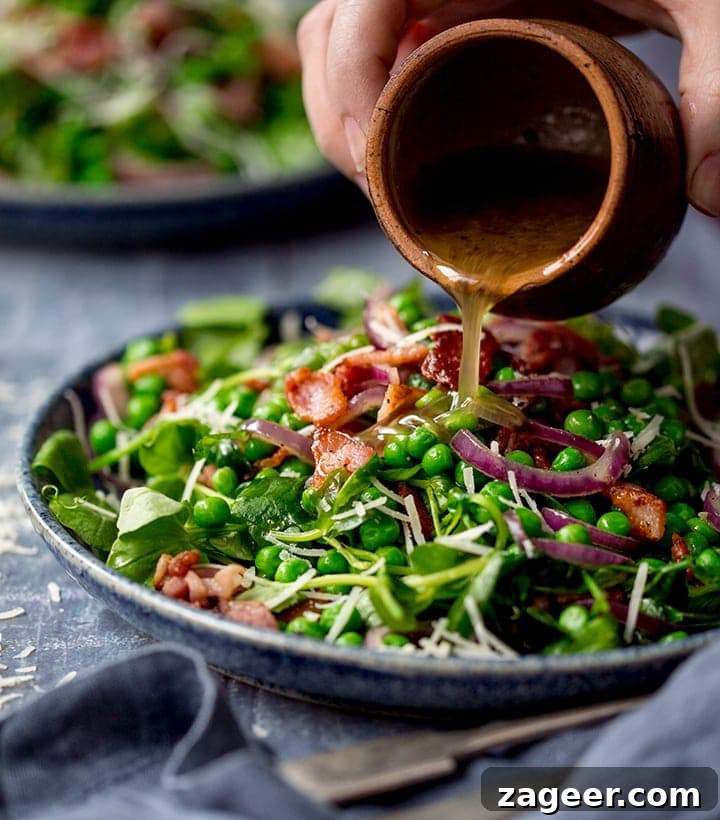
You’ll find these dishes and many more in my new Seriously Good Salads book — 75 recipes in total, with 70+ of them on the blog and each recipe photographed for the book.
The Salmon Sushi Bowl Recipe:
Salmon Sushi Bowl Recipe
Ingredients
- 350 g (2 cups) uncooked sushi rice
- 720 ml (3 cups) cold water
- 2 tbsp rice vinegar
- 1 tbsp sugar
- ¼ tsp salt
- 200 g (7 oz) smoked salmon, cut into 2.5cm pieces
- ½ cucumber, seeded and sliced into thin strips
- 1 large cooked beetroot, peeled and shredded
- 1 large carrot, peeled and sliced into thin strips
- 150 g (1 cup) cooked edamame beans
- 4 radishes, thinly sliced
- 2 sheets nori seaweed, cut into 1cm strips or small triangles
- 30 g (1 oz) pickled sushi ginger
- 1 tsp mixed black and white sesame seeds
- 1 tsp shichimi togarashi (optional)
Soy sauce and ginger dressing:
- 1 tbsp sesame oil
- 2 tbsp olive oil
- 2 tbsp soy sauce
- 1 tsp minced fresh ginger
- 1 clove garlic, peeled and minced
- Pinch of freshly ground black pepper
Instructions
- Rinse the sushi rice under cold water until the water runs clear. Place the rice in a saucepan and add the cold water. Bring to a boil, cover, reduce heat to low and cook for 10 minutes. Turn off the heat and leave, covered, for 30 minutes.
- After 30 minutes, remove the lid and allow the rice to cool to room temperature. Gently stir the rice vinegar, sugar and salt into the rice.
- In a small bowl, whisk together all the dressing ingredients until combined.
- Divide the rice among four bowls and top with smoked salmon, cucumber strips, shredded beetroot, carrot, edamame and radish slices.
- Add a few nori strips to each bowl and place a few slices of pickled ginger on the side. Sprinkle with sesame seeds and shichimi togarashi if using.
- Serve with the dressing on the side and extra nori strips for people to add to their bowls.
Notes
Tip:
A mandolin makes preparing vegetable strips much faster and more even.
Nutritional info:
Nutritional information is approximate and given per serving.
Nutrition
Calories: 591 kcal | Carbohydrates: 89 g | Protein: 22 g | Fat: 16 g | Saturated Fat: 2 g | Cholesterol: 11 mg | Sodium: 1097 mg | Fiber: 6 g | Sugar: 7 g
Nutrition information is automatically calculated and should be used as an approximation.
Some links in this post may be affiliate links — if you make a purchase I may earn a small commission at no extra cost to you. Thank you; it helps keep Kitchen Sanctuary running. For full details, see our Terms & Conditions.