
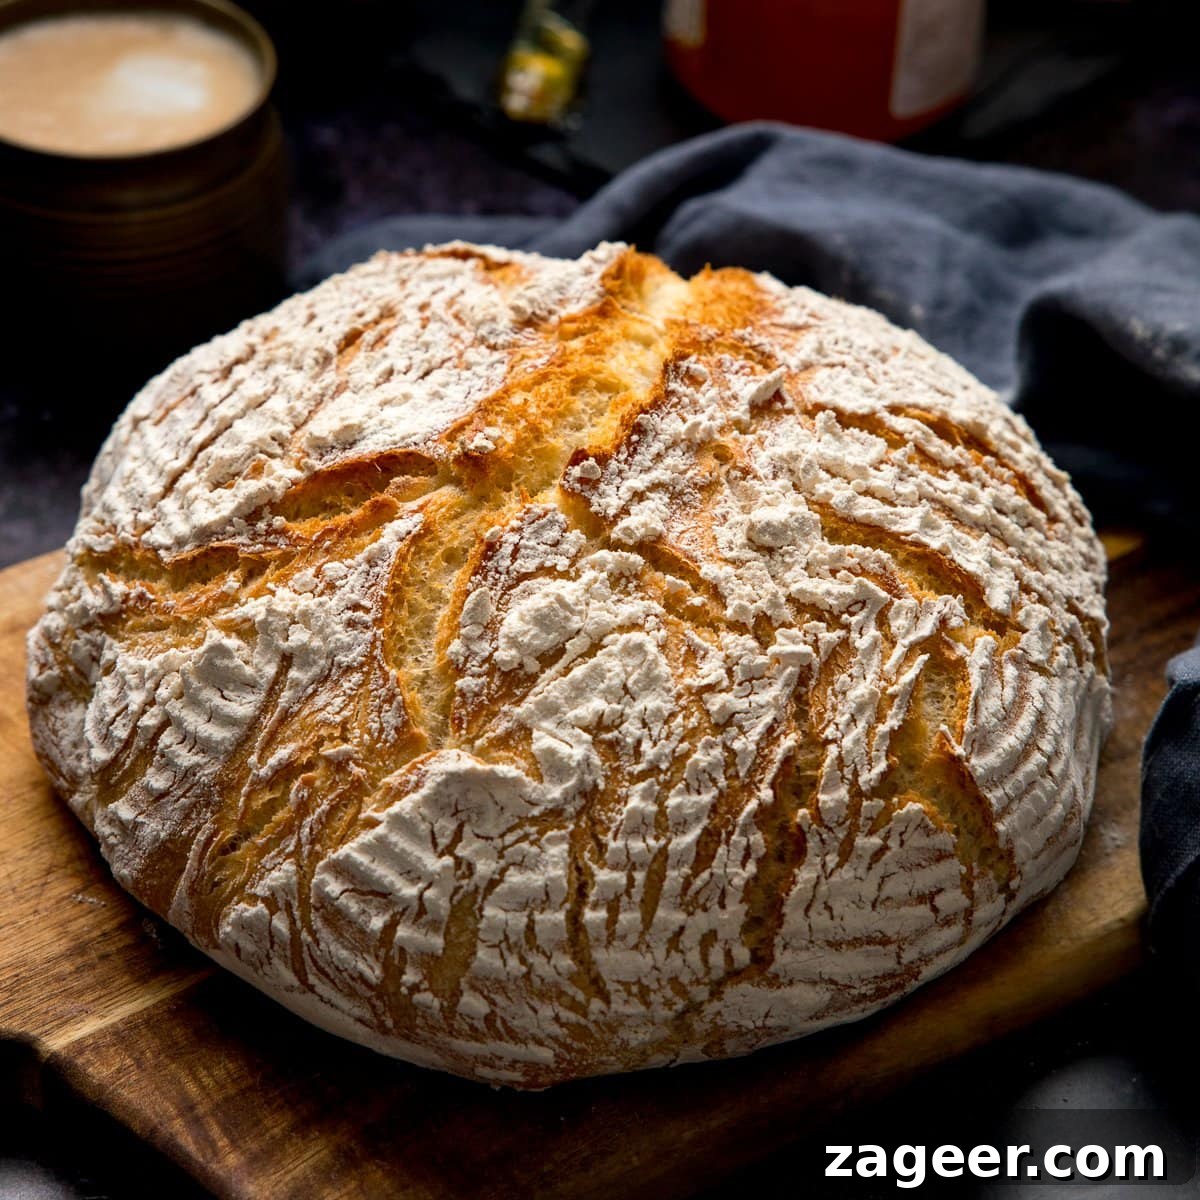
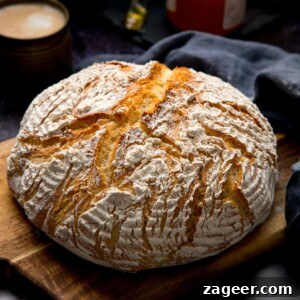
A beautiful Artisan bread with a soft interior and a light crispy crust.
Made with just five ingredients, this loaf is straightforward to prepare. I’ll reveal the trick to getting a lovely craggy top without scoring the dough. The recipe is written for a Dutch oven, but I also explain how to achieve excellent results without one.
Perfect for lazy lunches: serve warm with butter, or toast slices for breakfast with jam. It really is the best.
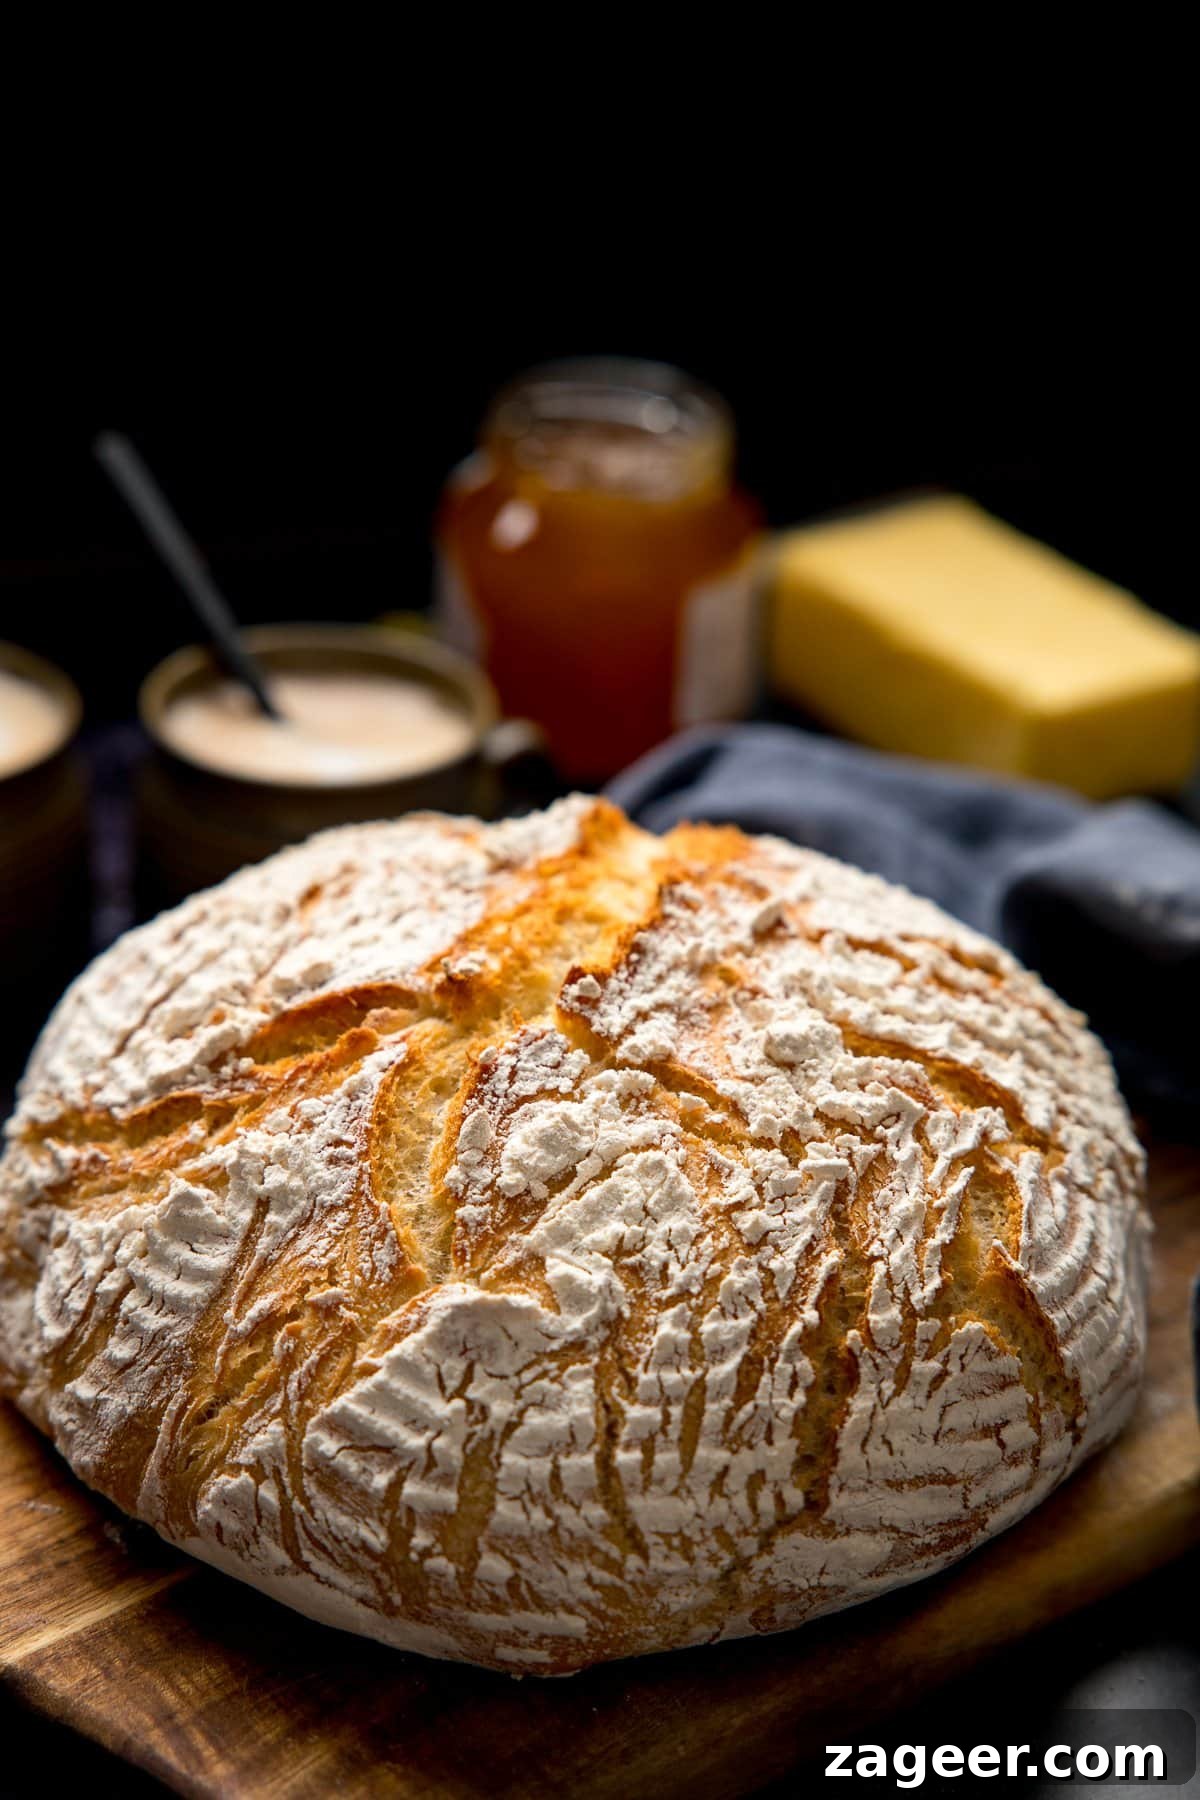
I’ve finally cracked the code for bread that tastes fantastic and looks beautiful.
I couldn’t stop baking it—until I ran out of flour and yeast for a short while. Fingers crossed my next grocery delivery arrives soon so I can bake again!
After a lot of testing, I’m sharing the tips that consistently deliver the best results. Quick overview of what to expect:
- Kneading is recommended — you can use a stand mixer with a dough hook if you prefer. If you really don’t want to knead, see the notes later for an overnight method that develops gluten without much hands-on work.
- Using a Dutch oven gives the most even bake and the light, crunchy exterior. Alternatives and expected differences are explained below.
- A proving basket helps create the attractive flour ring and encourages the seam to open for that craggy top. I include options if you don’t have one.
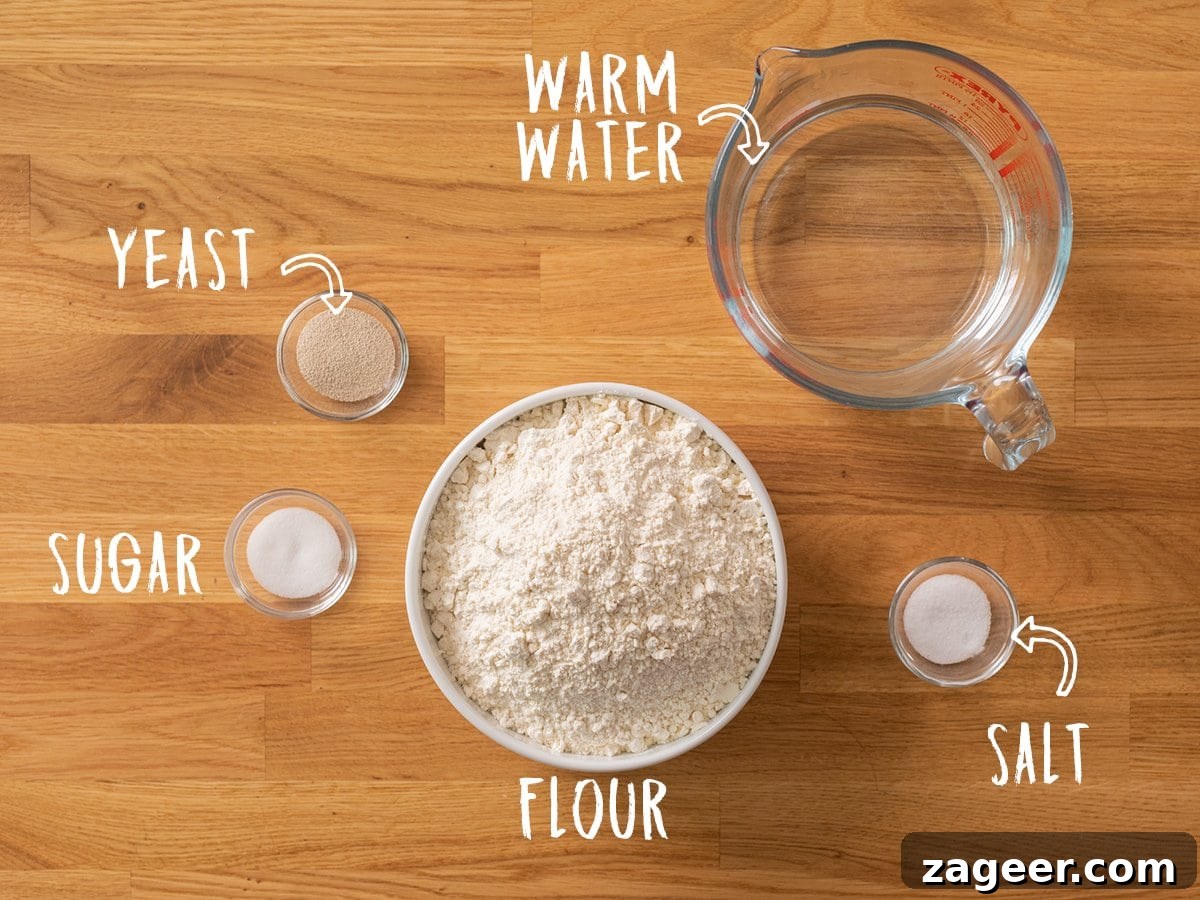
What do we need?
How to make this Artisan Bread
Full recipe and a clear step-by-step card appear below.
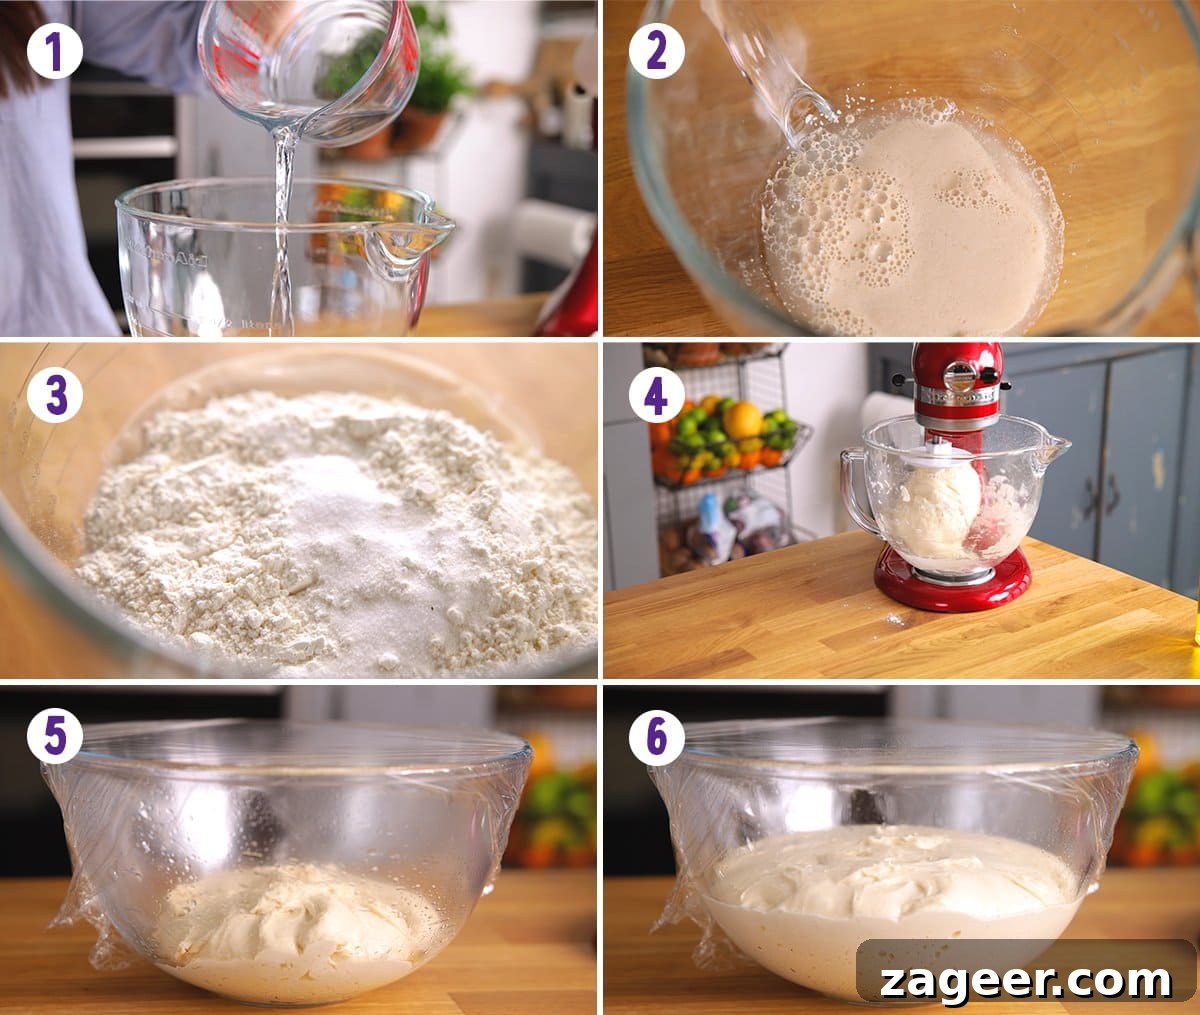
- Mix yeast, sugar and warm water in a large bowl and leave 5 minutes until the yeast foams.
- Add the flour and salt, combine, then knead for 10 minutes using a dough hook or by hand on an oiled surface.
- Place the dough in an oiled bowl, cover and prove for 1 hour, until doubled.
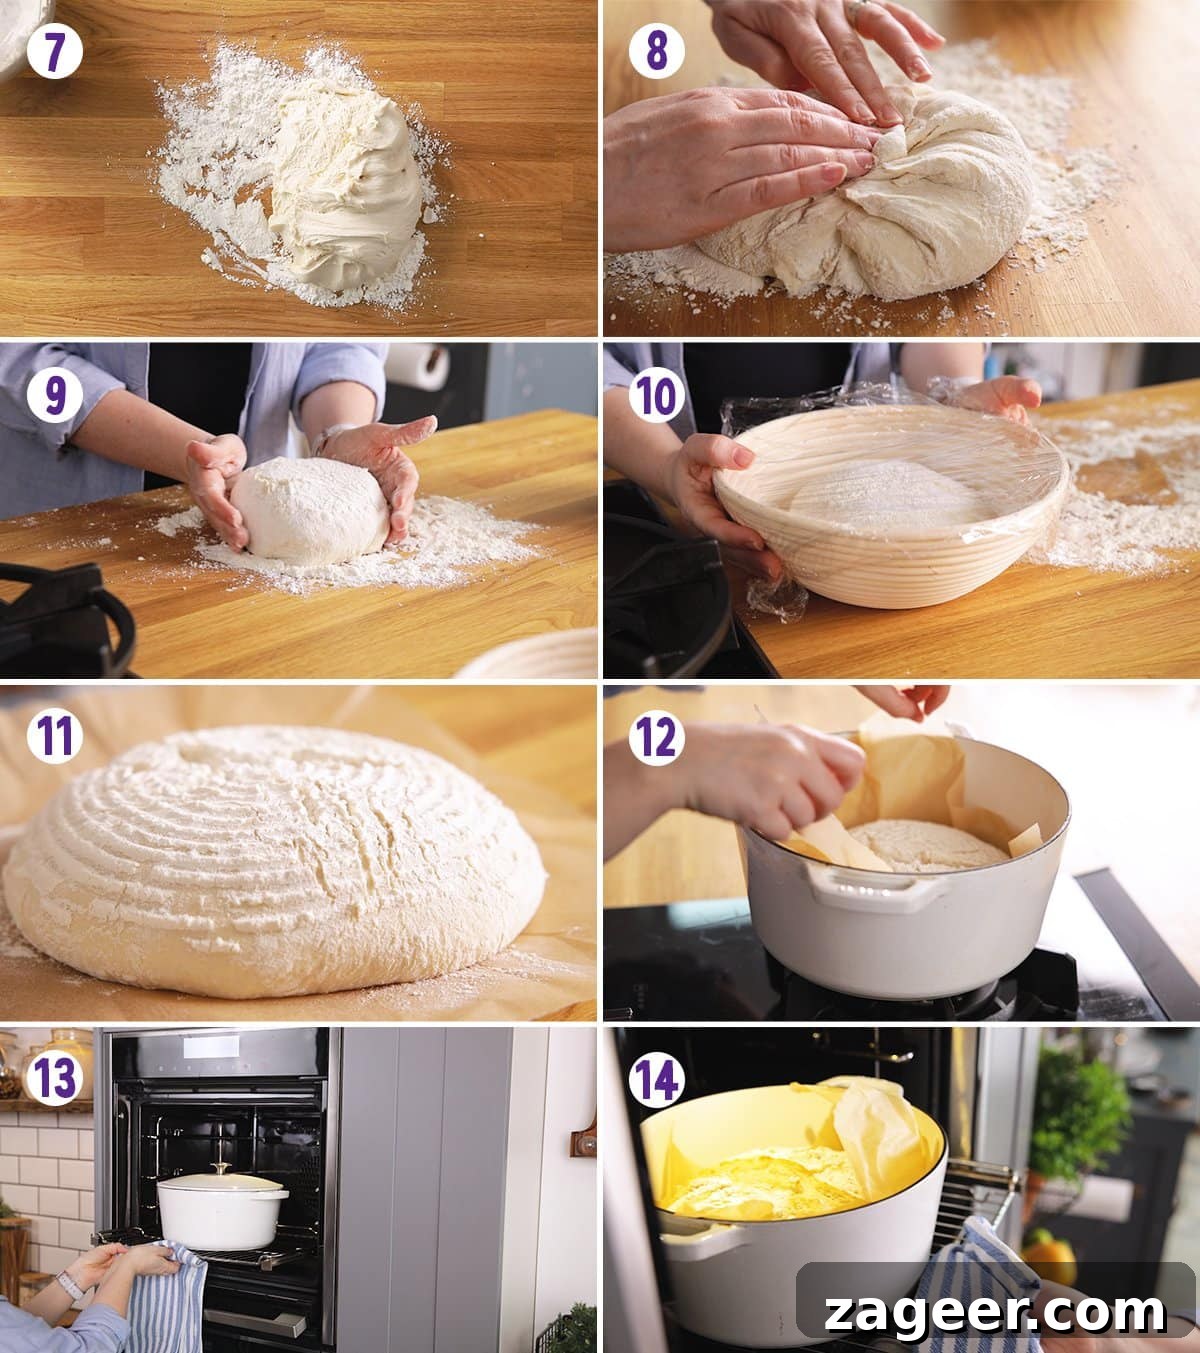
- Tip the dough onto a well-floured surface and shape it by pulling the outer edges toward the centre.
- Continue around the dough until it holds shape and no longer sticks (see the video for visuals).
- Turn the dough over, finish rounding, and place in a well-floured proving basket or a floured bowl – SEAM-SIDE-DOWN. Cover and prove 30 minutes.
- Preheat a Dutch oven in the oven while the dough finishes its second prove.
- Tip the dough out onto baking parchment so it’s SEAM-SIDE-UP, then lift the parchment and carefully lower the dough into the preheated Dutch oven.
- Bake covered for 30 minutes, then uncover and bake 10–15 minutes until the crust is golden brown.
- Remove from the oven and cool completely on a rack before slicing to preserve the crumb structure.
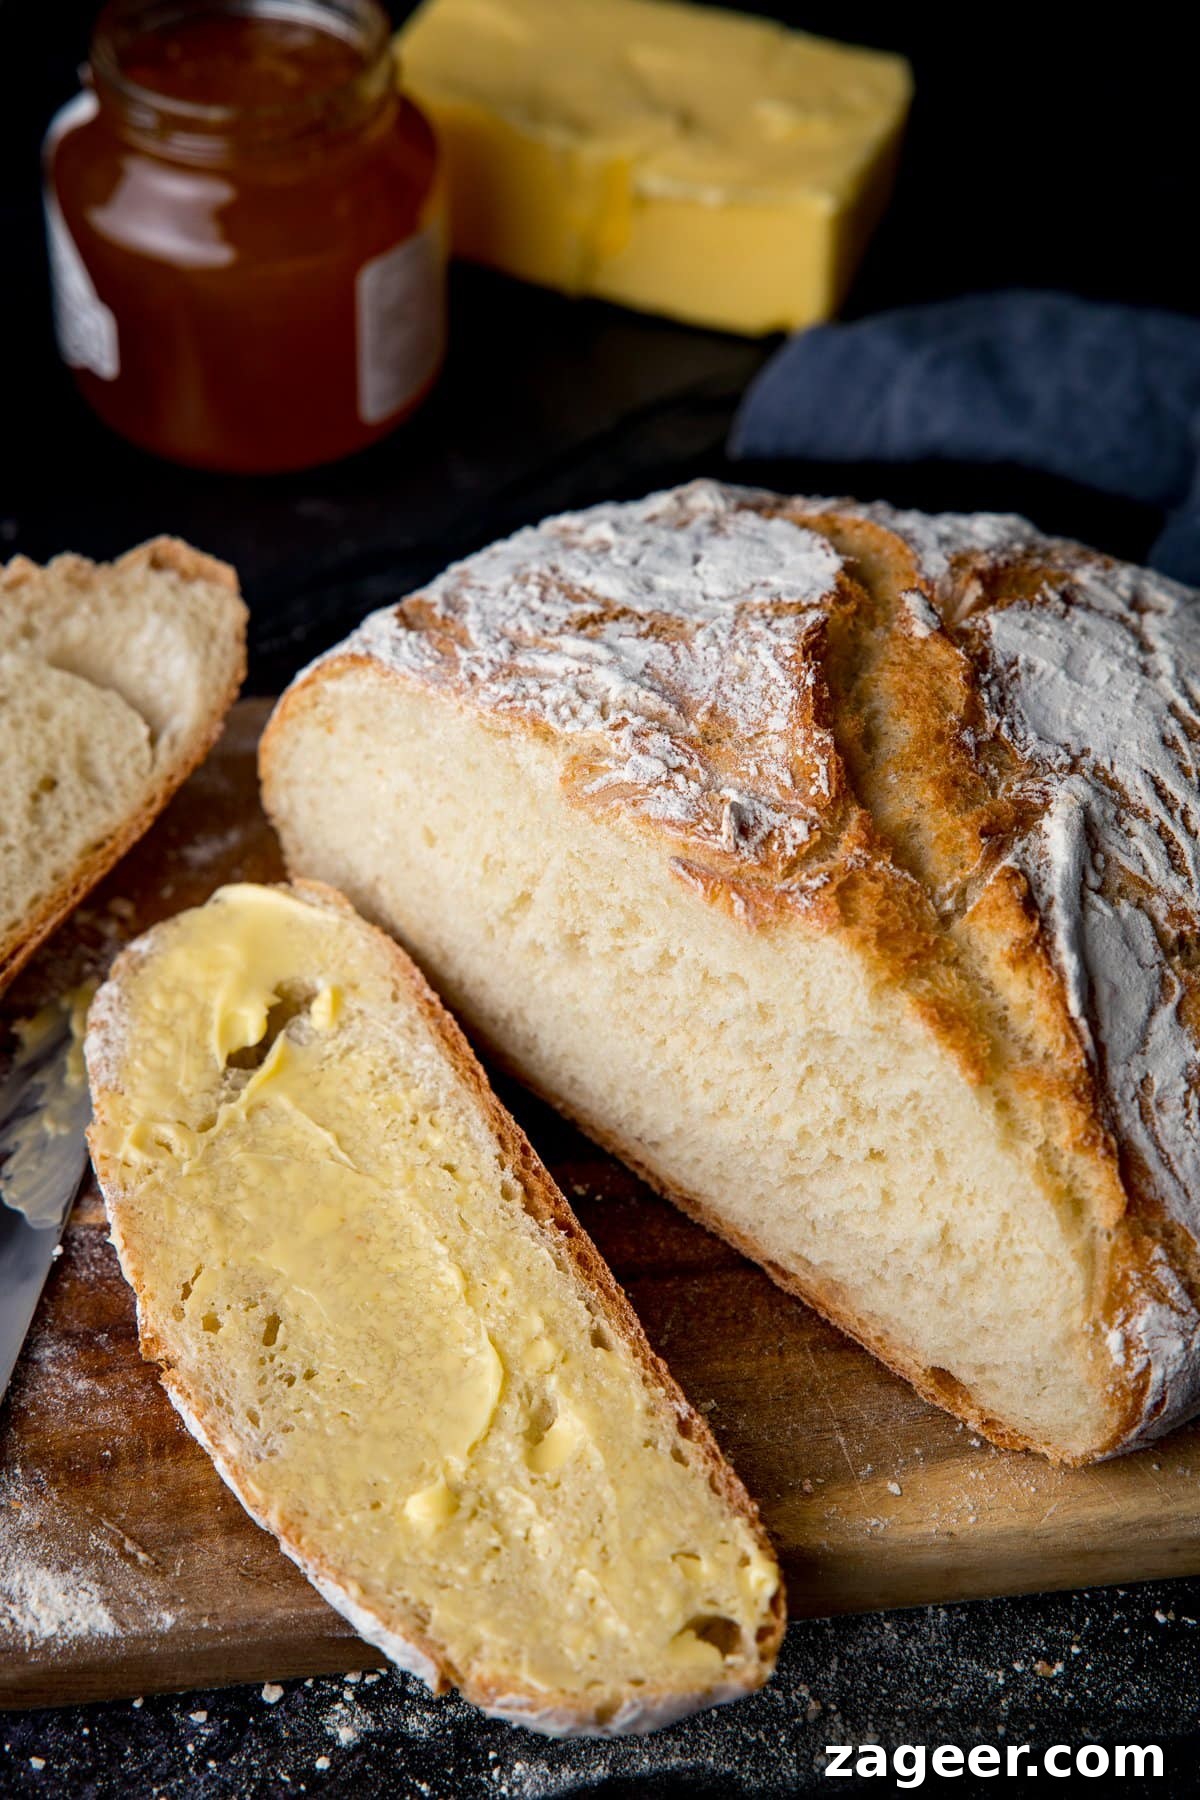
What to serve it with
- Warm with salted butter for a simple, delicious treat.
- Turn slices into French toast for a special breakfast.
- Use as a dipper for soups or stews.
- Serve as a side for pasta dishes, lasagne, or hearty mains.
- Make sandwiches or grilled cheese with thicker slices for a satisfying meal.
- Top with eggs and avocado for an upgraded toast breakfast.
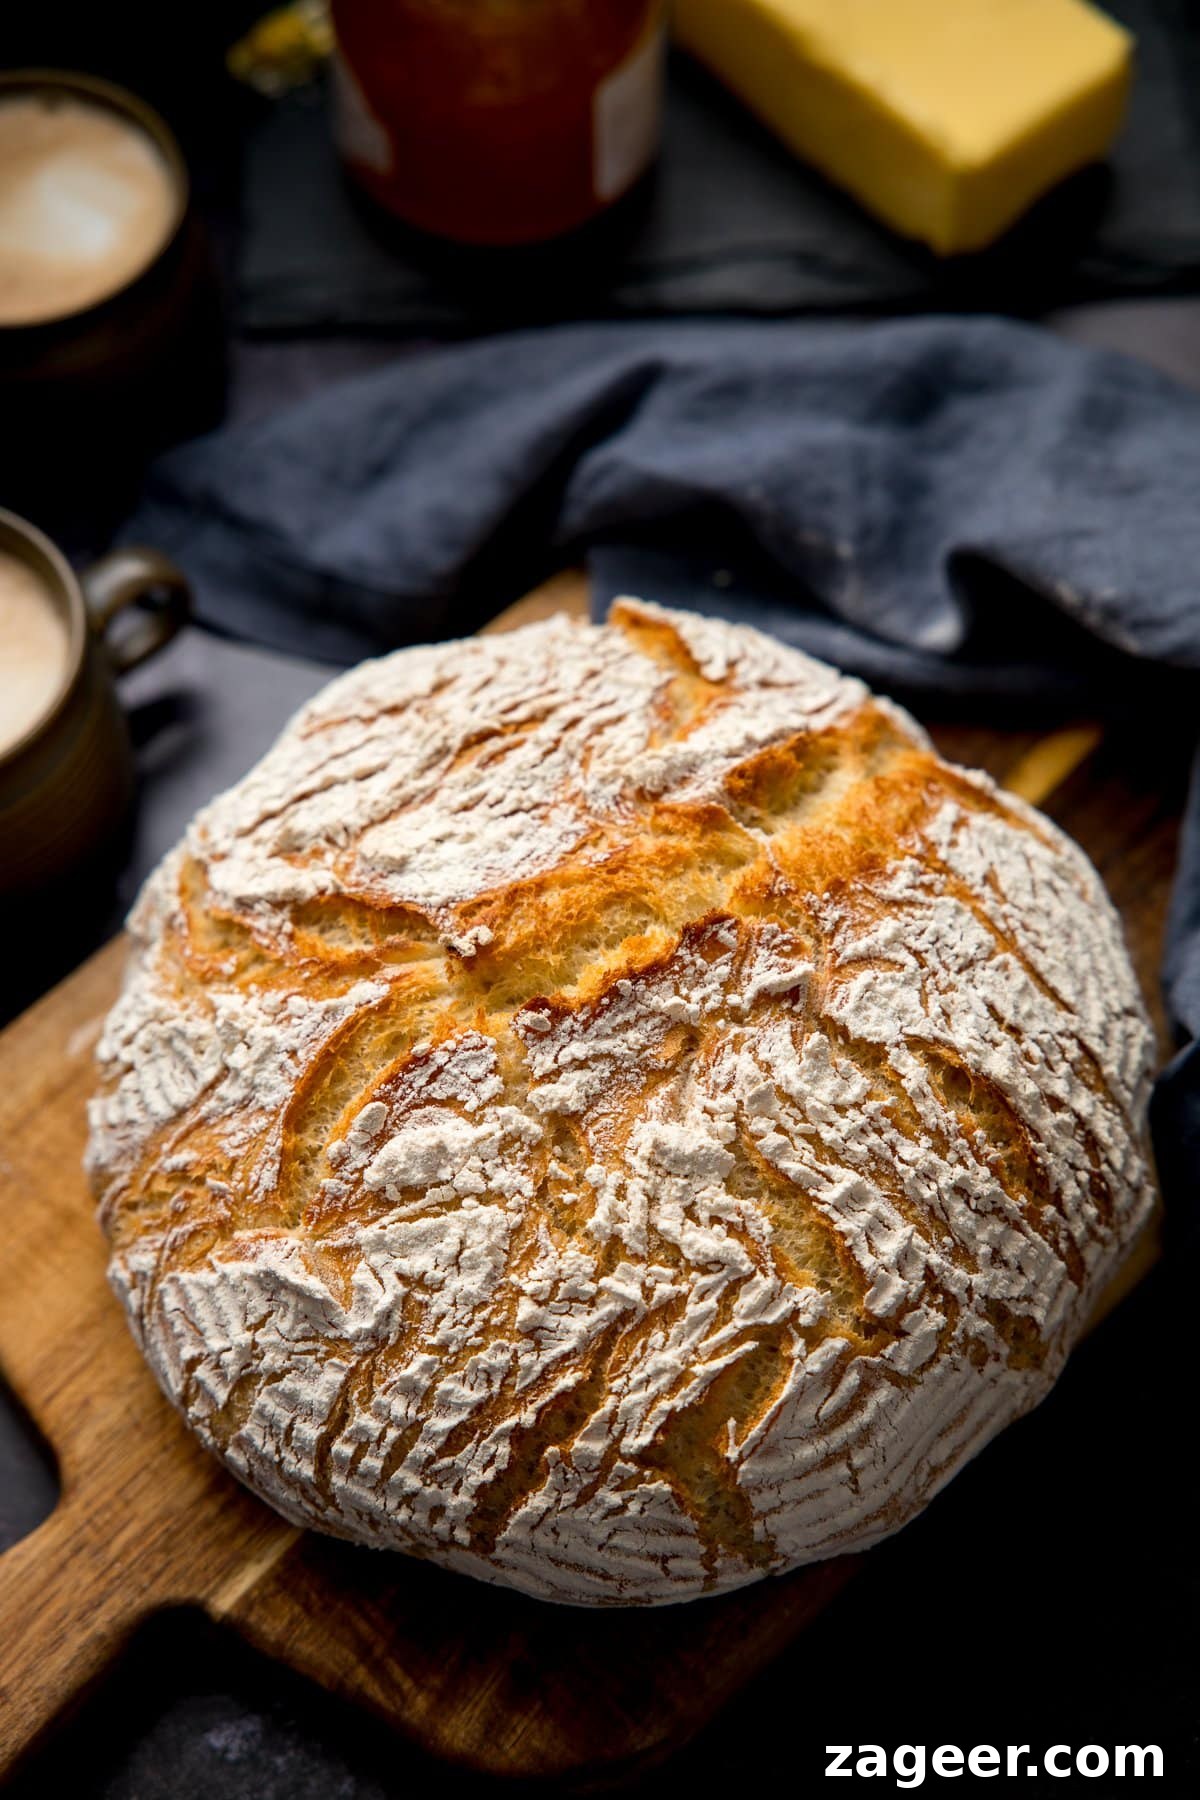
Why use a Dutch Oven?
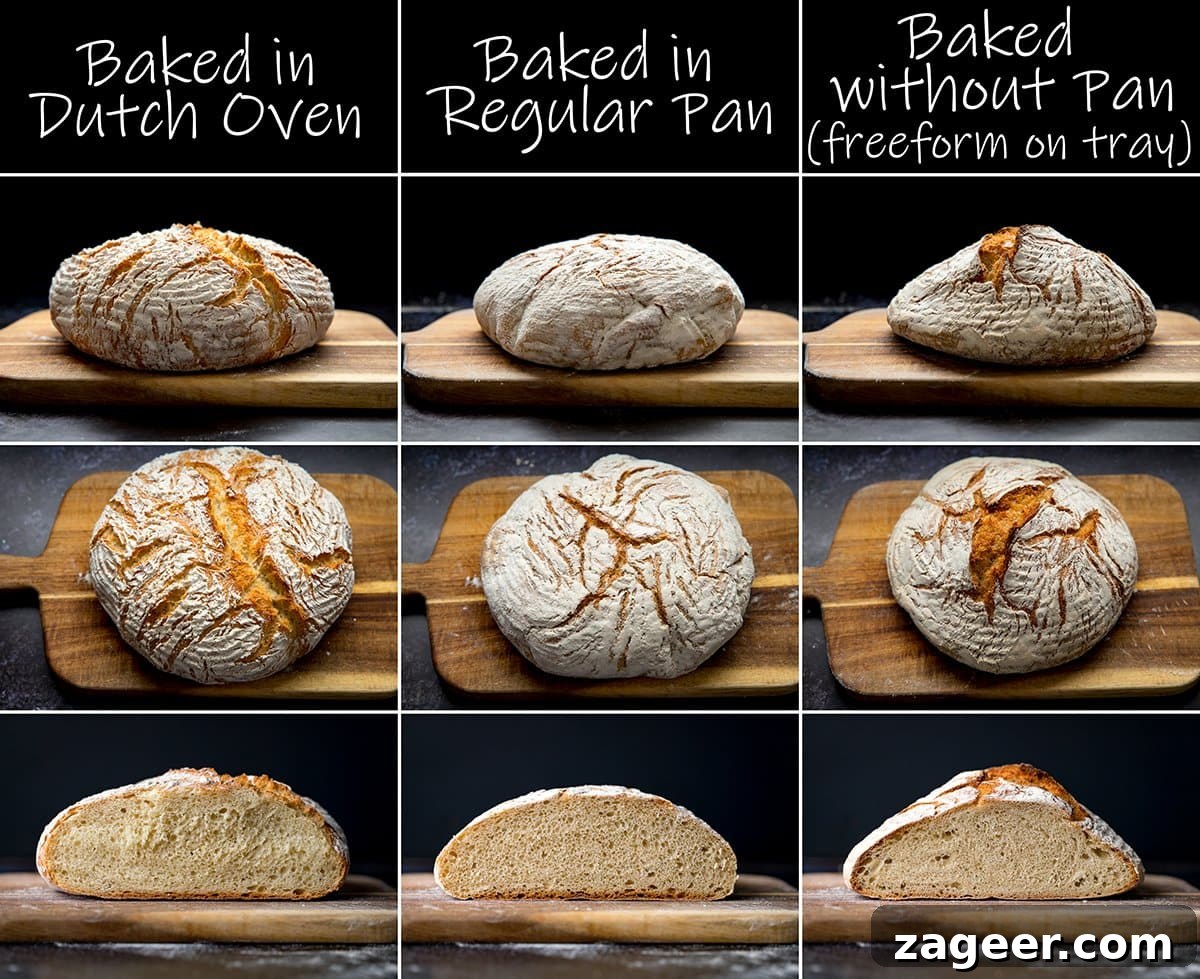
The heavy walls and lid of a Dutch oven create even heat and trap steam. That steam delays crust formation so the loaf can rise fully, producing a lighter interior and a thin, crisp crust. Removing the lid for the final 10–15 minutes lets the crust brown and crisp — leaving the lid on would yield a paler, chewier crust.
Can I use a regular pan?
Yes. Use a large ovenproof pan (about 25cm/10″) with a tight-fitting lid. Results will differ slightly: the loaf may not rise as tall, seams may not open as wide, and the crumb can be a bit denser because more steam escapes. It will still taste very good, just a little less airy.
Can I bake without any pan (on a tray)?
Yes — but you must add steam. Place a large dish of boiling water on the oven floor for the first 30 minutes, then remove it so the crust can crisp for the final 10 minutes. Free-form loaves rise less evenly and can be denser in spots, with a crunchier crust because they’re directly exposed to oven heat.
Why use a proving basket?
A proving basket creates the attractive flour rings and gives the seam room to expand during the second prove, contributing to a craggy top. A floured bowl works if you don’t have a basket — the loaf will still taste great but will be a bit flatter and won’t have the striped pattern.
Why do the second prove seam-side-down?
When you shape the dough, the folds become the top after you invert the proved loaf into the oven. Proving seam-side-down means those folds will open during baking to create a natural, craggy top — so you don’t need to slash the loaf. A proving basket helps those folds relax and open further for an even more rustic appearance.
More Bread Recipes
If you enjoy baking bread, try other recipes like brioche rolls, chapati, soda bread, or baked dough balls for variety and fun baking projects.
Watch how to make it
Note – I say 3 cups in the video but meant 3.75 cups. Apologies for the slip!
Stay updated with new recipes! Subscribe to the newsletter to receive new posts. I also share weekly videos on YouTube and behind-the-scenes content on Instagram.
Click the stars to rate or comment
Artisan Bread Recipe
15
45
1 30
2 30
Ingredients
- 7 g (2 tsp) instant yeast
- 5 g (1 tsp) sugar caster or superfine
- 300 ml (1.25 cups) warm water slightly warmer than lukewarm, not hot
- 450 g (3.75 cups) plain (all-purpose) flour PLUS 1/2 cup (60g) for dusting and shaping
- 8.5 g (1 1/2 tsp) salt
Instructions
-
Add the yeast, sugar and warm water to a stand mixer bowl or a large bowl. Leave 5 minutes until the yeast foams.
-
Add the flour and salt, then mix until combined. Knead with a dough hook on medium for 10 minutes, or knead by hand on an oiled surface for 10 minutes. The dough will be sticky—this is normal.
-
Place the dough in an oiled bowl, cover and prove for 1 hour until doubled.
-
Flour the work surface with about 1/4 cup (30g) flour and tip out the dough, adding a tablespoon of flour if needed to prevent sticking.
-
Shape the dough by pulling the outer edges to the centre—avoid knocking out the air.
-
Continue pulling and rotating until the dough holds its shape. Add a little more flour if it sticks.
-
Turn the dough over and smooth the surface with your hands to finish rounding.
-
Place the dough in a well-floured proving basket or a floured bowl, SEAM-SIDE-DOWN.
-
Cover and prove for 30 minutes.
-
Preheat the oven to 230°C/450°F (fan) with a Dutch oven inside (about 25cm/10″ diameter).
-
When the second prove finishes, place a sheet of parchment over the bowl and invert so the dough lands on the paper.
-
Carefully remove the hot Dutch oven from the oven, take off the lid, and lower the dough (on the parchment) into the pot. Replace the lid.
-
Bake covered for 30 minutes, then remove the lid and bake 10–15 minutes more until golden brown.
-
Cool completely on a rack before slicing and serving.
Video
Notes
Can I prove it overnight?
Yes. Do the first prove covered overnight in the refrigerator. The next day, shape the dough and do the final 30-minute prove at room temperature (choose a warm spot) before baking.
Can I skip the kneading?
Kneading develops gluten for better structure and rise. If you don’t want to knead, prove the dough overnight to allow gluten to develop slowly. See the overnight instructions above.
How long will it last?
The bread is best within the first 24 hours. If it will be eaten within 10 hours, leave cut-side down on a board to keep the crust crisp. To keep for the next day, wrap cooled bread in foil and store at room temperature—best within 2 days.
Can I freeze it?
Yes. Once cooled, slice and freeze. Defrost individual slices at room temperature.
Can I use active dry or fresh yeast?
Yes. Replace 2 tsp (7g) instant yeast with 2.5 tsp (9g) active dry yeast, or with 2 tbsp (18g) fresh yeast.
Why not use bread flour?
I prefer plain (all-purpose) flour for a slightly thinner, crisper crust and a more artisan texture. Bread flour yields a chewier, springier crumb and a thicker crust. If you use bread flour, add about 2.5–3 tbsp more water because it absorbs more.
Nutritional information is per slice (approx 12 slices)
Nutrition
Nutrition information is automatically calculated and should be used as an approximation.
Some links in this post may be affiliate links — if you purchase through them, I may receive a small commission at no extra cost to you. Thank you; that helps keep the site running. Nutritional information is approximate.