
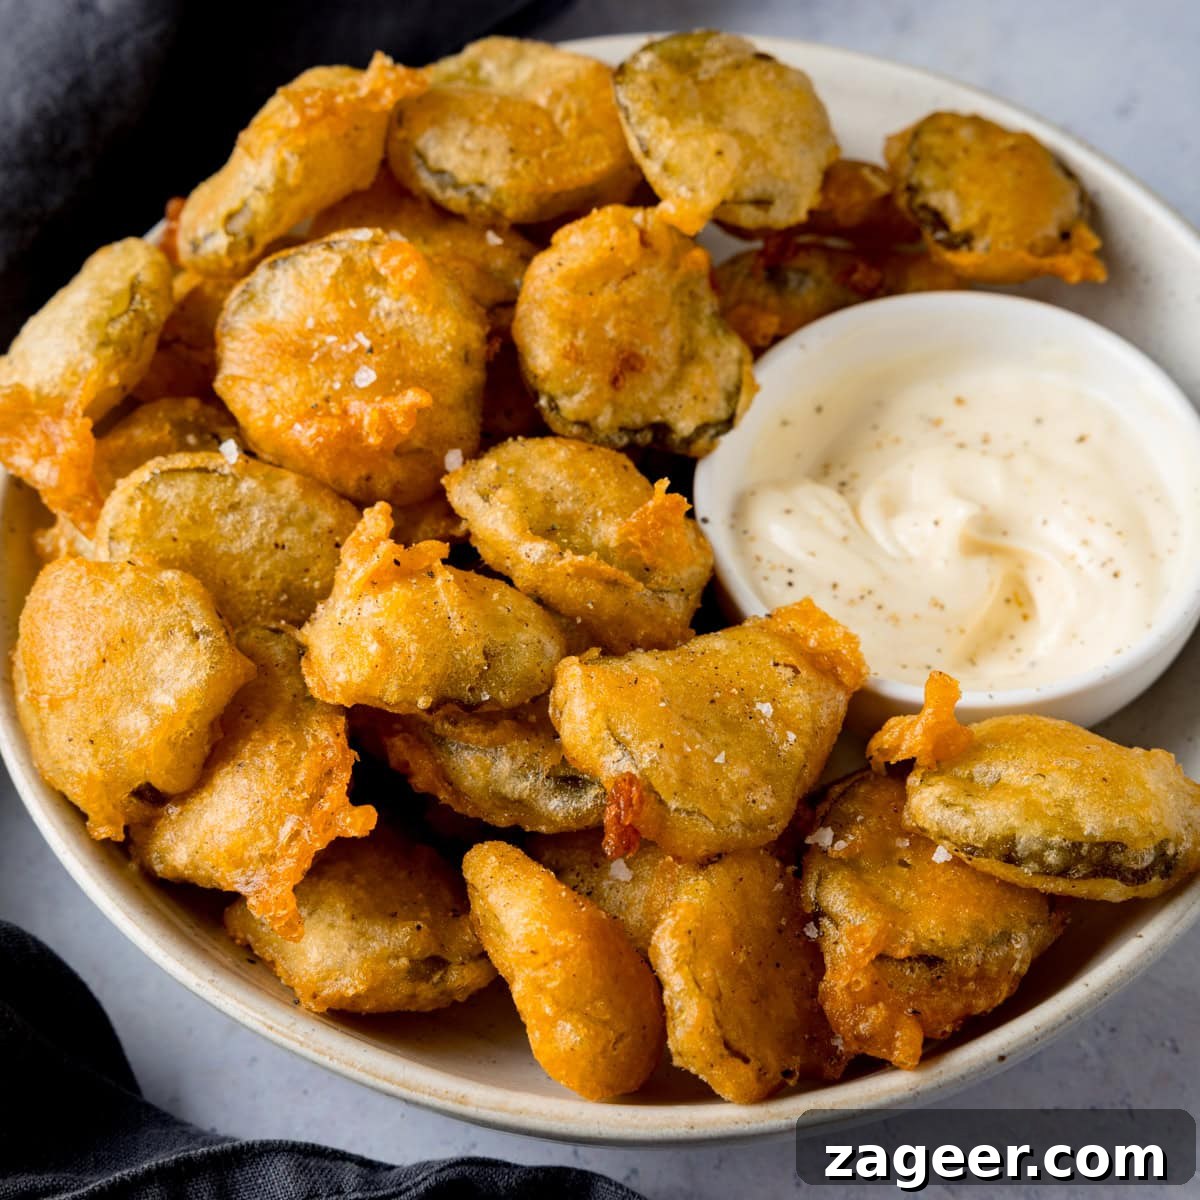
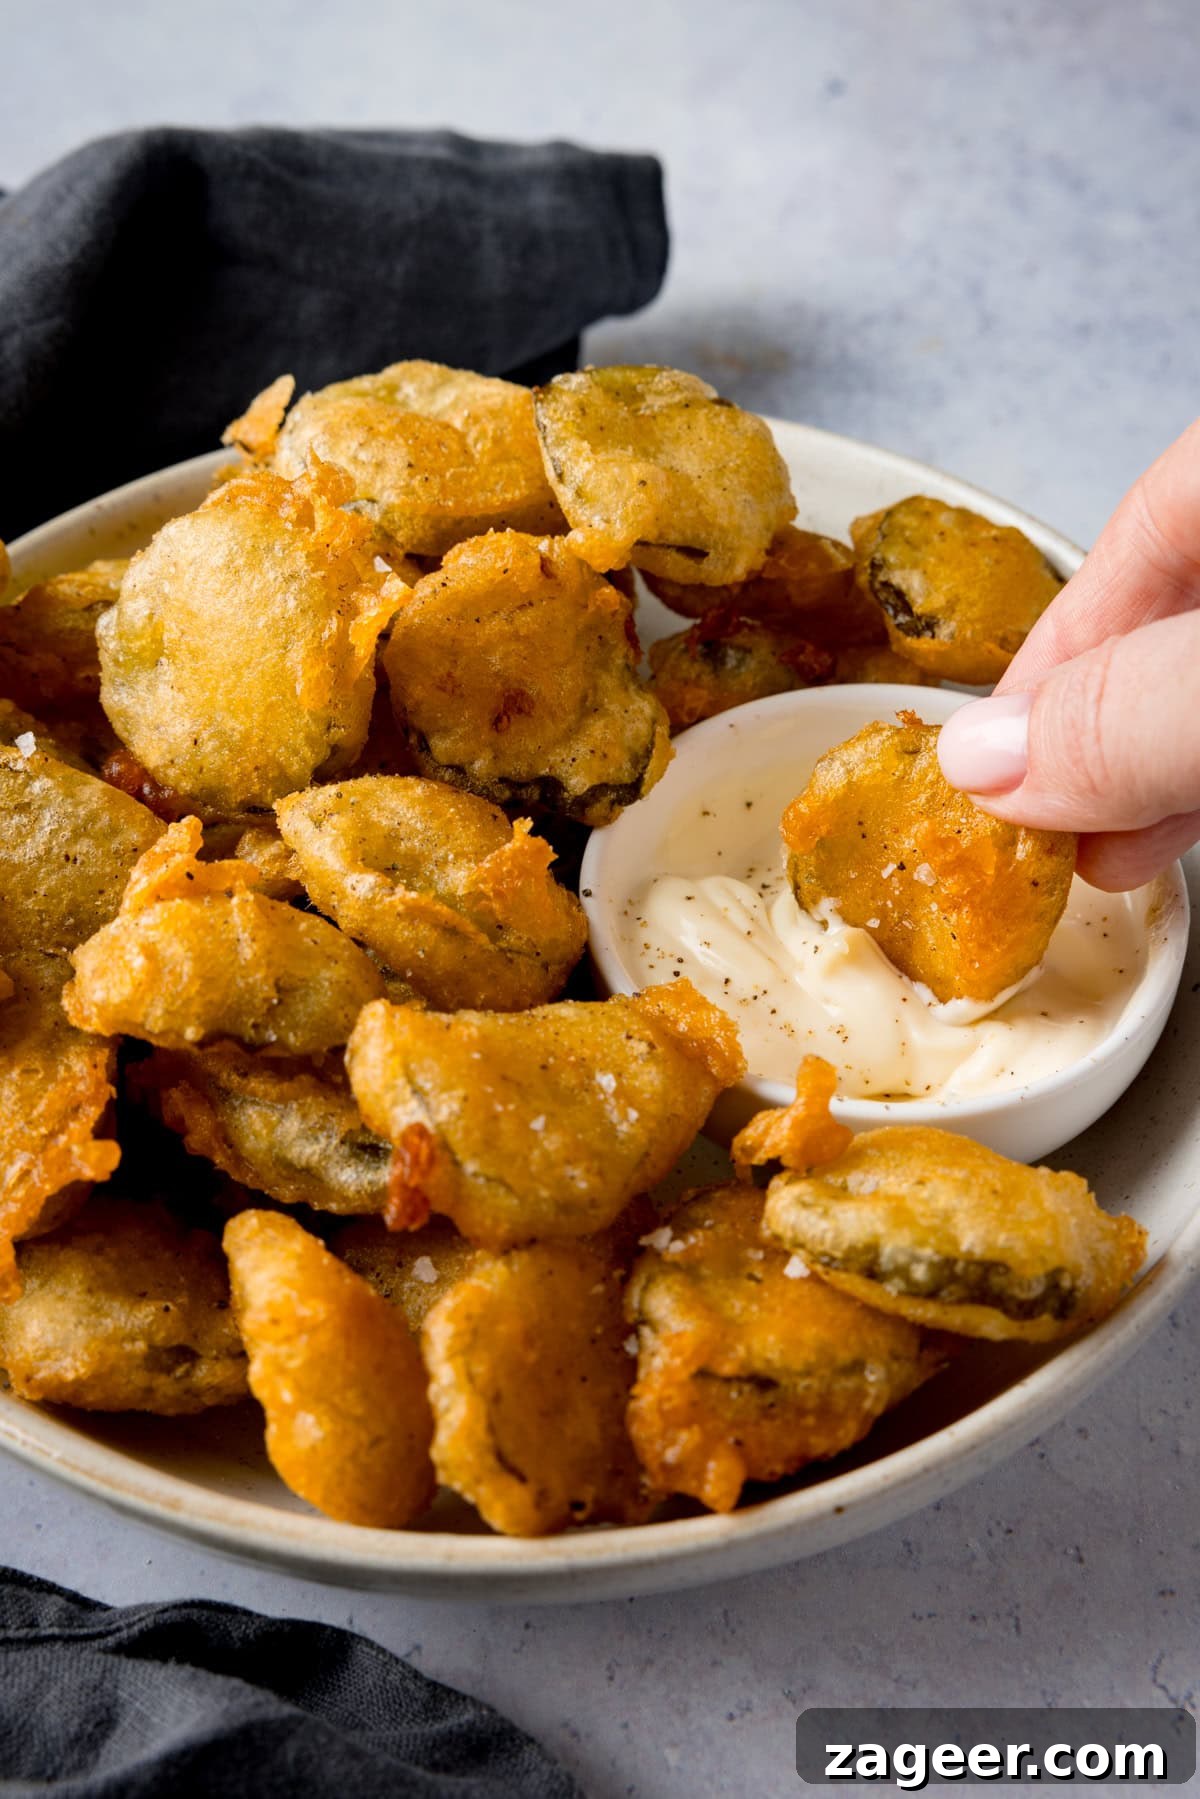
Experience the irresistible combination of tangy pickle slices enveloped in a wonderfully light and crispy beer batter. These fried pickles are an absolute delight, perfect as a snack with your favorite beverages or as a delicious accompaniment to a barbecue feast. I personally love serving them alongside classic burgers and crispy chips!
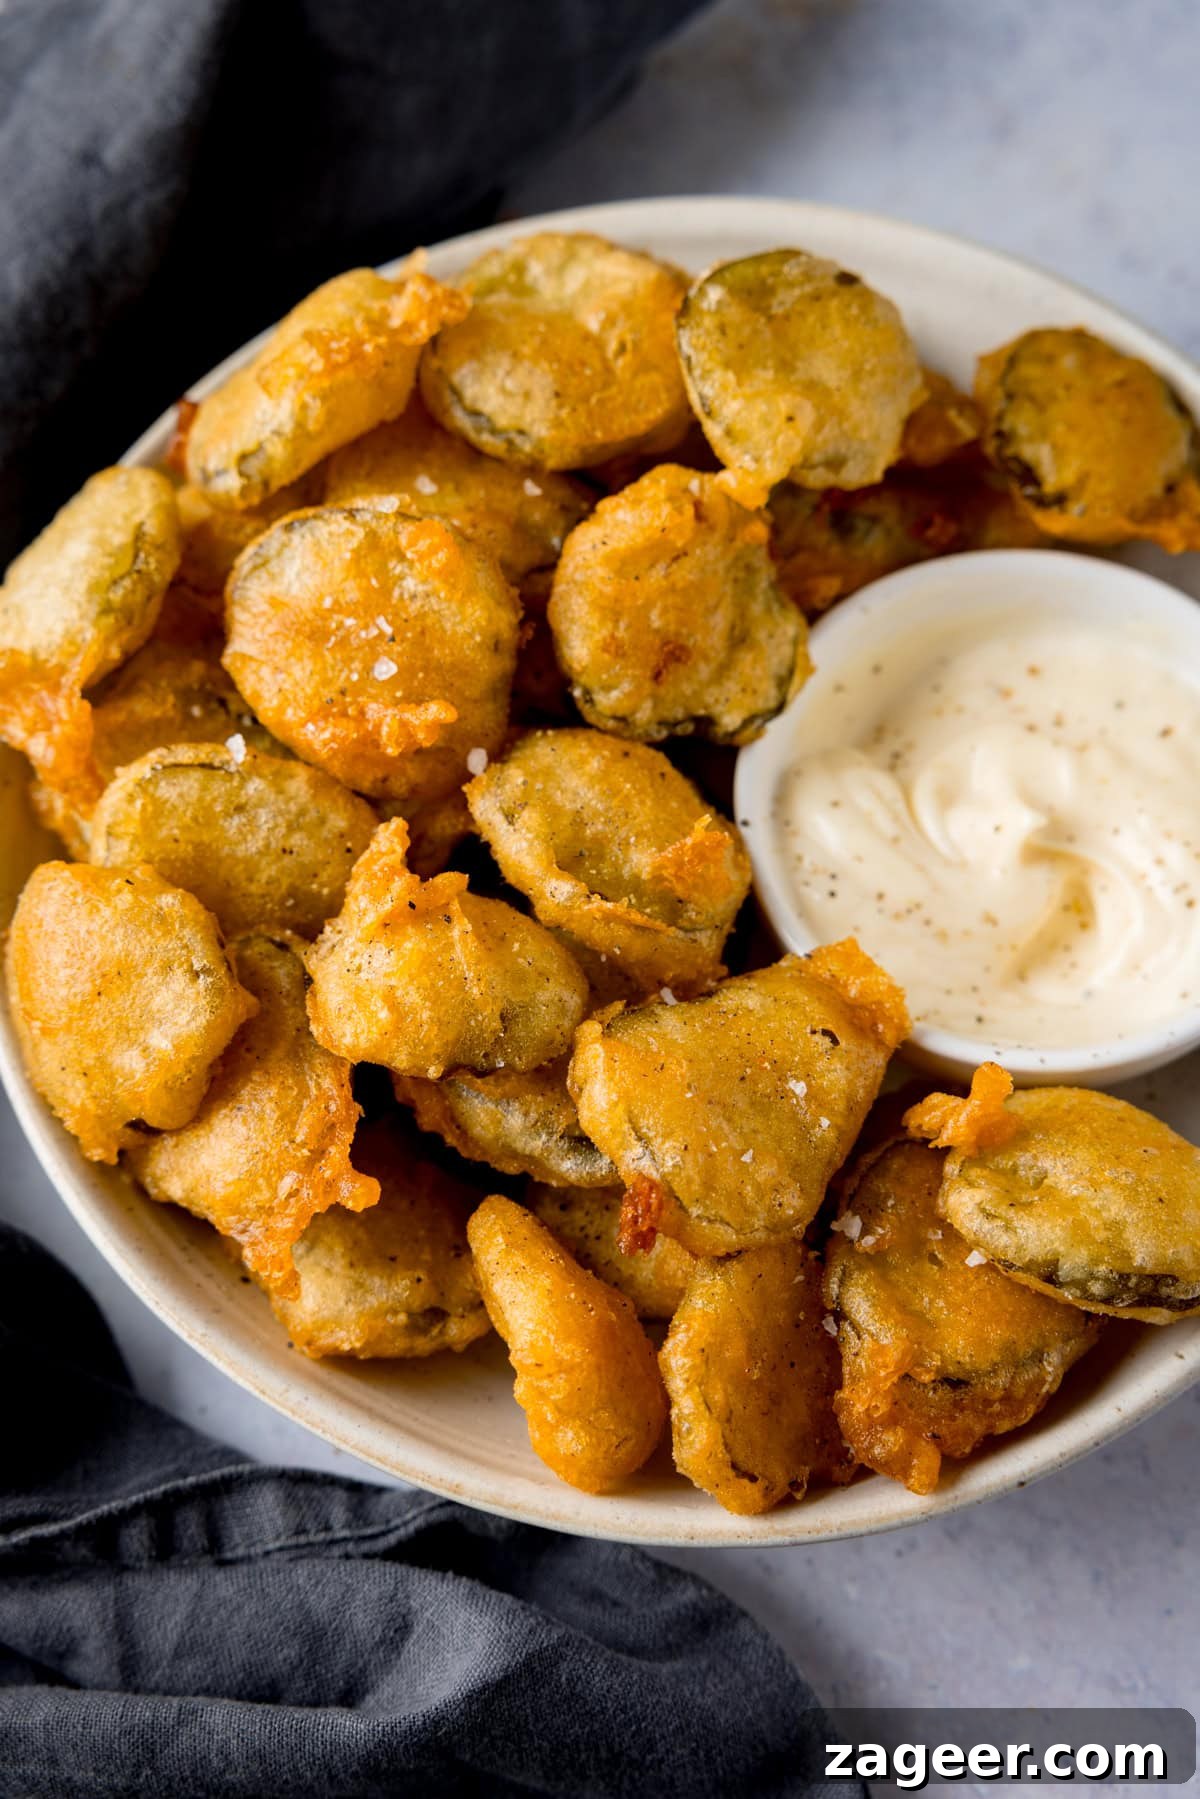
Prepare to be amazed by these Fried Pickles – each bite offers an incredible burst of crunchy texture, followed by that distinctive, delightful tanginess! When dipped into a creamy garlic mayo, these become utterly addictive. You might just find yourself devouring an entire batch in a single sitting!
They are the ultimate answer to that specific pickle craving, delivering maximum satisfaction with minimal effort. The best part? This mouth-watering snack comes together in just about 20 minutes from start to finish. It sounds almost too good to be true, but trust us, it’s a game-changer for your snack routine.
Table of Contents
- 📋 Essential Ingredients for Perfect Fried Pickles
- How to Make Crispy Fried Pickles: Step-by-Step Guide
- Pro Tips for the Crispiest Fried Pickles
- 🍽️ What to Serve with Fried Pickles
- 🍲 More Fantastic Savoury Snack Recipes
- Fried Pickles Recipe Card
📋 Essential Ingredients for Perfect Fried Pickles
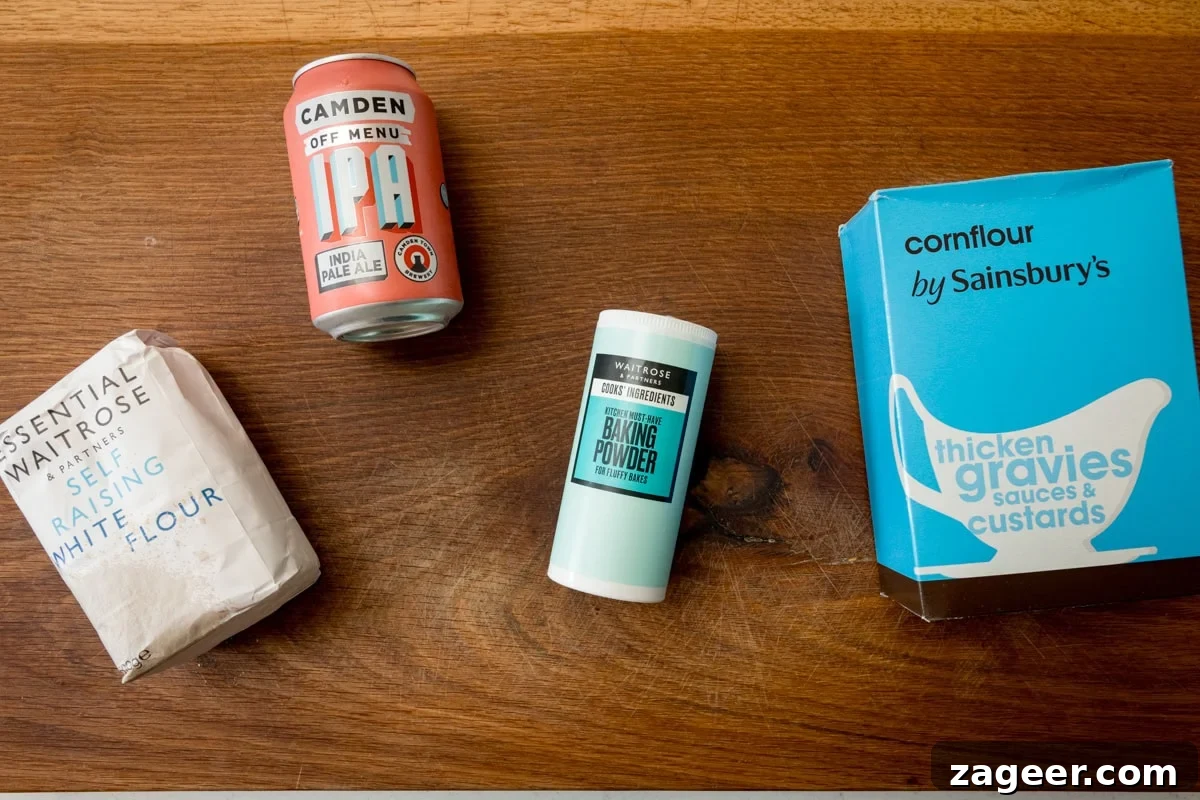
Creating truly spectacular fried pickles starts with selecting the right ingredients. Each component plays a vital role in achieving that perfect balance of crunch, tang, and flavor.
Choosing Your Pickles
Pickles – The star of our show! While traditional dill pickles are an excellent choice and what we’ve used here, don’t hesitate to experiment with different varieties. The key is to select pickles that can be easily sliced into uniform, snack-sized circles. Look for pickles that are firm and have a good, strong flavor. Bread and butter pickles or even sweet pickles can offer a unique twist, providing a delightful sweet-and-sour contrast that pairs wonderfully with the savory batter. Ensure your pickles are well-drained and patted very dry before dusting and battering; excess moisture is the enemy of a crispy coating!
Understanding Your Flour
Self-Raising Flour – This is our base for the light and airy batter. Self-raising flour already contains a leavening agent (baking powder), which contributes to the crispiness. If you don’t have self-raising flour on hand, don’t worry! You can easily create a substitute by using the same amount of plain (all-purpose) flour and adding 1 teaspoon of baking powder to it. Even if you use self-raising flour, remember that an additional ½ teaspoon of baking powder is added to the batter for an extra boost of lightness and crispiness. This ensures the batter fries up beautifully golden and delicate, rather than heavy and dense.
The Secret to a Crispy Batter: Beer
Beer – This is arguably the secret ingredient to an exceptionally light and crispy batter. We highly recommend using a light IPA (India Pale Ale) for this recipe. A light IPA provides a delicate, savory depth to the batter without imparting a strong beer flavor, which many prefer. The carbonation in the beer is crucial; it creates air pockets in the batter, resulting in a wonderfully airy texture when fried.
If you opt for a darker beer or bitter, you might notice a subtle malty flavor coming through in the batter, which can also be delicious depending on your preference. For those who enjoy a milder taste or prefer to experiment, lager varieties like Devon Rock, Coors Light, or Madri work exceptionally well. The general rule of thumb is: the more carbonated the beer or lager, the lighter and crispier your batter will be. Always ensure your beer is thoroughly chilled; a cold liquid reacting with hot oil helps to create a crispier exterior.
Other Key Ingredients
Cornflour (Cornstarch in USA) – This ingredient serves a dual purpose. It’s added to the batter for extra crispiness and also used to dust the pickle slices before battering. Dusting the pickles helps to absorb any residual moisture and creates a surface for the batter to adhere to, preventing it from sliding off during frying.
Oil for Deep Frying – Choose a neutral-flavored oil with a high smoke point, such as vegetable oil, canola oil, or peanut oil. Maintaining the correct oil temperature is vital for achieving golden, crispy fried pickles without them becoming greasy. A deep-fryer or a heavy-bottomed pot with a thermometer is highly recommended.
How to Make Crispy Fried Pickles: Step-by-Step Guide
For the full recipe with precise measurements and detailed steps, please refer to the recipe card located at the end of this post.
Making these delicious fried pickles is surprisingly simple and quick. Follow these steps for perfect, golden-brown results every time:
- Prepare the Oil: Begin by heating your chosen oil in a deep fryer or a sturdy, heavy-bottomed pot to 180°C (350°F). Maintaining this temperature is critical for perfectly crispy pickles.
- Dry the Pickles: Lay your drained pickle slices out on several layers of kitchen roll. Gently pat them completely dry to remove any excess moisture. This step is crucial for preventing a soggy batter and ensuring maximum crispiness.
- Dust the Pickles: Lightly dust the patted-dry pickle slices with a portion of the cornflour, shaking off any excess. This thin coating helps the beer batter adhere better to the pickles.
- Prepare the Beer Batter: In a large mixing bowl, combine the self-raising flour, cornflour (for the batter), and baking powder. Whisk them together until well combined. Gradually pour in the chilled pale ale, stirring continuously until you have a smooth batter with no lumps. The batter should be thick enough to coat the pickles, but not overly heavy.
- Batter the Pickles: Carefully place the cornflour-dusted pickle slices into the prepared beer batter, ensuring each slice is thoroughly coated.
- Drain Excess Batter: Using a slotted spoon or tongs, lift the coated pickles out of the batter, allowing any excess batter to drip back into the bowl. This prevents too much batter from forming a thick, doughy crust.
- Fry to Perfection: Gently lower the battered pickles into the hot oil. Work in batches to avoid overcrowding the fryer, as this can lower the oil temperature and lead to greasy pickles. Fry for 1-2 minutes per batch, or until they turn a beautiful golden brown and are wonderfully crispy.
- Drain and Serve: Once golden, remove the fried pickles from the oil with a slotted spoon and place them on a plate lined with fresh kitchen roll to drain any excess oil. Serve immediately while hot and crispy.
Pro Tips for the Crispiest Fried Pickles
To truly elevate your fried pickle experience, don’t be afraid to experiment with different varieties of pickles. Classic dill is fantastic, but trying bread and butter pickles, or even sweet gherkins, can introduce exciting new flavor profiles and textures.
Here are a few additional tips to ensure your fried pickles are always a resounding success:
- Maintain Oil Temperature: Use a deep-fry thermometer to keep the oil consistently at 180°C (350°F). If the oil is too cold, the pickles will absorb too much oil and become greasy. If it’s too hot, the batter will burn before the pickles are cooked through.
- Don’t Overcrowd the Pan: Frying in small batches is essential. Overcrowding drops the oil temperature and causes the pickles to steam rather than fry, resulting in a less crispy texture.
- Pat Dry, Pat Dry, Pat Dry: We cannot stress this enough. The drier your pickle slices are, the better the batter will adhere, and the crispier the final product will be.
- Chill Your Beer: A very cold, carbonated beer is key to a light and airy batter. The temperature difference between the cold batter and hot oil creates a shock that locks in crispiness.
- Season Immediately: As soon as the fried pickles come out of the oil, sprinkle them with a pinch of salt. This enhances their flavor and adheres best while they are hot.
- Serve Fresh: Fried pickles are best enjoyed immediately after frying. Their crispy texture is at its peak when hot.
This recipe is incredibly simple, yet it consistently produces a snack that is nothing short of a game-changer. Get ready to impress your taste buds and your guests!
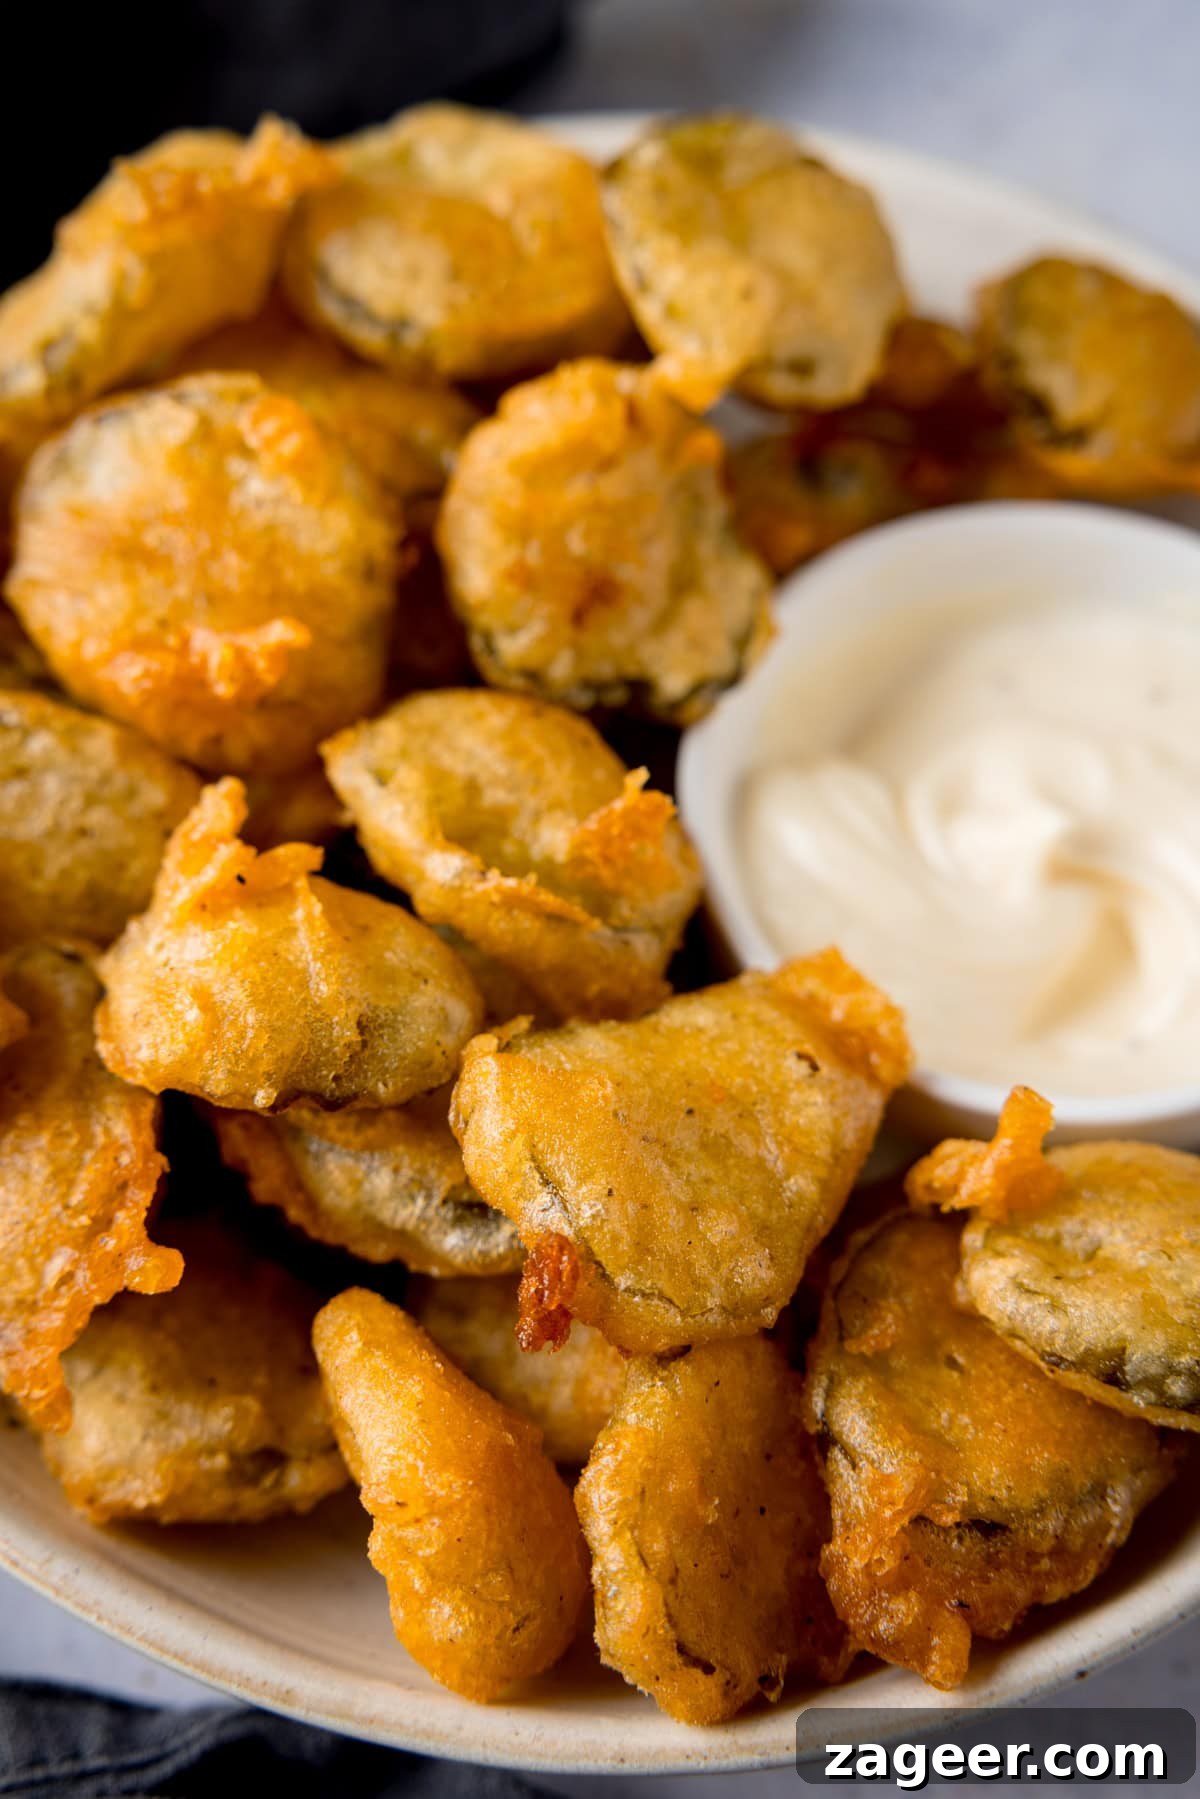
Pin this now to find it later
Pin It
🍽️ What to Serve with Fried Pickles
Fried pickles are incredibly versatile and pair beautifully with a wide range of dishes and dips. Their tangy, salty crunch makes them an ideal complement to rich, savory flavors.
As a Side Dish for Dinner
These crispy delights are the perfect companion to a hearty burger dinner, offering a refreshing contrast to the richness of the meat and cheese. Consider serving them alongside:
- The Ultimate Double Cheeseburger: The tanginess of the pickles cuts through the richness of a juicy cheeseburger beautifully.
- Homemade Air Fryer Chips or Oven Chips: For a full-on American diner experience, these crispy sides are a must.
- Simple Burger Sauce: A creamy, savory sauce like this is fantastic for dipping both your burger and your pickles.
Beyond burgers, fried pickles also make a delightful side for grilled chicken sandwiches, pulled pork, or even a classic BBQ plate. Their vibrant flavor can lighten up any heavy meal.
Perfect as a Standalone Snack or Appetizer
If you’re simply looking for a fantastic snack to enjoy on its own, fried pickles are truly unbeatable. They are an excellent appetizer for parties, game nights, or just a casual evening in. Serve them with a selection of dipping sauces to cater to everyone’s preferences:
- Garlic Mayo: Our absolute favorite pairing, the creamy garlic mayo complements the tangy pickles perfectly.
- Sweet Chili Sauce: For a sweet and spicy kick that adds another layer of flavor.
- Ketchup: A classic and universally loved choice.
- BBQ Sauce: The smoky and sweet notes of BBQ sauce create a delicious contrast.
- Ranch Dressing: Creamy ranch is a popular dip that beautifully balances the acidity of the pickles.
- Spicy Sriracha Mayo: For those who love a bit of heat, mix Sriracha into your mayo.
And for the ultimate adult snack experience, pair your warm, crispy fried pickles with a nice cold beer. The bitterness and effervescence of the beer perfectly cleanse the palate after each tangy, crunchy bite, making for an incredibly satisfying combination. These are truly a crowd-pleaser that disappear fast!
🍲 More Fantastic Savoury Snacks
Sides
Fried Jalapeños
Appetizers
Buffalo Chicken Spring Rolls
Appetizers
Bang Bang Chicken
Asian
Salt and Pepper Chips
Asian
Korean Fried Chicken
Dinner
Loaded Potato Skins
Stay updated with new recipes!
Subscribe to our newsletter to hear when we post a new recipe. We’re also on YouTube (new videos every week) and Instagram (behind-the-scenes stories & beautiful food photos).
Fried Pickles Recipe
Print Recipe
Click the stars to rate or comment
By Nicky Corbishley
Tangy pickle slices coated in a light and crispy beer batter. They’re a great snack to serve with drinks or with barbecue. I love to serve them alongside burgers and chips!
Prep Time: 15 mins
Cook Time: 5 mins
Total Time: 20 mins
Servings: 4 servings
Course: Appetizer, Side Dish
Cuisine: American
Ingredients
Beer Batter
- 120 g (1 cup) self-raising flour (see swaps)
- 2 tbsp cornflour (cornstarch in USA)
- ½ tsp baking powder
- 240 ml (1 cup) refrigerated pale ale (it MUST be cold) (see swaps)
Also
- Oil for deep frying
- 200 g (7 oz) sliced dill pickles, drained
- 3 tbsp cornflour (cornstarch in USA)
Instructions
- Heat the oil in your deep fryer or heavy-bottomed pot to 180°C (350°F).
- Layer the pickles out on pieces of kitchen roll and pat them thoroughly dry.
- Place the self-raising flour, 2 tbsp cornflour, and ½ tsp baking powder in a large bowl and stir together to combine.
- Slowly stir in the chilled pale ale until no lumps remain, creating a smooth batter.
- Dust the drained pickle slices lightly in 3 tbsp of cornflour, shaking off any excess, then immerse them in the beer batter to fully coat.
- Lift the pickles out of the batter with a slotted spoon, allowing any excess batter to drain off.
- Carefully add the battered pickles to the hot oil and fry for 1-2 minutes, until they are golden and crispy. You will likely need to work in 2-3 batches to avoid overcrowding the pan or fryer.
- Remove the fried pickles, drain them on kitchen roll, and serve immediately.
Notes
How to scale up and down this recipe:
You can easily halve this recipe to serve two people or double it to cater to a larger crowd, as long as you maintain the same ingredient ratios for the batter.
Can I make ahead?
We do not recommend making the fried pickles ahead of time, as they are best enjoyed fresh and crispy. However, you can prepare the batter a few hours in advance. Simply cover it and refrigerate for 2-3 hours, then give it a good whisk before using.
Swaps
If you don’t have self-raising flour, substitute it with the same amount of plain (all-purpose) flour plus 1 teaspoon of baking powder (you will still need to add the additional ½ tsp baking powder as specified in the batter recipe).
For a non-alcoholic version, or if pale ale is unavailable, you can replace the beer with soda water. Remember, it absolutely MUST be cold to achieve the desired crispiness!
Nutritional information
Nutritional information provided is approximate, calculated per serving, and based on this recipe yielding 4 servings as a snack. We have estimated that approximately 75ml (5 tbsp) of oil will be absorbed during the frying process, but please note that this amount can vary depending on various factors.
Nutrition
Calories: 336 kcal | Carbohydrates: 34g | Protein: 4g | Fat: 18g | Saturated Fat: 1g | Polyunsaturated Fat: 5g | Monounsaturated Fat: 11g | Trans Fat: 0.1g | Sodium: 408mg | Fiber: 1g | Sugar: 1g
Nutrition information is automatically calculated, so should only be used as an approximation.
Like this recipe? Leave a comment below!
Some of the links in this post may be affiliate links – which means if you buy the product I get a small commission (at no extra cost to you). If you do buy, then thank you! That’s what helps us to keep Kitchen Sanctuary running. The nutritional information provided is approximate and can vary depending on several factors. For more information please see our Terms & Conditions.