
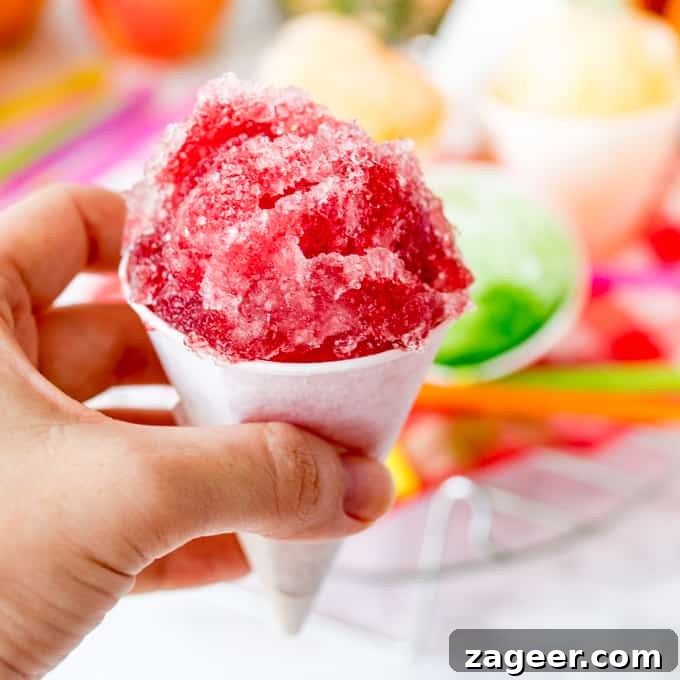
How to make snow cones with homemade fruit syrup — perfect for hot summer days. Includes a quick tip for making fluffy shaved ice!
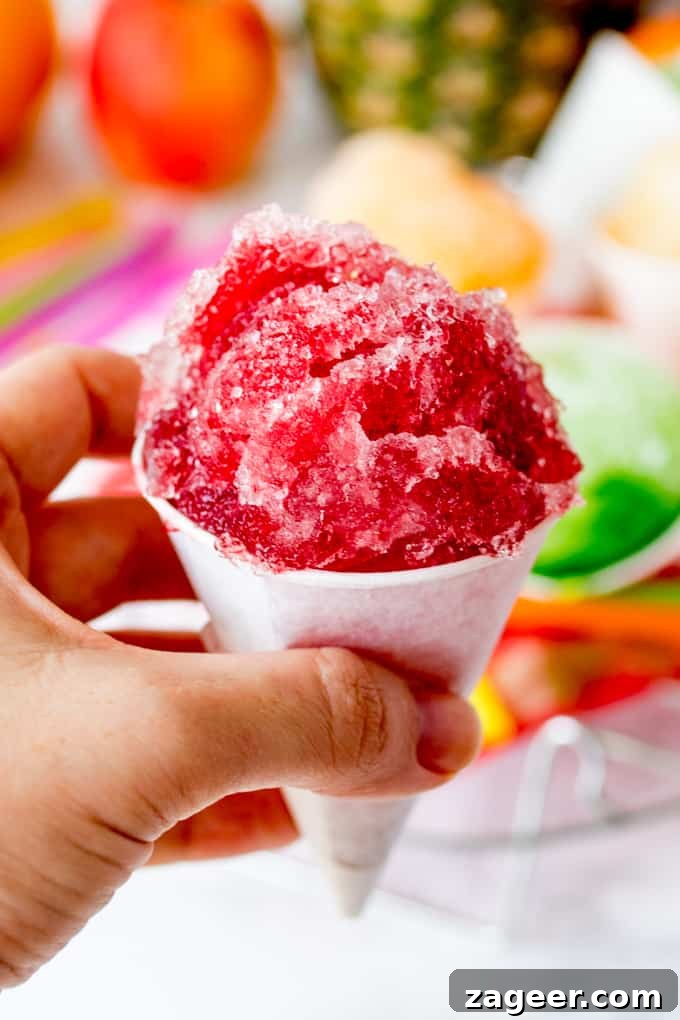
The recent warm weather has meant we’ve been outside more, wearing sandals and light tops — and the kids (and adults) have been asking for icy treats non-stop. To avoid filling the freezer with shop-bought lollies, I started making snow cones at home.
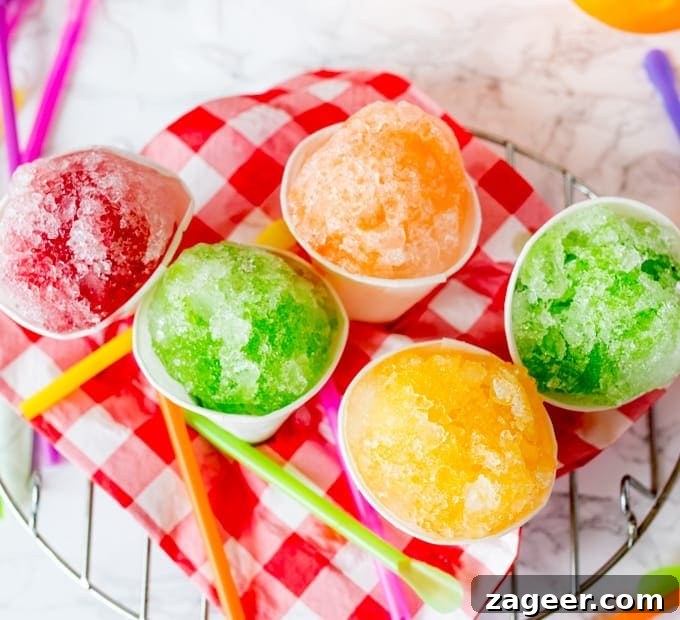
I first made these a few years ago and ended up with more paper snow cone cups than I knew what to do with. This summer we’re finally putting them to good use.
The base of these snow cones is a simple homemade fruit syrup made from cartons of fruit juice. It’s easy, economical and great for making a variety of flavours.
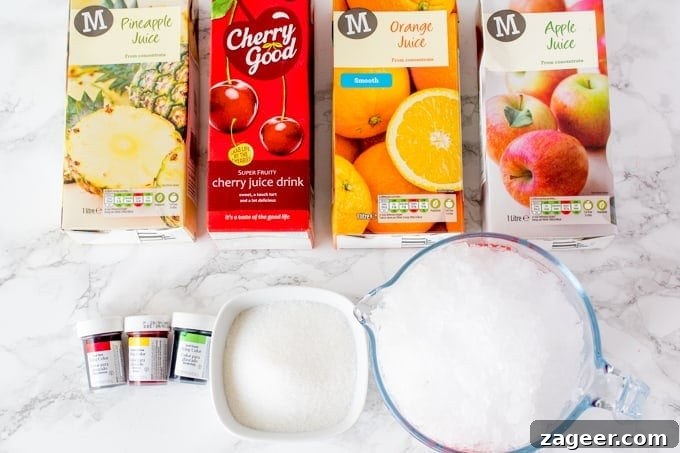
To make the syrups, pour each juice into its own saucepan, add sugar and simmer until reduced and slightly thickened. The process concentrates the flavour and makes a syrup that pours nicely over shaved ice.
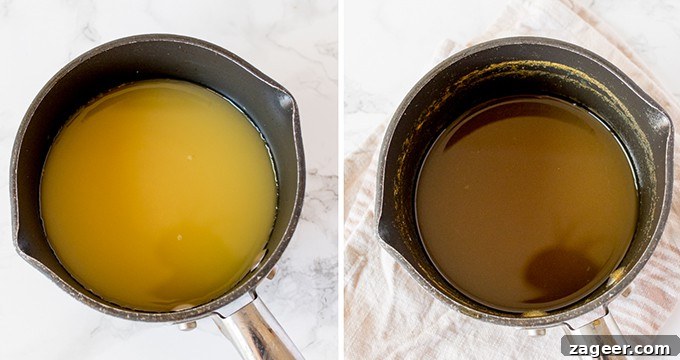
I used orange, apple, pineapple and cherry juices so we had a good selection. For brighter colours you can stir in a tiny amount of food colouring gel — green for apple, yellow for pineapple and red for orange if you like vivid shades. Cherry juice usually has enough color on its own.
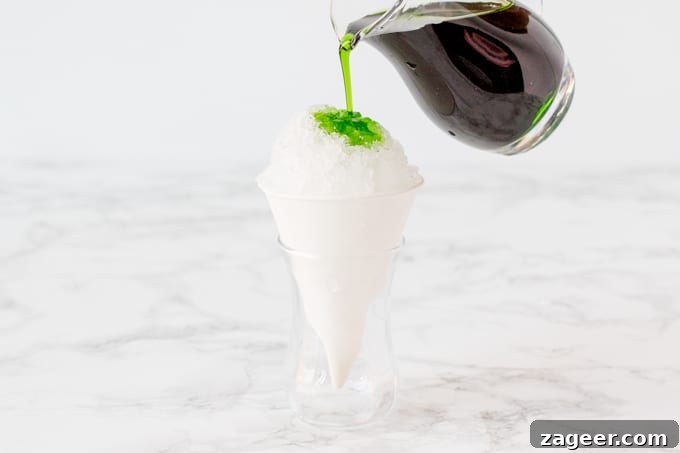
Quick tip for shaved ice: place ice cubes or crushed ice in a food processor and pulse in short bursts, scraping down the bowl between pulses, until the ice is finely crushed and fluffy. This makes light, snow-like ice that soaks up the syrup perfectly.
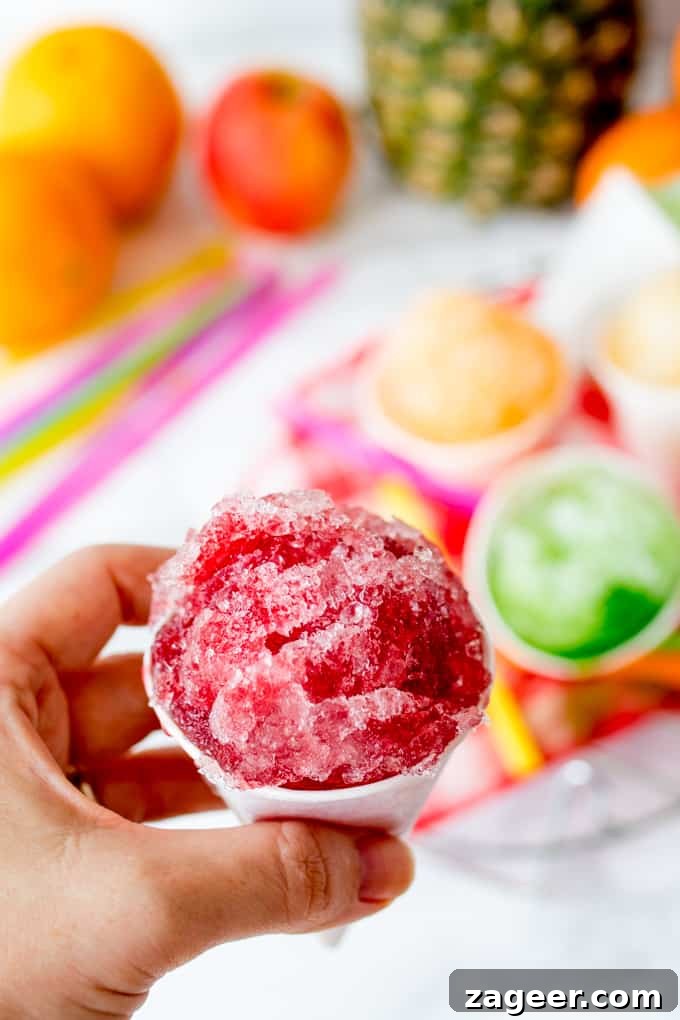
These snow cones are cheap to make, taste great and are always a hit with the kids.
More Frozen Treats
If you want other ideas to stay cool this summer, try recipes like no-churn cereal milk ice cream, prosecco lemon and ginger granita, spiked pineapple dole whip, Pick ‘n’ mix popsicles, easy strawberry and rhubarb sorbet, or no-churn lemon shortbread ice cream.
Snow Cones with Homemade Fruit Syrup — Recipe
Snow Cones with Homemade Fruit Syrup
10 mins
50 mins
1 hr
Ingredients
- 750 ml (3 1/4 cups minus 2 tbsp) orange juice (fresh or from concentrate)
- 750 ml (3 1/4 cups minus 2 tbsp) pineapple juice (fresh or from concentrate)
- 750 ml (3 1/4 cups minus 2 tbsp) cherry juice (fresh or from concentrate)
- 750 ml (3 1/4 cups minus 2 tbsp) apple juice (fresh or from concentrate)
- 200 g (1 cup) granulated sugar
- Food colouring gel – green, red and yellow (optional)
- Shaved ice — place ice cubes or crushed ice in a food processor and pulse until the ice is finely crushed and fluffy
Instructions
- Pour each juice into separate saucepans. Add 50 g (1/4 cup) of sugar to each saucepan. Stir and bring to the boil, then reduce the heat and simmer until the liquid has reduced by about two-thirds. This usually takes 30–50 minutes depending on the juice.
- If you want brighter colours, add a small blob of food colouring gel to the orange, apple and pineapple syrups: green for apple, red for orange and yellow for pineapple. Cherry syrup usually doesn’t need extra colouring.
- Stir the colouring in until fully combined, then remove the pans from the heat and allow the syrups to cool. They will thicken slightly as they cool.
- Spoon shaved ice into cones, cups or bowls, then drizzle 1–2 tbsp of your chosen syrup over each snow cone. Serve immediately.
Notes
Making the fruit syrups ahead
Once cooled, pour the syrups into sealable containers and refrigerate. They should keep for at least two weeks.
Nutritional information is approximate — values are based on using 1/10 of each syrup per snow cone and are provided as a guideline only.
Nutrition
Carbohydrates: 13 g |
Sodium: 2 mg |
Sugar: 12 g
Nutrition information is automatically calculated and should be used as an approximation.
I first developed this recipe for a DIYs feature. These snow cones are simple to prepare, fun to serve and perfect for summer gatherings.
Some links mentioned in the original post may have been affiliate links. The nutritional information is approximate and can vary depending on ingredients and portions.