
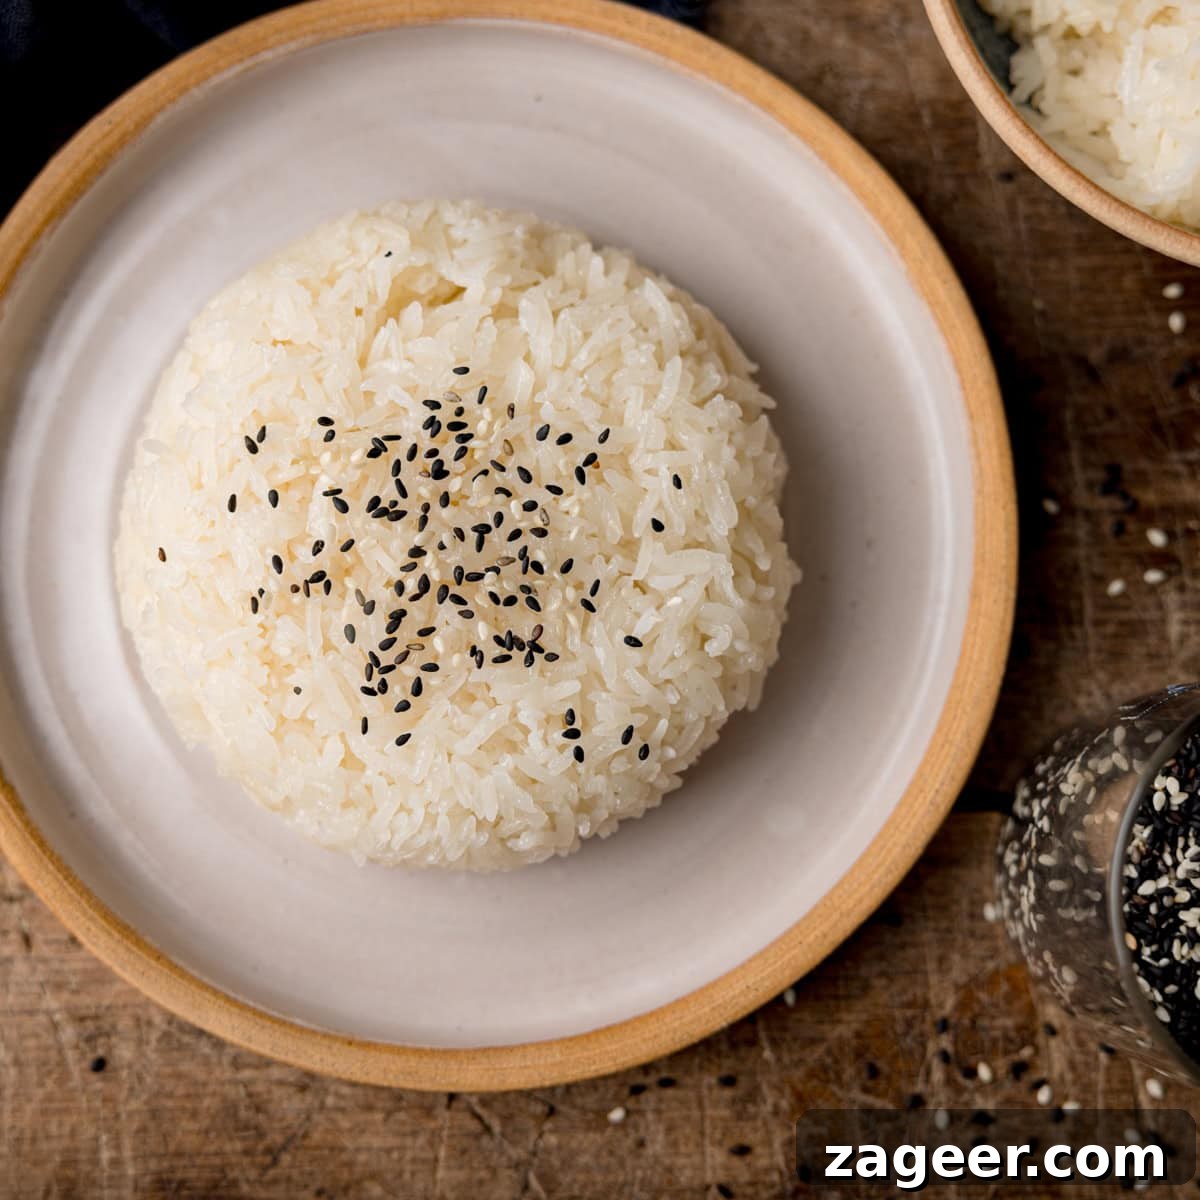
Thai sticky rice is simple to make at home. The easiest method uses a rice cooker (no soaking required). If you don’t have a rice cooker, I’ve included a straightforward saucepan steaming method that also gives excellent results — no muslin cloths required.
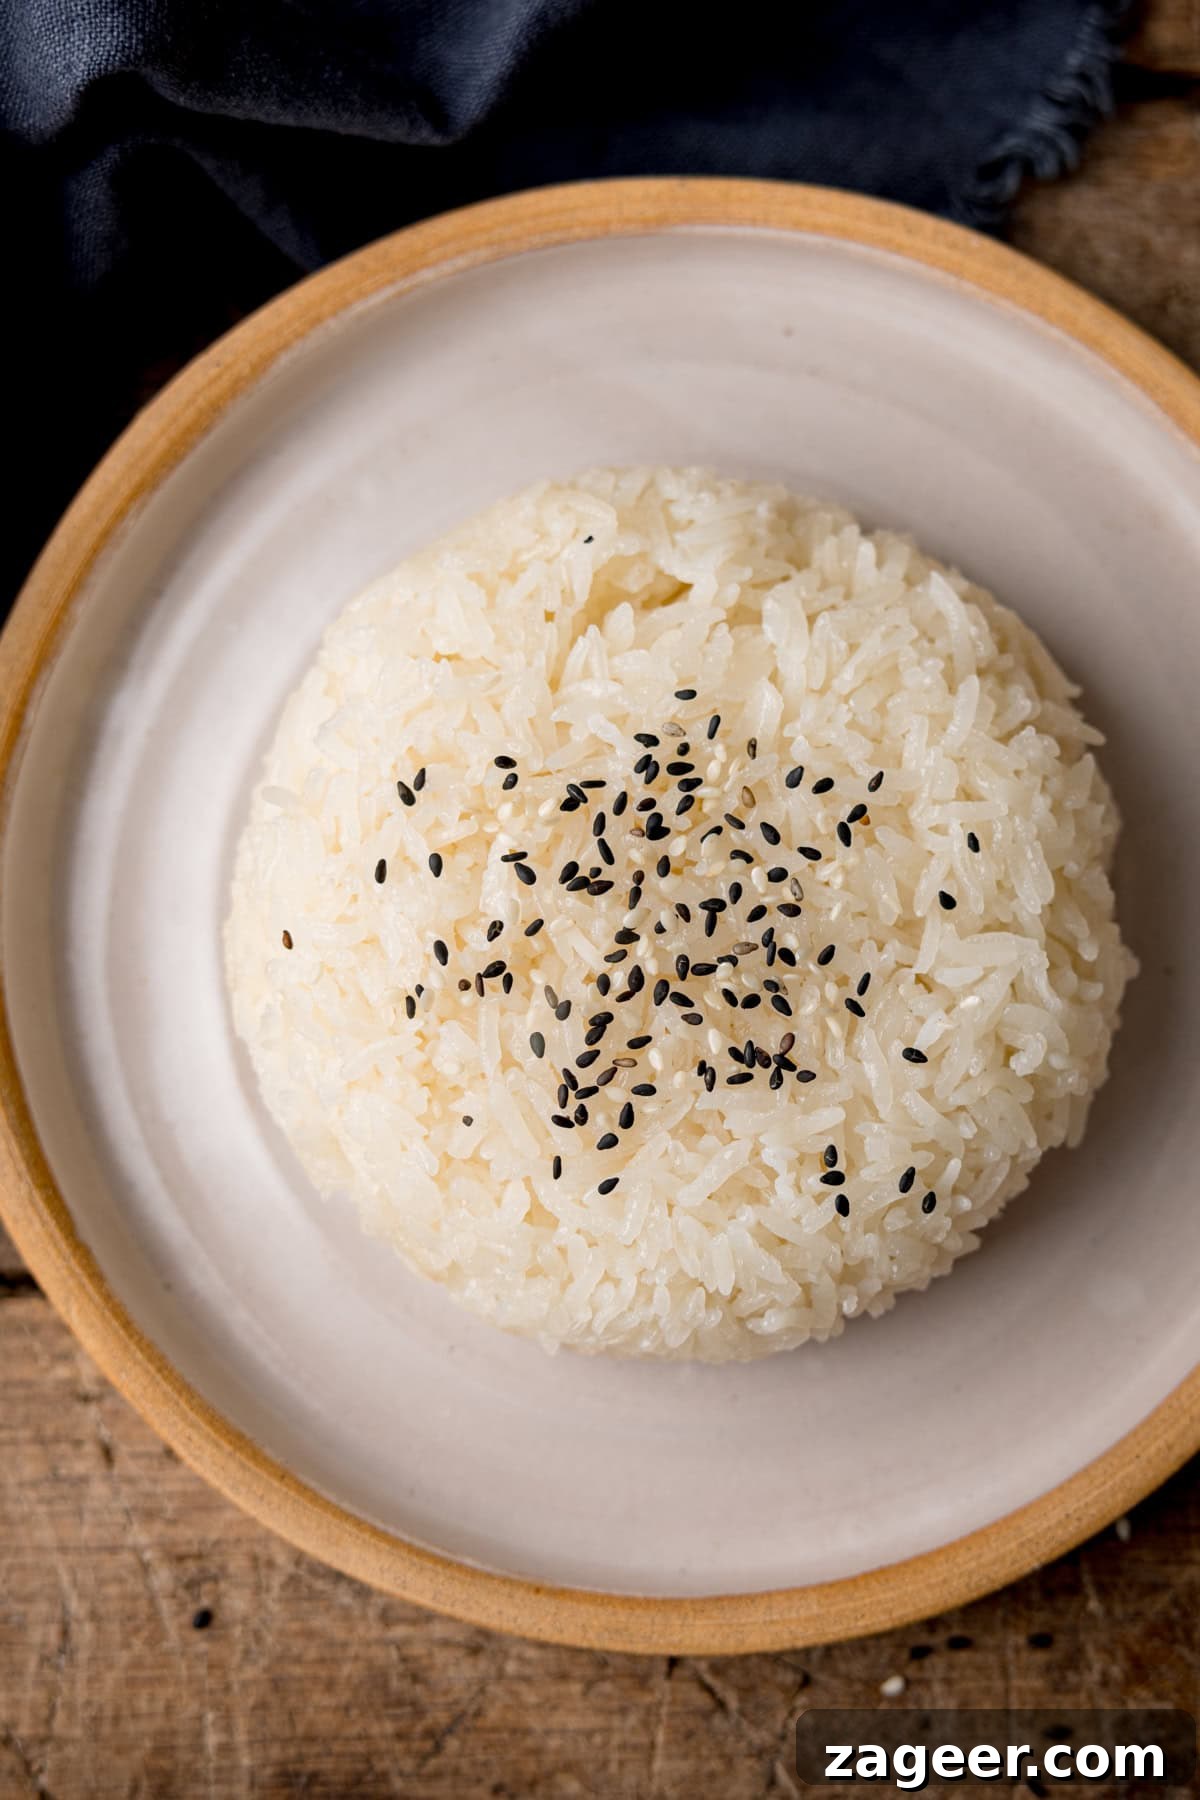
Sticky rice is my favourite accompaniment for Thai food. Its chewy texture and subtle sweetness balance spicy, saucy curries perfectly. When done right you can press the rice into a clump, dip it in sauce and it will hold together while absorbing the flavours.
A rice cooker is the simplest way to get consistent results with Thai sticky rice, and it removes the need for soaking. If you prefer stovetop cooking, the sieve-steaming method below is the best saucepan option I’ve tested.
Table of Contents
- Our rice cooker
- 📋 Ingredients
- 📺Watch how to make it
- Pro Tip
- 🍽️ What to serve it with
- 🍲 More fantastic rice dishes
- Thai Sticky Rice Recipe
Our rice cooker
I use a Zojirushi rice cooker because it’s reliable and can handle large batches. There are smaller, more affordable models that work well too — read reviews and pick one that fits your budget and household size. Most rice cookers will produce excellent sticky rice without soaking.
📋 Ingredients
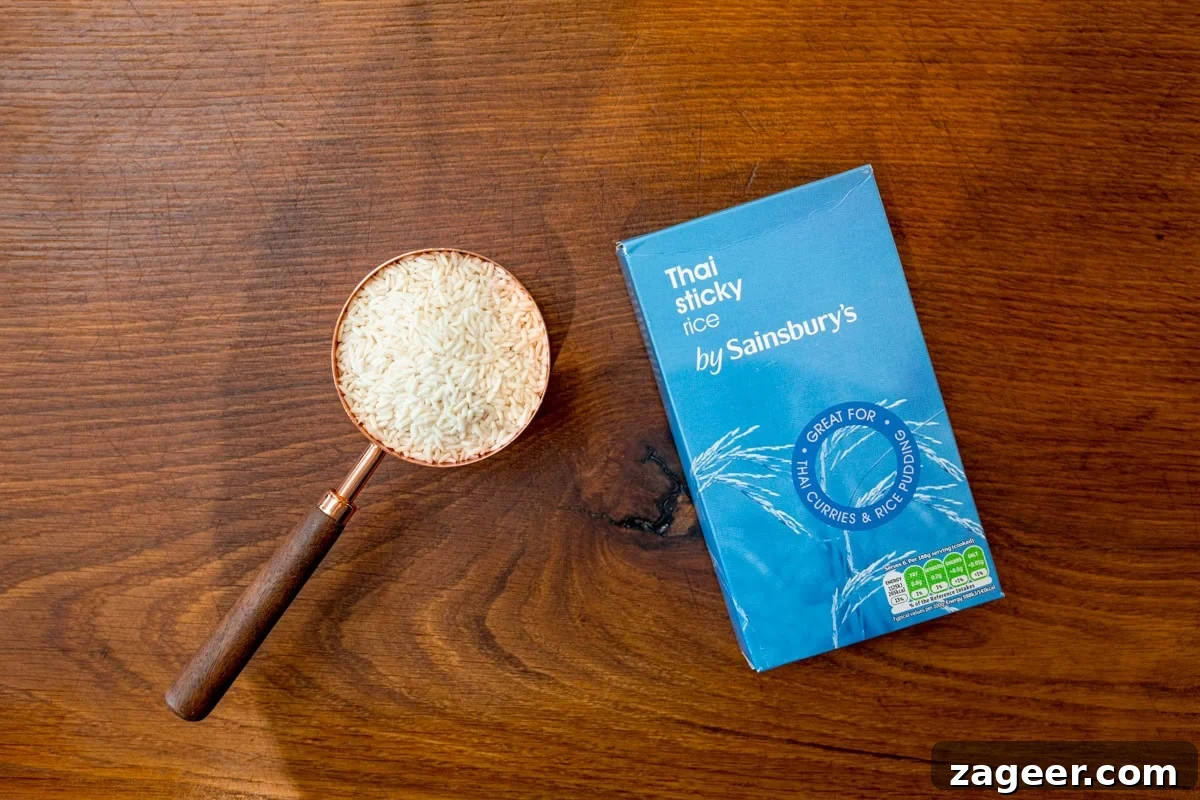
- Glutinous rice (Thai sticky rice) — commonly available in larger supermarkets or Asian grocery stores.
- Water — use an equal volumetric amount of cold water to rice for the rice cooker method (see notes on ratios below).
- To serve: sesame seeds (optional).
📺Watch how to make it:
Full recipe and detailed steps are in the recipe card at the end of this page.
- Start by rinsing the rice in cold water 3–4 times until the water runs clear, then drain.
- Rice cooker method (easy and quick): Put the drained rice in the rice cooker, add an equal volumetric amount of cold water, level the rice, and run one normal white rice cycle. Cooking time will vary by cooker (typically 25–60 minutes).
- Stovetop sieve-steaming method (no muslin required): After rinsing and draining the rice, cover it with hot tap water and leave to soak for 1 hour. Rinse again with cold water and drain thoroughly.
- Place a couple of inches of water in a saucepan and bring to a gentle simmer. Put the rice into a fine-mesh sieve that fits over the pan without the base touching the water. Cover the sieve with a lid (no large gaps) and steam for 25 minutes. Turn off the heat and let the rice rest for 10 minutes before serving.
- Remove the rice from the cooker or sieve, fluff or shape into domes, and serve.
Pro Tip
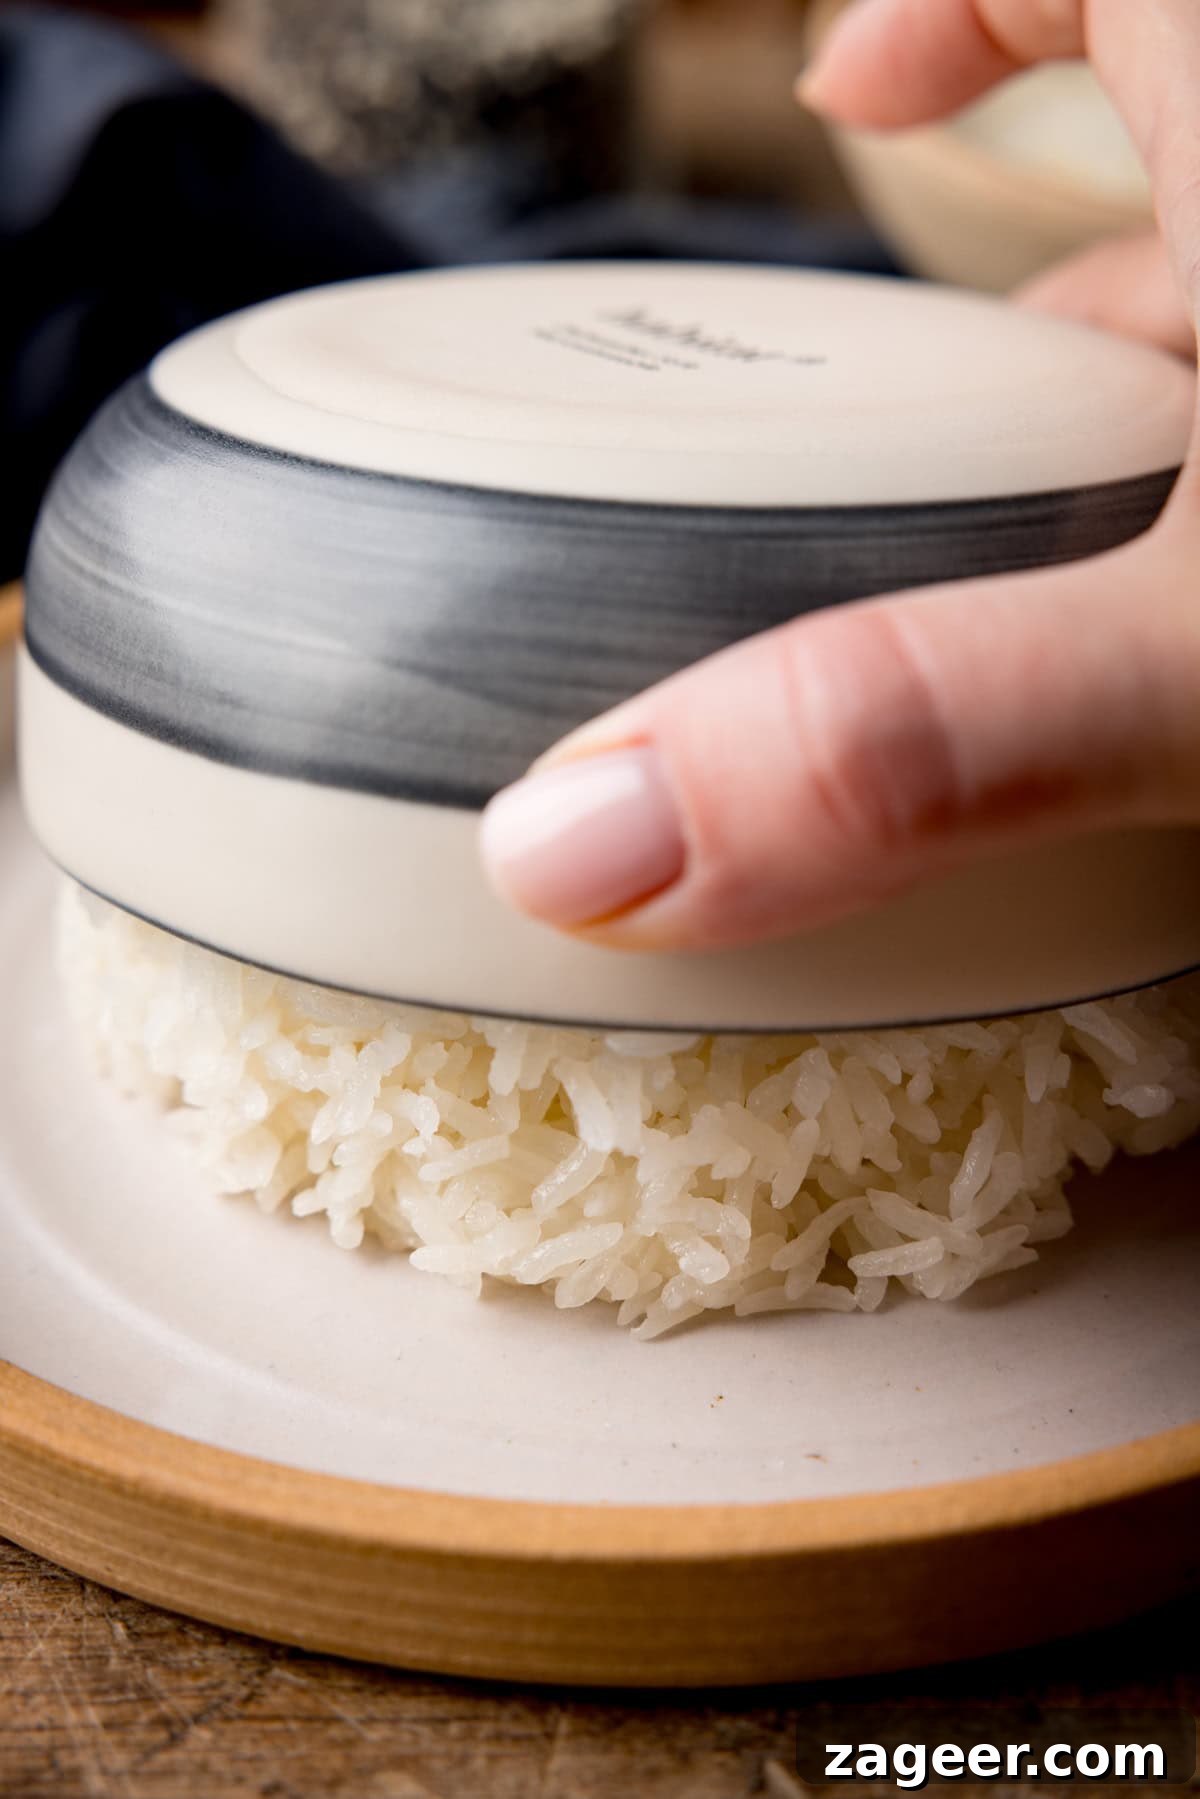
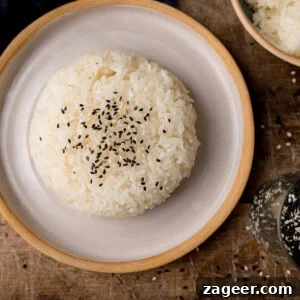
To shape the rice into a neat dome, spoon it into a small shallow bowl, gently press with the back of a spoon (don’t pack it too tightly), then invert the bowl onto a plate. A gentle tap will release a tidy rice dome.
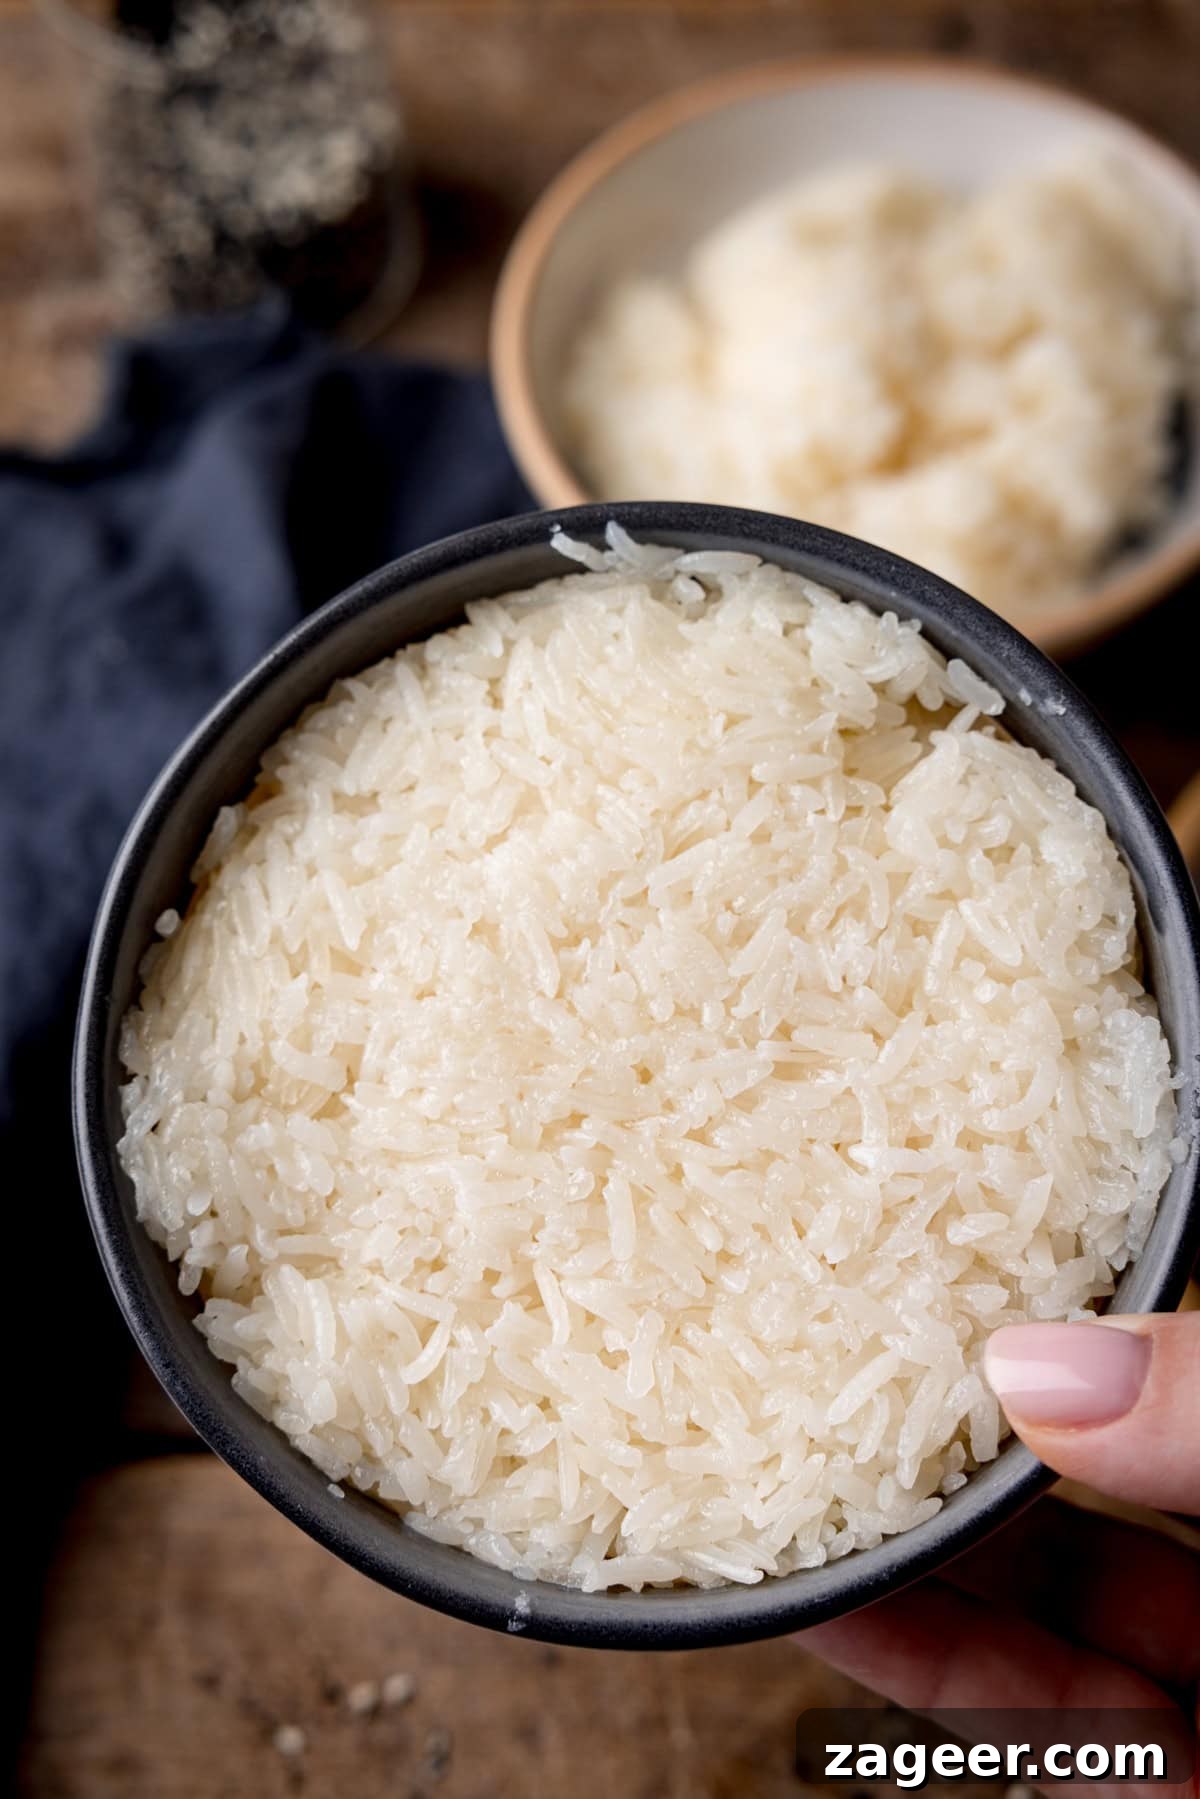
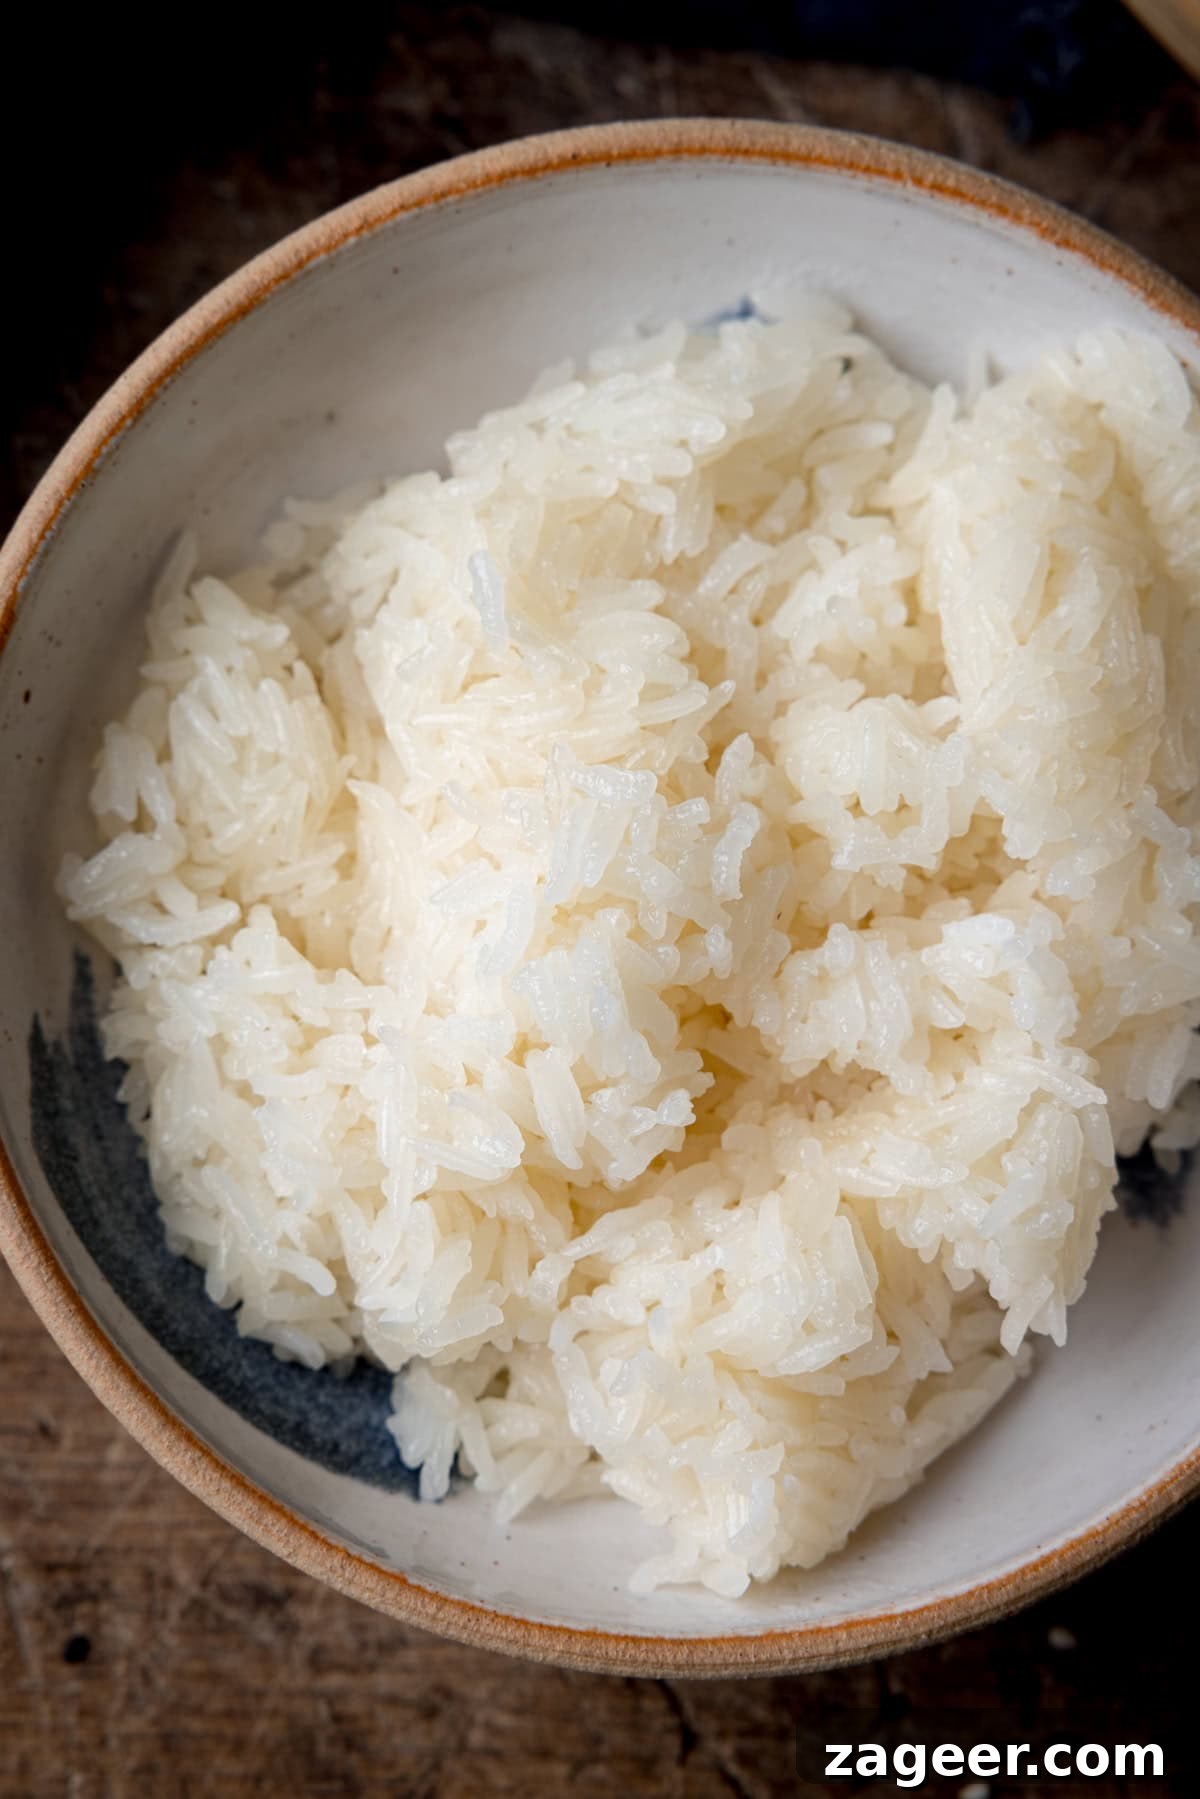
You can also spoon the rice into attractive clumps instead of shaping it. Sticky rice pairs well with bold, spicy dishes and soups where you want something to soak up sauce.
🍽️ What to serve it with
- Works beautifully alongside rich curries and stews — try it with chicken meatball curry, panang curry or Thai green curry.
- It’s also great for dipping into spicy soups such as Tom Kha Gai or into a robust fish stew.
🍲 More fantastic rice dishes
Sides
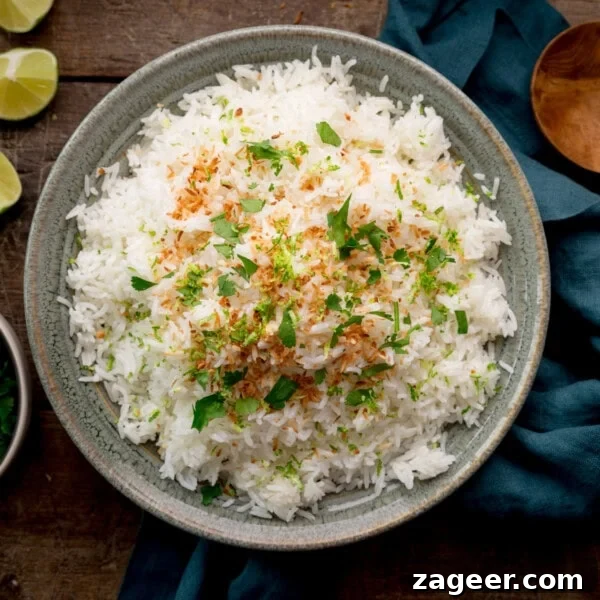
Rice Cooker Coconut Rice
Asian
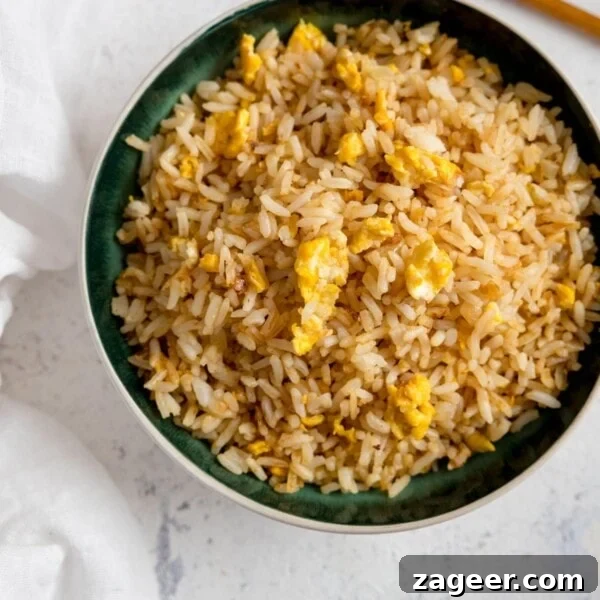
Egg Fried Rice
Sides
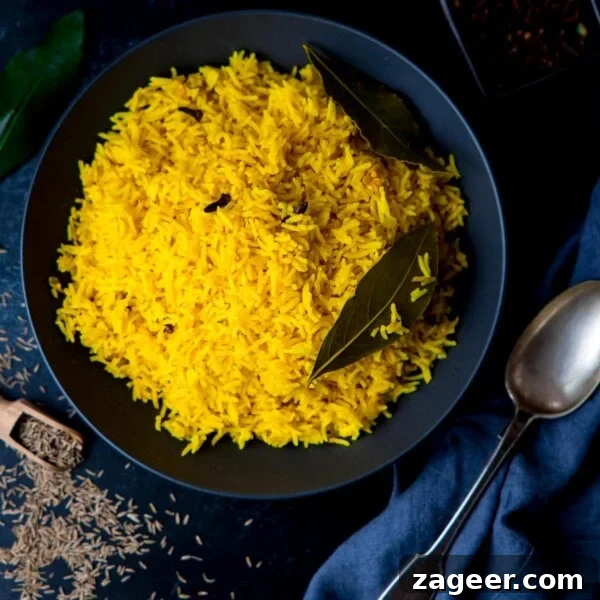
Pilau Rice Recipe

Asian
Cauliflower Fried Rice
Sides
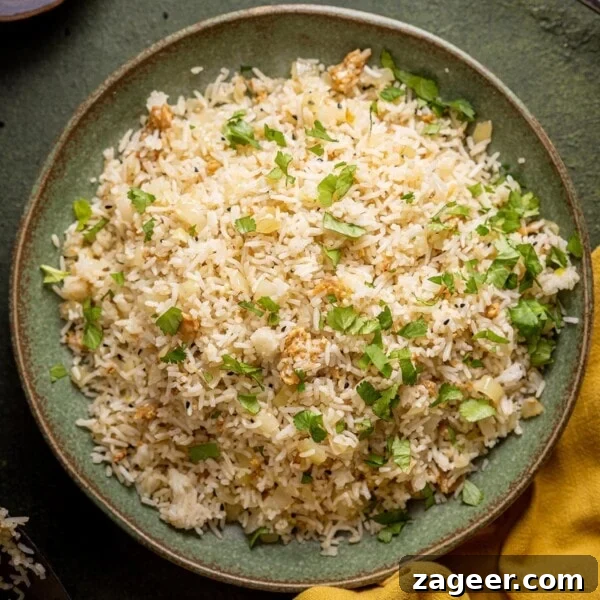
Onion Fried Rice

Asian
Chicken Fried Rice
Yes. Cool the cooked rice quickly by spreading it out or portioning it into clumps, then refrigerate as soon as it’s cool. Do not leave cooked rice at room temperature for long — bacteria can multiply rapidly. Store in the fridge for up to 24 hours and reheat thoroughly until piping hot. The microwave works well for reheating.
Stay updated with new recipes. Subscribe to the newsletter to hear when new recipes are posted. I also share videos and behind-the-scenes photos on social channels.
Thai Sticky Rice Recipe
Ingredients
- 330 g (1½ cups) glutinous rice or Thai sticky rice
- 360 ml (1½ cups) cold water
To serve:
- Sesame seeds (optional)
Instructions
- Rinse the rice 3–4 times in cold water until the water runs clear, then drain.
- Place the drained rice into the rice cooker insert. Add the cold water and level the rice.
- Cook on a single white rice cycle (timing varies by cooker).
- When the cycle finishes, remove the lid and serve. Sprinkle with sesame seeds if you like.
Notes
Rice to water ratio
Use equal volumetric amounts of rice and water (for example, 1.5 cups rice to 1.5 cups water). Don’t match by weight — a cup of rice weighs less than a cup of water.
Saucepan method
You need a fine-mesh sieve that sits over a saucepan so the sieve base doesn’t touch the water, and a lid that fits with no large gaps.
Rinse the rice 3–4 times until the water runs clear. Drain, then place the rice in a bowl and cover with hot (not boiling) tap water, about 1 inch above the rice. Leave to soak for 1 hour, then drain and rinse with cold water once more.
Bring a couple of inches of water to a simmer in a saucepan. Put the rice in the sieve, level it out, and position the sieve over the pan so it doesn’t touch the water. Cover and steam gently for 25 minutes. Turn off the heat and rest for 10 minutes before removing the sieve and serving.
Muslin cloths
If you have muslin cloths, you can line the sieve or steam basket with muslin, place the soaked rice in the centre, wrap the cloth edges over the rice, and steam as above.
Yield
This recipe makes about 4 small servings.
Nutrition
Nutrition information is approximate and should be used as a guideline only.
Some links in the original post may be affiliate links. The nutritional information is approximate and can vary depending on ingredients and serving sizes.