
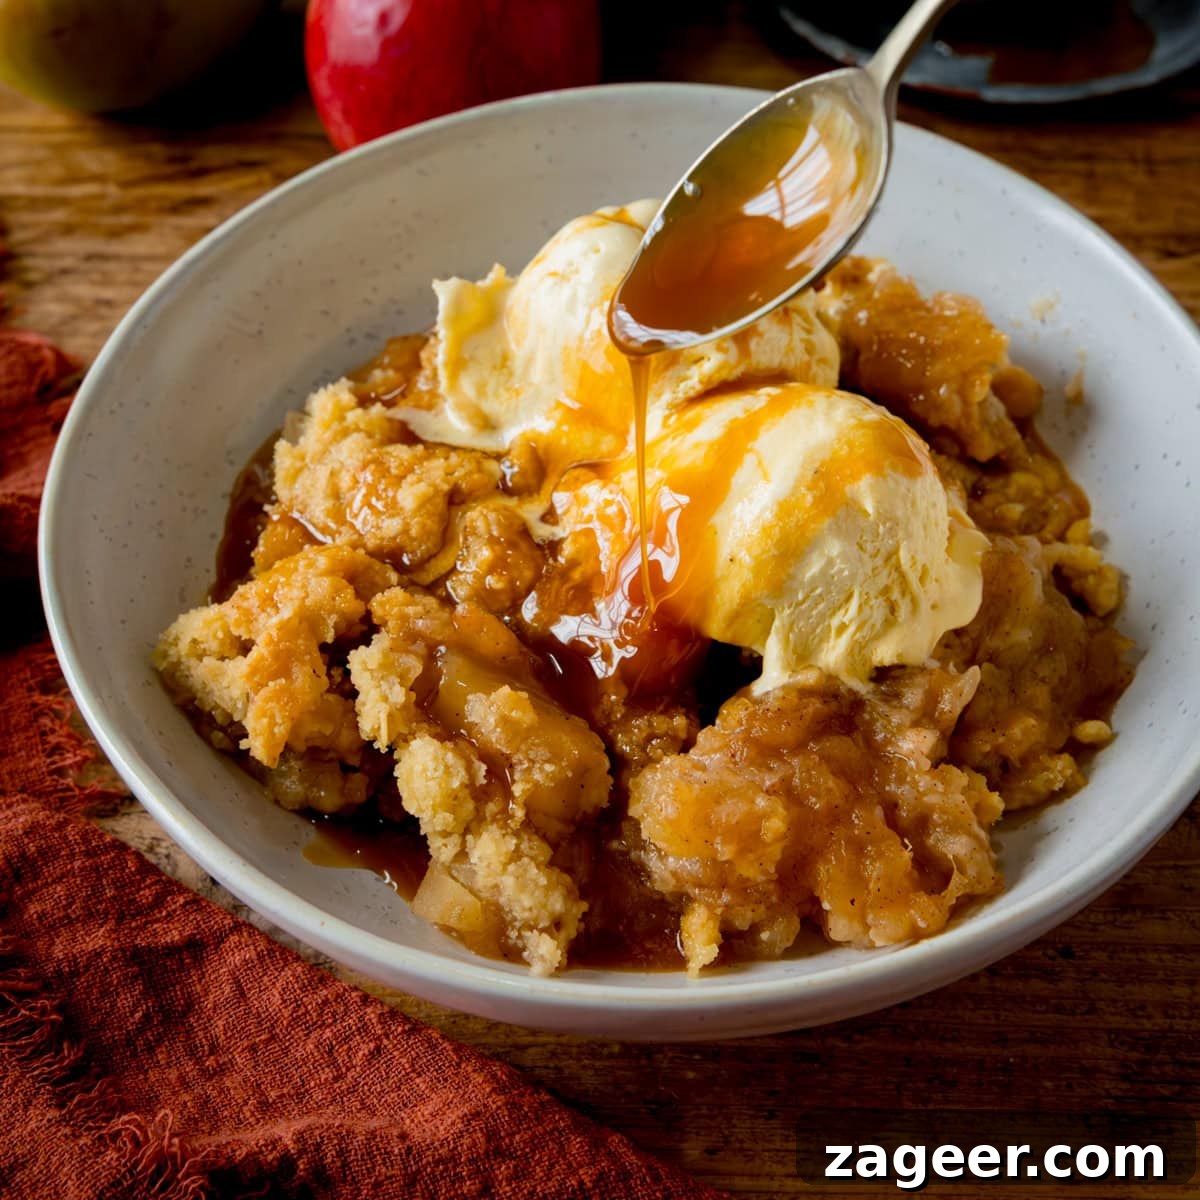
There’s nothing quite like digging into a warm apple crumble with golden, buttery topping and soft, cinnamon-spiced apples underneath. It’s the quintessential comfort dessert, perfect for any season, but especially delightful during the cooler months.
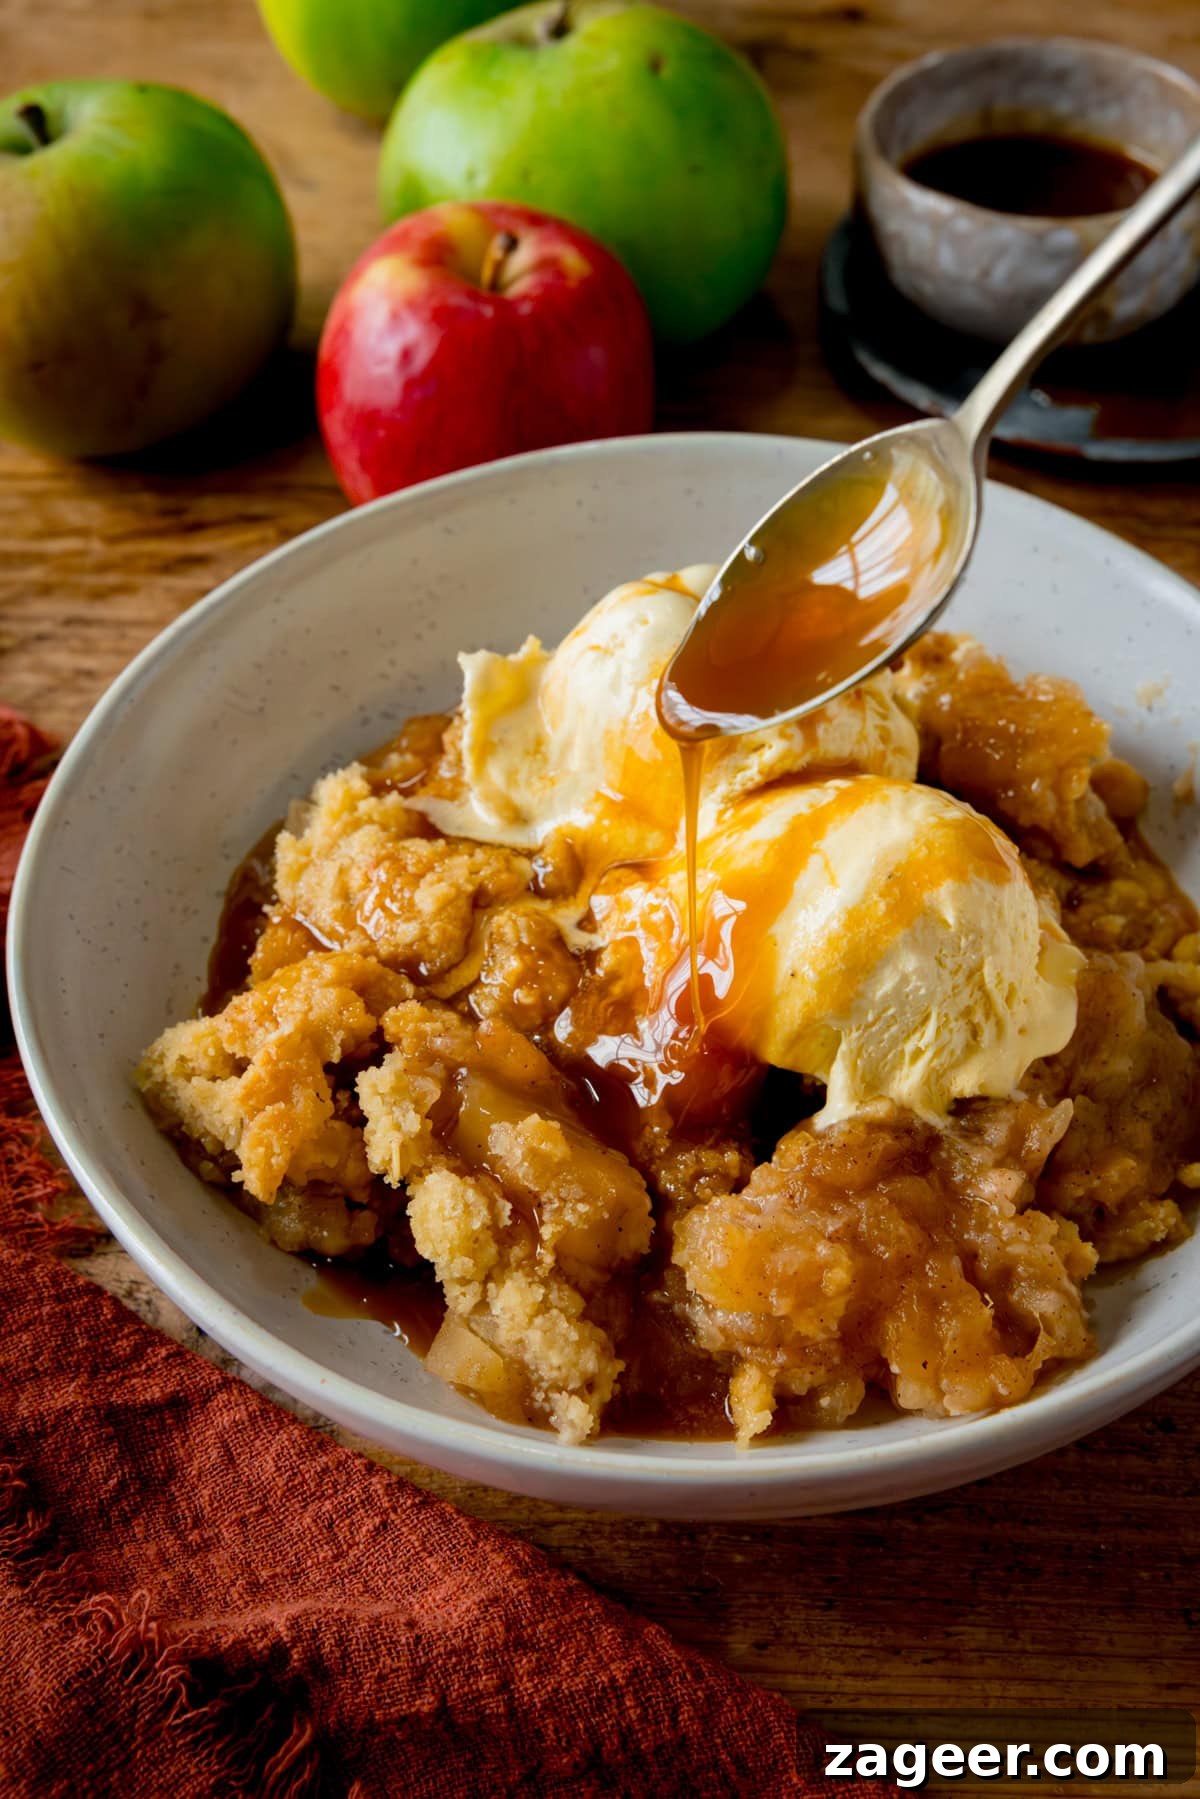
Why This Apple Crumble Recipe Shines

Apple crumble truly embodies the spirit of Autumn, doesn’t it? For me, it’s also the quintessential Sunday dessert. After a busy afternoon, or following a comforting family Sunday roast, a warm apple crumble is the absolute perfect way to conclude the weekend. It’s a dish that brings smiles, warmth, and a touch of nostalgic bliss.
What makes this particular recipe so exceptional?
- Refined and Perfected: I’ve prepared apple crumble countless times over the years, constantly tweaking and refining until I achieved the perfect balance. This version boasts an exquisitely crumbly, buttery topping and a filling that’s wonderfully soft, yet holds a delightful sweet-tangy complexity. It’s the result of continuous improvement, ensuring a consistently delicious outcome every single time.
- Optimal Apple Blend: The secret to an outstanding apple filling lies in using a thoughtful combination of apple varieties. We specifically use two types of apples: one that breaks down beautifully to create a luscious, saucy base, and another that retains some texture, providing delightful bite and structural integrity to the filling. This blend also ensures a balanced mix of sweetness and tartness, preventing the filling from being one-dimensional.
- Enhanced Topping for Texture: While I adore a classic flour-butter-sugar topping for its traditional crumbly-sweet, biscuit-like flavor, I’ve discovered a simple addition that takes it to the next level. Incorporating just a tablespoon of rolled oats into the crumble mixture introduces an extra layer of crunch and chewiness, along with a subtle, nutty flavor that complements the apples perfectly. This small tweak makes a big difference in the overall experience.
- Convenient Make-Ahead Option: Life can be busy, but that shouldn’t stop you from enjoying homemade apple crumble. This recipe is wonderfully accommodating for meal prep. You can easily assemble it in advance and either refrigerate it for a couple of days or freeze it for longer storage. This flexibility means you can have a delicious, comforting dessert ready to bake whenever the craving strikes, without the last-minute rush. Detailed instructions on making ahead and freezing are provided further down in the FAQs section.
Table of Contents
- Why This Apple Crumble Recipe Shines
- Choosing the Best Apples for Your Crumble
- A Glimpse into the Baking Process
- Expert Baking Tips for a Perfect Crumble
- 🍽️ Serving Suggestions: What to Pair with Apple Crumble
- Make Ahead and Freezing Instructions
- 🍏 Ultimate Apple Crumble Recipe
- 🍲 More Fantastic Dessert Recipes to Explore
Choosing the Best Apples for Your Crumble
The choice of apples is paramount for a truly spectacular apple crumble. To achieve a filling that is both saucy and retains some texture, it’s highly recommended to use a blend of cooking apples and eating apples. This combination ensures a dynamic flavor profile and appealing consistency.
- The cooking apples, such as the classic Bramley variety, are essential for creating that desirable soft, almost saucy base. These apples have a higher water content and break down more readily during cooking. Their inherent tartness provides a fantastic counterpoint to the sweetness of the sugar and the crumble topping, creating a well-rounded flavor experience. Without them, the filling can sometimes be overly sweet or lack depth.
- The eating apples, like crisp Jazz or Honeycrisp, are included to add vital texture. Unlike cooking apples, they tend to hold their shape better when baked, providing lovely chunks of apple throughout the filling. Their natural sweetness beautifully balances the tartness of the cooking apples, contributing a layer of flavor complexity that elevates the entire dish. This textural contrast makes each bite more interesting and satisfying. When selecting eating apples, aim for a variety known for its firm flesh and good sweet-tangy balance.
Using this dual approach ensures your apple crumble filling is never just one note, but a delightful symphony of flavors and textures that truly shines.
A Glimpse into the Baking Process (Abbreviated Instructions)
For the complete, detailed recipe with step-by-step instructions and precise measurements, please refer to the comprehensive recipe card located at the very end of this article.
Crafting this delightful apple crumble involves two main stages: preparing the flavorful apple filling and creating the irresistible crumbly topping. First, begin by peeling and chopping your chosen apples. Combine them in a saucepan with a splash of fresh lemon juice, sugar, warming cinnamon, and a touch of water. Gently simmer this mixture, with the lid on, until the apples have softened to a tender consistency. Once ready, transfer this fragrant apple mixture into your chosen pie dish, spreading it out evenly.
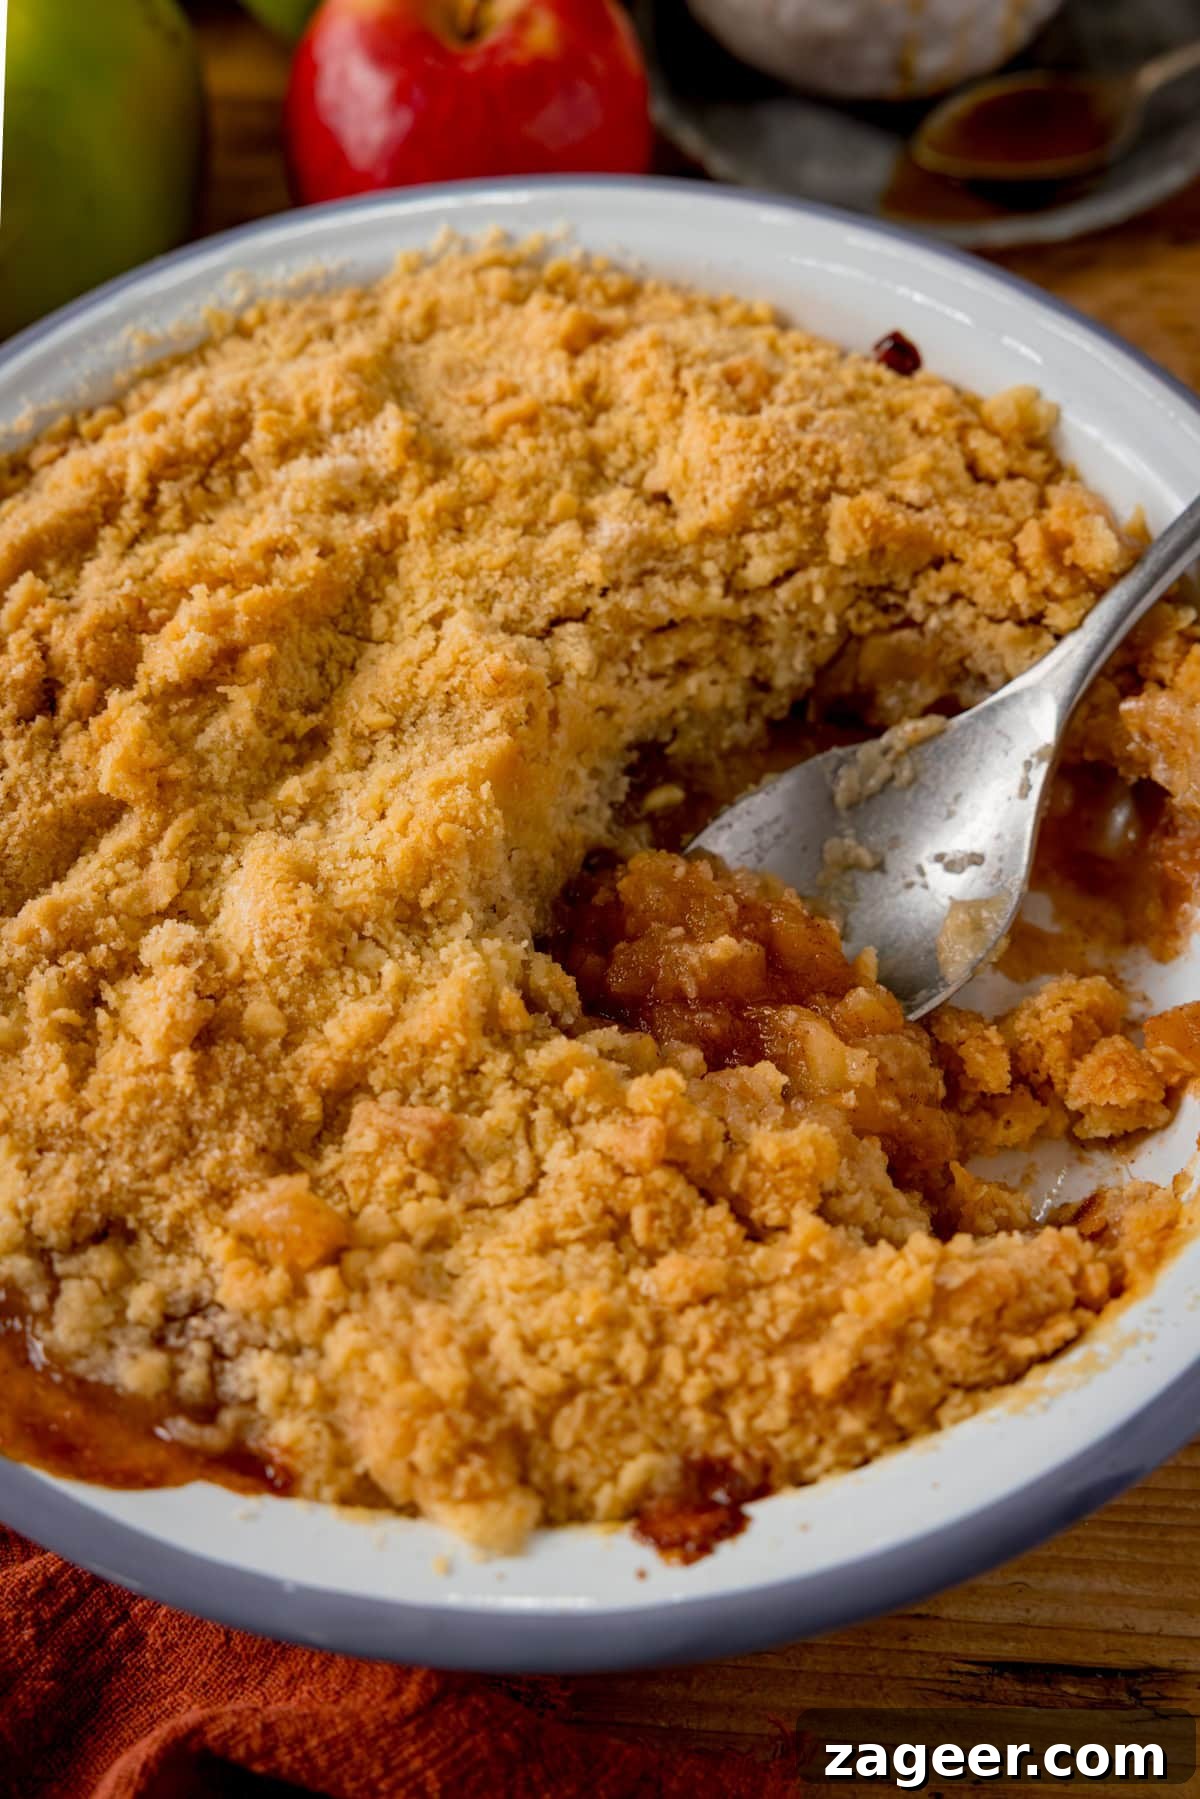
Next, move on to the star of the show: the golden crumble topping. In a mixing bowl, rub cold butter into the flour using your fingertips until a delightful crumbly, pebbly texture emerges. This step is crucial for that signature crispness! Then, stir in the sugar and a tablespoon of rolled oats, which add a wonderful chewiness and extra flavor dimension. Generously sprinkle this crumbly mixture over the softened apples in the pie dish. Finally, bake the assembled crumble in a preheated oven at 180°C/350°F (fan-assisted) for approximately 25 to 35 minutes, or until the topping achieves a beautiful golden hue and the apple filling is visibly bubbling around the edges, signalling pure perfection. Allow it to cool slightly before serving to let the flavors meld and the filling set just right.
Loved this recipe? Pin it now to save for later!
Pin It
Expert Baking Tips for a Perfect Crumble
Ensure your butter is thoroughly chilled when you incorporate it into the flour for the crumble topping. This seemingly small detail is incredibly important for achieving the perfect texture. Cold butter, when rubbed into the flour, creates distinct, pebbly crumbs of varying sizes. As these little pockets of cold butter melt in the oven, they release steam, which helps to separate the flour particles, resulting in a wonderfully light, crisp, and truly crumbly topping. If your butter is too soft or at room temperature, it will fully blend with the flour, leading to a denser, more uniform, and somewhat cakey topping rather than the desirable light, golden crunch. Patience with cold butter truly pays off!
Avoid over-stirring the apple filling: While you want the cooking apples to break down and become saucy, it’s important not to turn the entire mixture into a smooth purée. A few stirs during simmering are enough to ensure even cooking and to encourage the apples to soften. We’re aiming for a “lumpy and saucy” consistency, where some apple chunks still remain, especially from your eating apples, to provide textural interest.
Don’t compact the topping: When you sprinkle the crumble mixture over the apples, resist the urge to press it down firmly. A light, even spread is ideal. Compacting the topping will prevent those lovely air pockets from forming, which are essential for a light and crispy texture. Let the natural lumps and bumps do their work!
🍽️ Serving Suggestions: What to Pair with Apple Crumble
A warm apple crumble is delightful on its own, but pairing it with the right accompaniment can elevate it to an extraordinary dessert experience. Here are some classic and indulgent options:
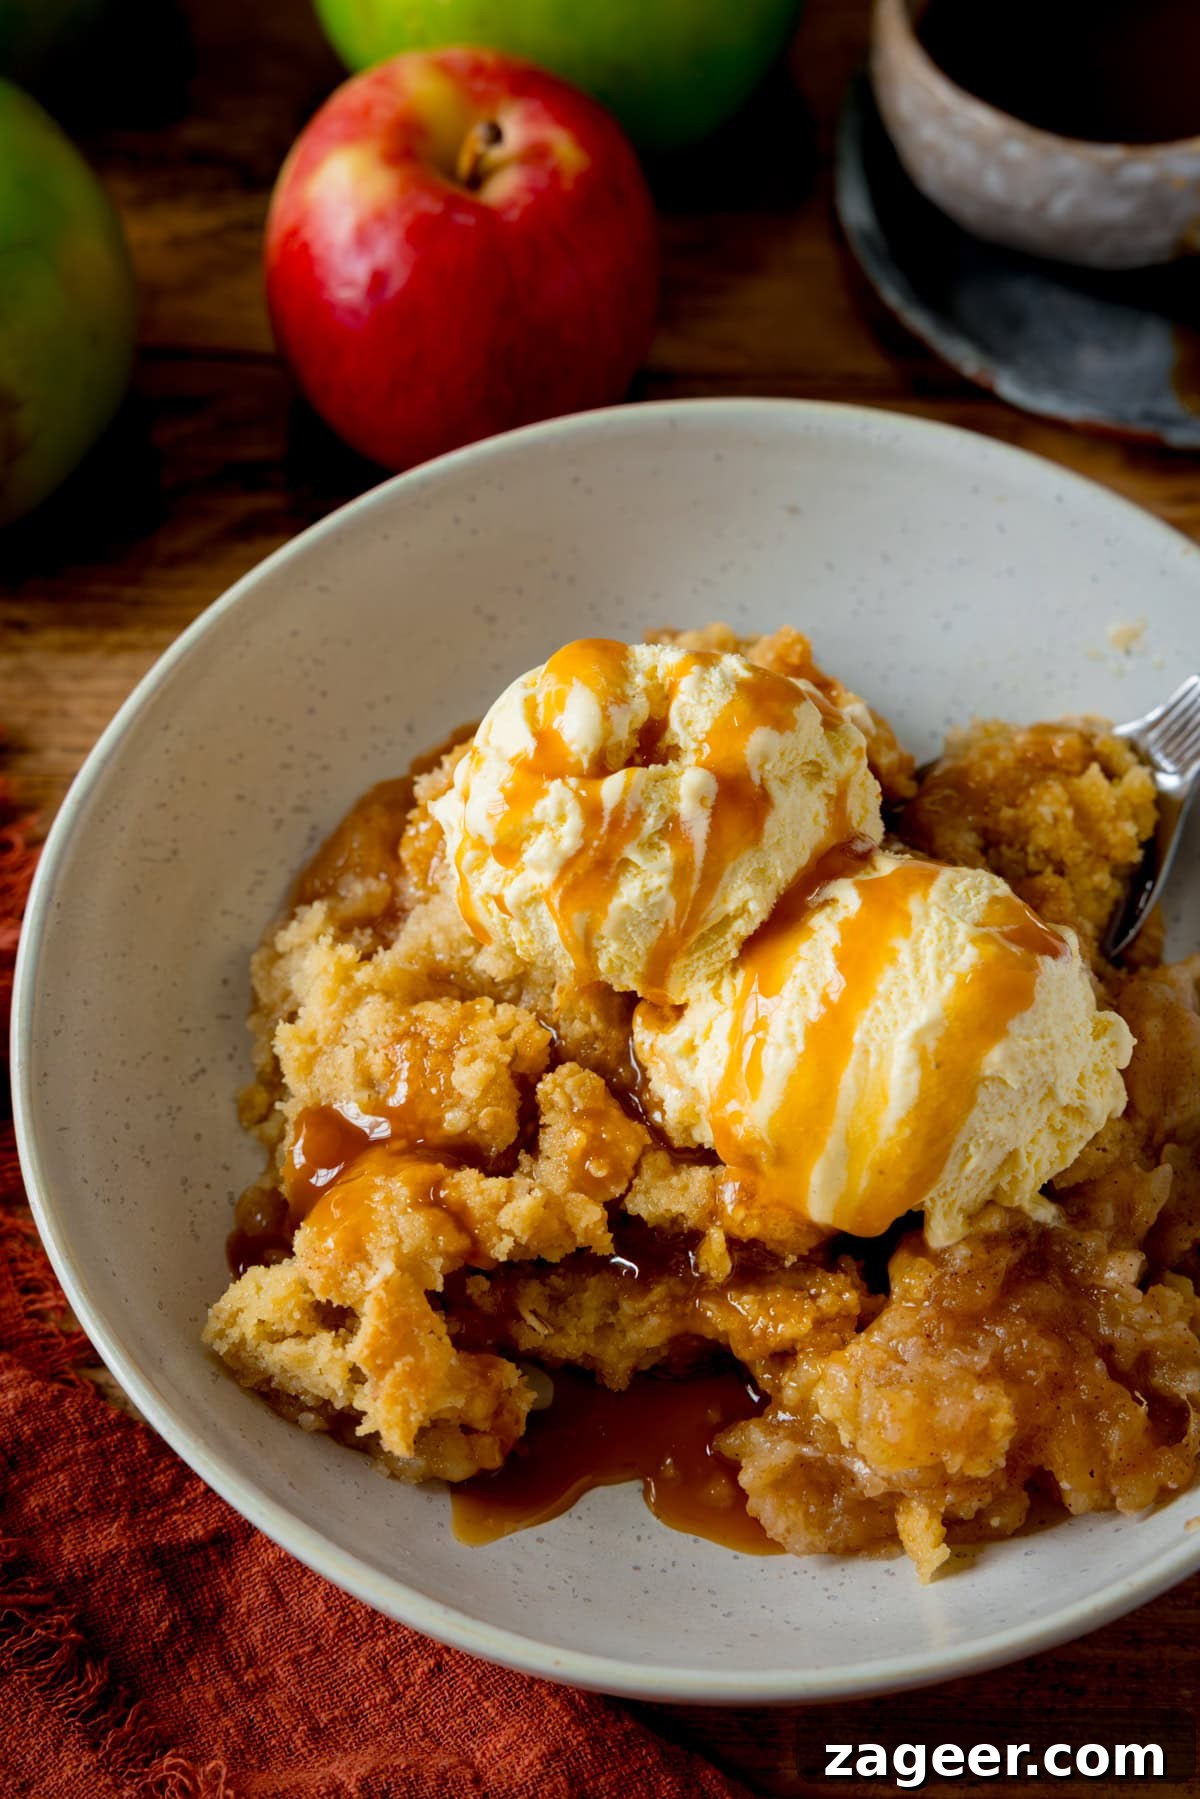
- Classic Vanilla Ice Cream with Caramel Sauce: The cold, creamy vanilla ice cream provides a delightful contrast to the warm, spiced apples and crisp topping. A generous drizzle of rich caramel sauce adds an extra layer of decadence, making each spoonful an absolute treat. This combination is a perennial favorite for good reason!
- Luxurious Custard: Nothing quite says “comfort dessert” like a serving of warm, creamy custard poured generously over a steaming apple crumble. Whether you opt for a store-bought variety or indulge in homemade custard, its smooth texture and rich flavor perfectly complement the fruit and crumble. Find my easy homemade custard recipe here.
- Thick Pouring Cream or Whipped Double Cream: For a simpler yet equally satisfying option, a dollop of thick pouring cream or freshly whipped double cream adds a rich, velvety element that melts beautifully into the warm apples. The subtle sweetness and cool temperature of the cream offer a perfect balance to the crumble’s warmth and spices.
Whichever you choose, ensure you serve it immediately while the crumble is still warm from the oven for the ultimate cozy dessert experience!
I truly adore that perfect combination of juicy, warm, cinnamon-infused apples beneath a plentiful, irresistibly crumbly topping. It’s a match made in dessert heaven!
Make Ahead and Freezing Instructions
One of the many benefits of this apple crumble recipe is its versatility for advance preparation, making it a perfect dessert for entertaining or simply having a comforting treat on hand.
- Make Ahead (Refrigeration): To prepare your crumble in advance, follow the recipe right up to the point of assembling it in the baking dish – meaning both the apple filling and the crumble topping are layered together. Once assembled, tightly cover the dish with plastic wrap or foil. You can then refrigerate it for up to two days. When you’re ready to bake, remove the dish from the refrigerator and discard the covering. Bake in a preheated oven at 180°C/350°F (fan-assisted) for approximately 35-40 minutes, or until the topping is golden brown and the center is thoroughly hot and bubbling. Please note: if baking directly from the fridge, the topping might brown a little more intensely as it requires extra time for the center to heat through. If you notice excessive browning, you can loosely cover the crumble with foil for the last 10 minutes of baking.
- Freezing (Unbaked): For longer storage, prepare the crumble exactly as you would for refrigeration – assemble both the apple filling and topping in the dish. Then, wrap the entire dish very thoroughly, first with plastic clingfilm and then with foil, ensuring it’s airtight to prevent freezer burn. Freeze for up to 3 months. To cook, defrost the crumble overnight in the refrigerator. Once defrosted, remove the wrapping and bake as described for the “Make Ahead” method (180°C/350°F fan for 35-40 minutes), covering with foil if the topping browns too quickly.
- Freezing (Baked): You can also freeze a fully baked and cooled crumble using the same double-wrapping method. To reheat, defrost overnight in the refrigerator. Place the defrosted, baked crumble in an oven-safe dish and reheat in a preheated oven at 180°C/350°F (fan-assisted). It may take slightly less time (around 25-30 minutes) than an unbaked crumble, but ensure it’s heated through. You will likely need to cover it with foil for the last 15-20 minutes to prevent the topping from over-browning.

Print Recipe
Click the stars to rate or comment!
🍏 Ultimate Apple Crumble Recipe
Nicky Corbishley
10 mins
40 mins
50 mins
6 servings
Dessert
British
Equipment
- Enamel Pie Dish (approx 22.5cm/9inch round, 5cm deep)
- Large saucepan with lid
- Mixing bowl
Ingredients
Apple Crumble Filling:
- 4 medium Bramley cooking apples (approx. 650g/1.4lb altogether, pre-peeling and chopping)
- 1 medium eating apple (Jazz or Honeycrisp) (approx 130g/4.5oz, pre-peeling and chopping)
- 1 tbsp fresh lemon juice
- 3 tbsp golden caster sugar or superfine sugar
- ½ tsp ground cinnamon
- 3 tbsp water
Crumble Topping:
- 150 g (1.25 cups) plain (all-purpose) flour
- 120 g (1/2 cup) chilled unsalted butter, cut into 1 cm cubes
- 120 g (2/3 cup) golden caster sugar or superfine sugar
- 1 tbsp rolled oats
- 1 pinch salt
Instructions
- Preheat your oven to 180°C (350°F) for a fan-assisted oven, or 200°C (400°F) for a conventional oven. Prepare your pie dish by lightly greasing it if desired, though usually not necessary.
- Begin by peeling, coring, and chopping both the cooking apples (Bramley) and the eating apple (Jazz or Honeycrisp) into roughly 2cm (¾ inch) chunks. Place all the chopped apples into a large saucepan.
- Squeeze or pour the lemon juice over the chopped apples. This crucial step helps prevent the apples from oxidizing and turning brown, preserving their fresh appearance and flavor. Toss gently to ensure all apple pieces are lightly coated.
- Add the golden caster sugar, ground cinnamon, and water to the apples in the saucepan. Give everything a good stir to ensure the apples are evenly coated with the spices and sugar.
- Place the pan on your hob (stove top) over a low-medium heat. Cover the pan with a lid and cook for 10-15 minutes, stirring occasionally (about twice), until the apples begin to soften and break down, creating a slightly saucy consistency. The cooking apples should be tender, while the eating apples should retain some of their shape for texture.
- While the apples are simmering, prepare the crumble topping. In a large mixing bowl, add the plain (all-purpose) flour. Next, add the chilled unsalted butter, cut into 1cm cubes. Using your fingertips, rub the butter into the flour until you achieve a crumbly mixture. The key here is to have varying sizes of lumps – some larger, some smaller – which will crisp up beautifully in the oven. Avoid overmixing, as we are not aiming for fine breadcrumbs, but rather delightful, crunchy, lumpy bits after baking!
- To the flour and butter mixture, add the golden caster sugar, rolled oats, and a pinch of salt. Stir these ingredients together until just combined. The oats will add an extra layer of crunch and a subtle nutty flavor.
- By this point, your apples should be perfectly tender, looking delightfully lumpy and saucy. Carefully pour the warm apple filling mixture into your chosen 22.5cm/9-inch round pie dish. (Refer to the notes section for alternative dish sizes if needed.)
- Evenly sprinkle the prepared crumble topping over the apple filling in the baking dish. Do not press it down; allow it to remain loose and airy.
- Place the dish into your preheated oven and bake for 25-35 minutes. The crumble is ready when the topping is beautifully golden brown and the apple filling is bubbling enticingly around the edges.
- Once baked, remove the apple crumble from the oven and allow it to cool for a few minutes before serving. This brief cooling period helps the filling to set slightly and allows the flavors to meld perfectly. I particularly love to serve it warm with a scoop of vanilla ice cream and a drizzle of caramel sauce, or with rich, homemade custard. Enjoy your ultimate comfort dessert!
Video Tutorial
Notes
Cooking Apple to Eating Apple Ratio
I personally prefer a saucier apple crumble, which is why I typically use four cooking apples (like Bramley) alongside just one eating apple. However, you have the flexibility to adjust this ratio based on your textural preference. If you enjoy a more chunky apple filling, feel free to incorporate more eating apples. As a general guideline, cooking apples are usually significantly larger than eating apples, so if you decide to swap out a cooking apple for eating apples, plan to replace it with approximately 1.5 to 2 eating apples to maintain a similar volume. Experiment to find your perfect balance!
Pie Dish Dimensions:
For this recipe, I use a round pie dish that is approximately 5cm (2 inches) deep and 22.5cm (9 inches) in diameter. This size typically holds around 1.5 liters. If you don’t have a round dish of these exact dimensions, don’t worry! You can easily substitute it with an equivalent oven-safe dish. For instance, a rectangular dish roughly 5cm deep and 21cm x 28cm (8.2″ x 11″) or a square dish measuring 20cm x 20cm (8″ x 8″) would also work perfectly. The key is to choose a dish that allows for a good balance of apple filling and crumble topping without overflowing.
Handling Leftovers:
Should you find yourself with any leftover apple crumble (a rare but delightful occurrence!), it reheats beautifully. For a quick and easy reheat, individual portions can be placed in the microwave for about 90-120 seconds, using 30-second bursts until it’s heated through. Be aware that the topping will lose some of its crispness with this method. To preserve that lovely crisp topping, transfer your leftover crumble to an oven-safe dish and bake it in a preheated oven at 180°C/350°F for approximately 15 minutes, or until it’s hot throughout and the topping has regained its desired crunch.
Looking for my old apple crumble recipe?
You can access a copy of the previous version here: Old Apple Crumble Recipe
Nutritional information is approximate, per serving (this recipe makes 6 servings). Please note that values can vary based on specific ingredients and preparation methods.
Nutrition Information (Approximate per Serving)
Calories: 418 kcal
Carbohydrates: 67 g
Protein: 3 g
Fat: 17 g
Saturated Fat: 10 g
Polyunsaturated Fat: 1 g
Monounsaturated Fat: 4 g
Trans Fat: 1 g
Cholesterol: 43 mg
Sodium: 11 mg
Fiber: 5 g
Sugar: 42 g
Nutrition information is automatically calculated and should only be used as an approximation. It can vary significantly based on ingredient brands, cooking methods, and portion sizes.
Save This Recipe for Later!
Enter your email below to have this delicious apple crumble recipe sent straight to your inbox, so you’ll always have it handy.
Enjoyed this recipe? Please leave a comment and a star rating below!
Your feedback helps us create more delicious content.
This ultimate apple crumble recipe was first published in February 2022. It received a comprehensive update in September/October 2025, which included significant recipe improvements for an even more perfect result, brand new captivating photos, and general housekeeping to ensure accuracy and clarity for all our readers.
🍲 More Fantastic Dessert Recipes to Explore
If you loved this apple crumble, you’re sure to enjoy these other delightful dessert recipes:
Desserts
Easy Tiramisu Recipe
Desserts
Sticky Toffee Pudding
Desserts
Chocolate Orange Bread & Butter Pudding
Desserts
Blueberry Crumble Pie
Desserts
Proper Sherry Trifle
Desserts
Deep Dish Apple Pie Recipe
Some of the links within this post may be affiliate links. This means that if you choose to purchase a product through one of these links, I may receive a small commission, at no additional cost to you. Your support through these links helps to keep Kitchen Sanctuary running and allows us to continue sharing delicious recipes. Thank you! The nutritional information provided is an approximate estimate and can vary significantly depending on various factors such as specific ingredient brands, cooking methods, and precise portion sizes. For more detailed information, please refer to our Terms & Conditions.