
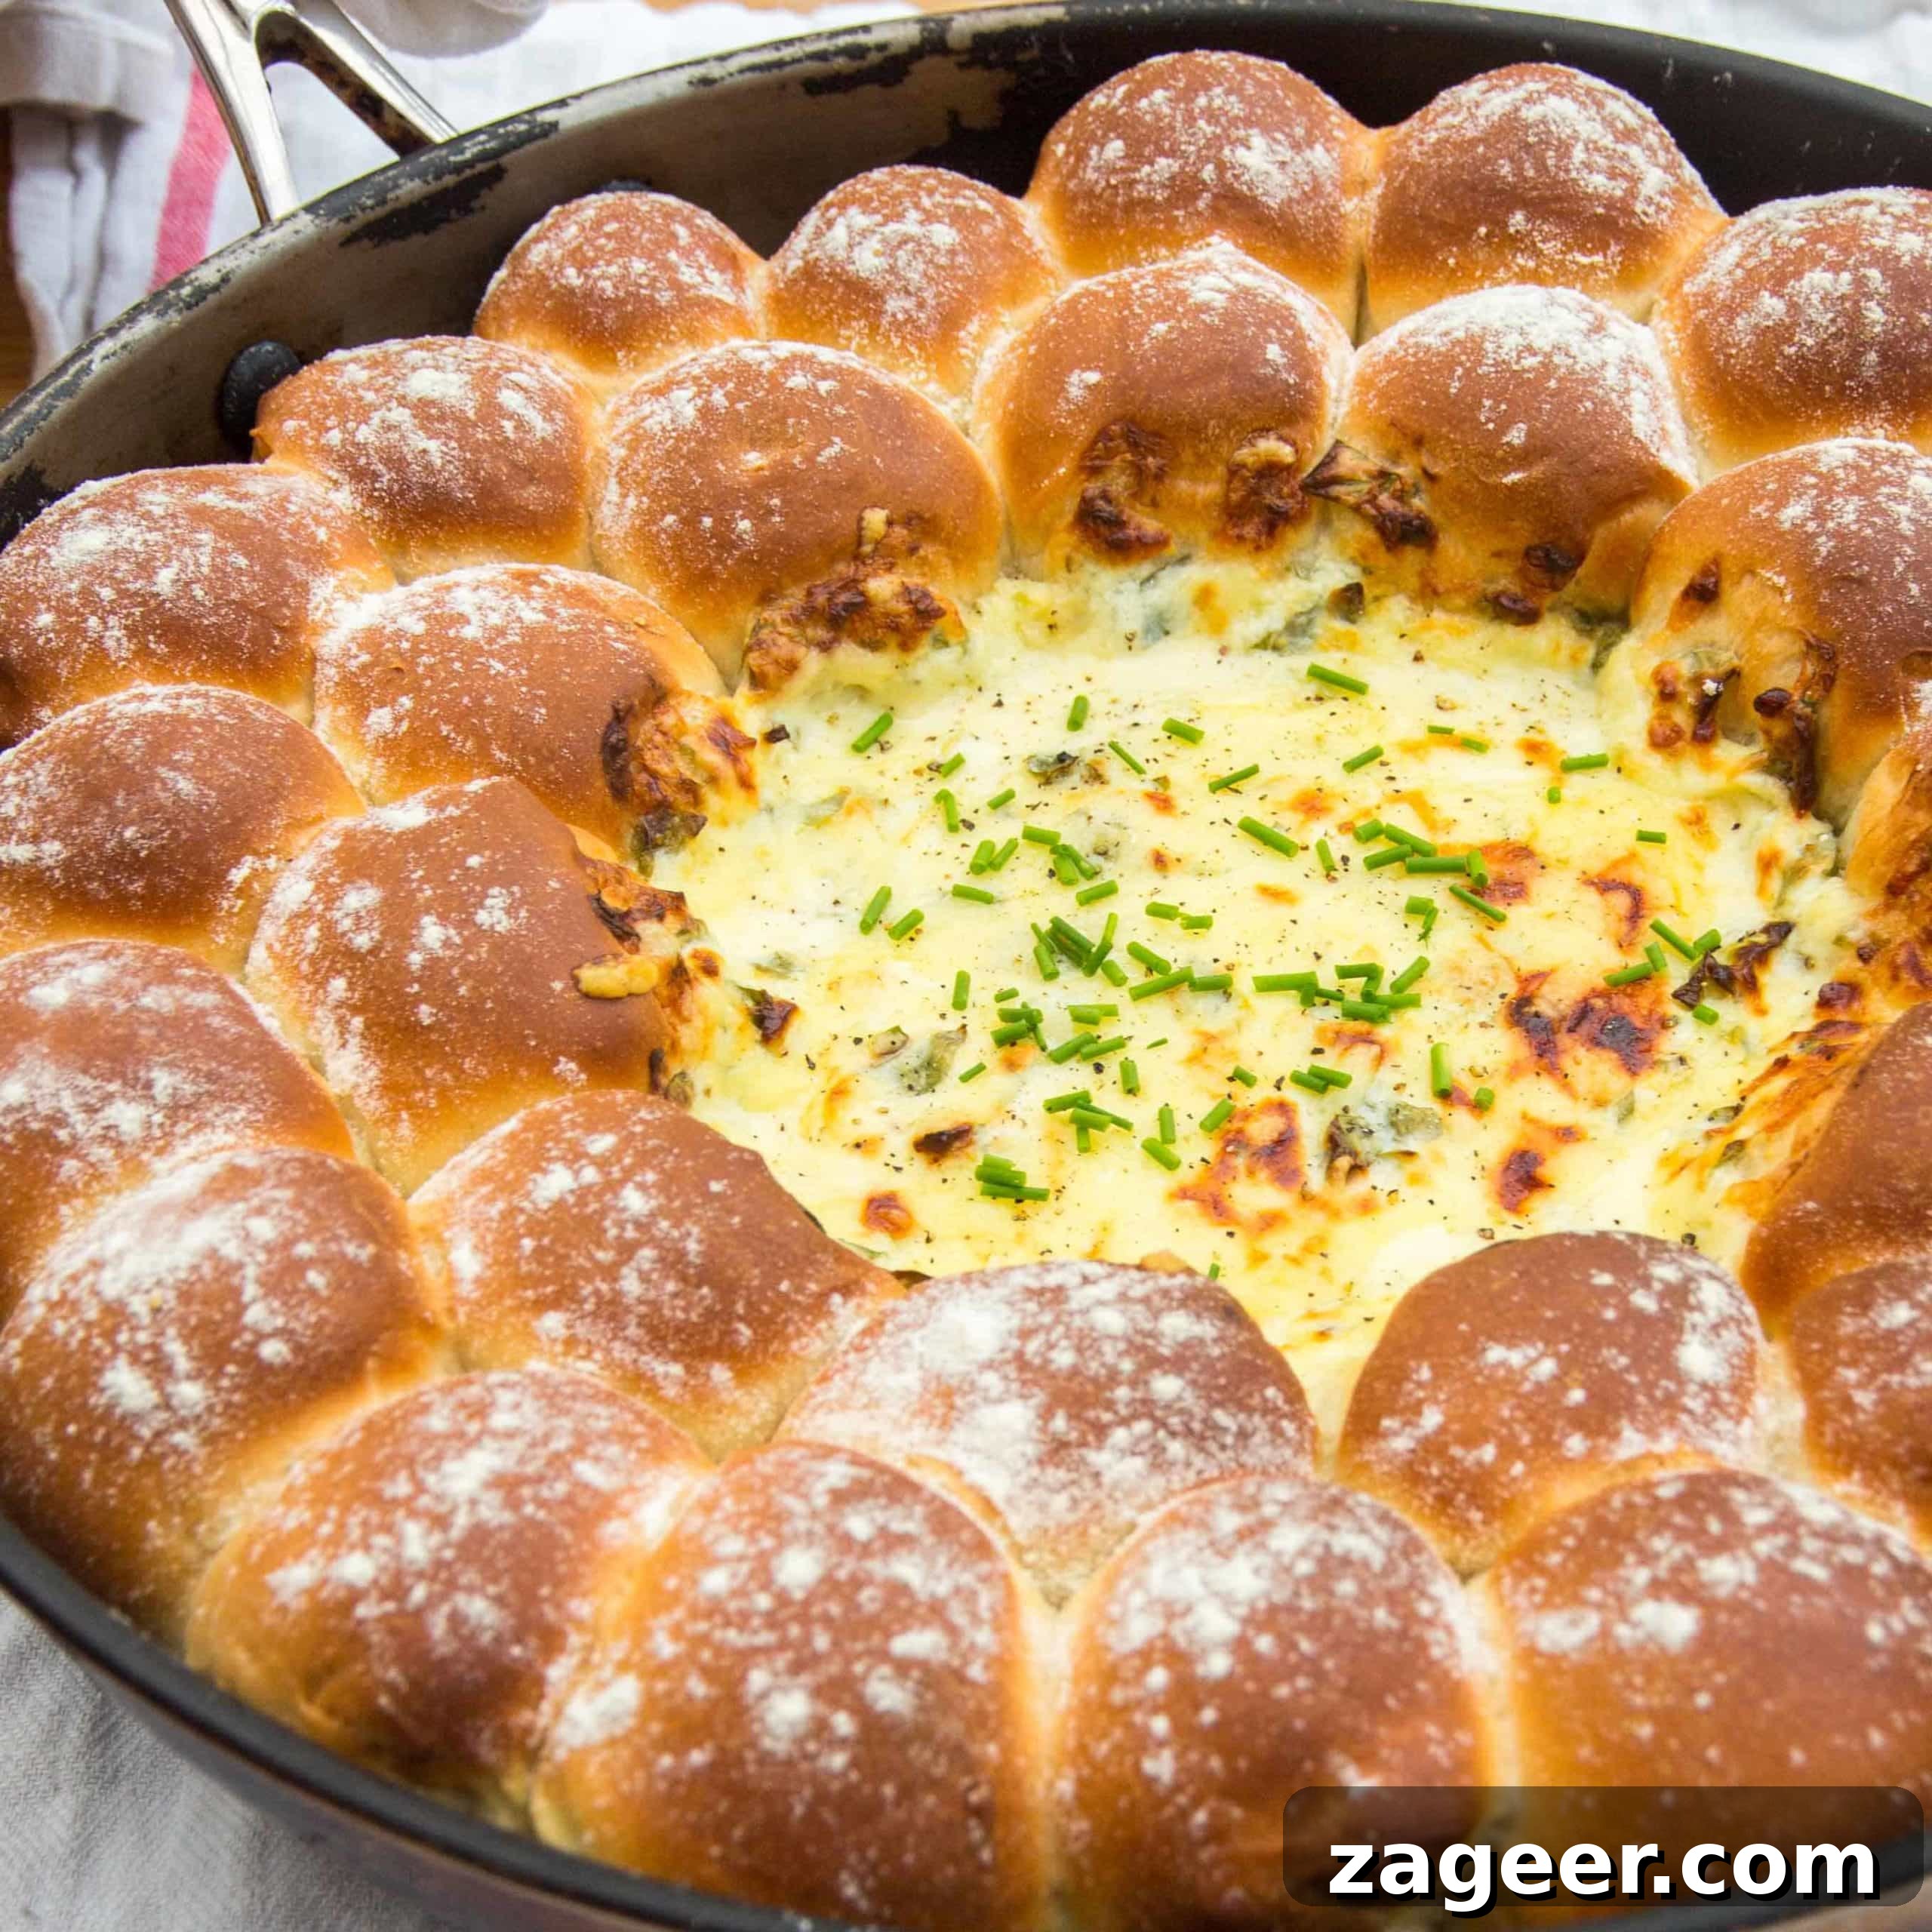
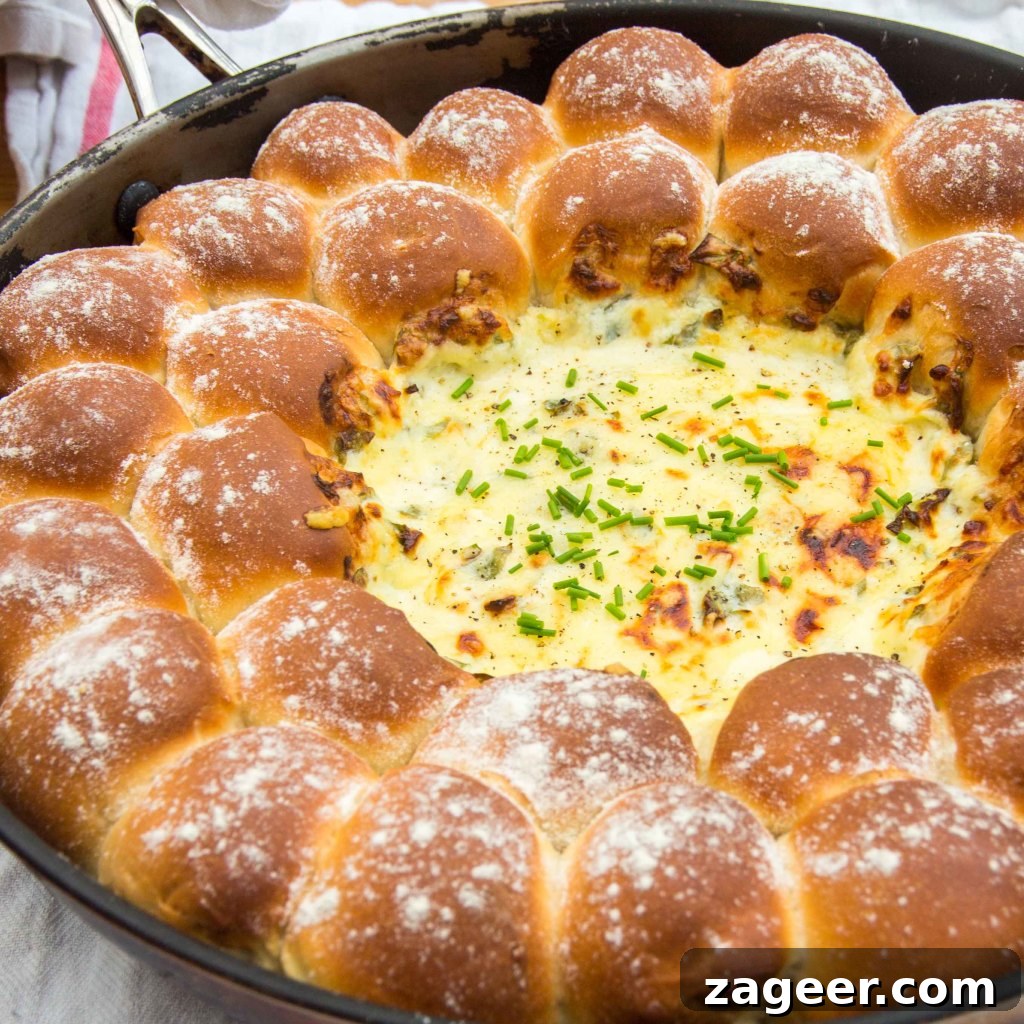
Welcome to a culinary delight that promises to tantalize your taste buds and simplify your kitchen routine: **Irresistible Skillet Dough Balls with Cheesy Chard Dip**. Imagine a warm, inviting pan brimming with fluffy, golden dough balls, perfect for tearing and dipping into a rich, creamy, and wonderfully savory chard cheese dip. This isn’t just a meal; it’s an experience, a communal feast designed for sharing, laughter, and minimal cleanup. Whether you’re planning a special Father’s Day lunch, a cozy family dinner, or simply craving ultimate comfort food, this one-pan wonder is guaranteed to become a cherished favorite.
Why You’ll Fall in Love with This Cheesy Chard Dough Ball Skillet
This dish transcends mere sustenance, offering a unique blend of flavors and conveniences that make it a standout. For starters, it’s a brilliant vegetarian option that truly satisfies. I recall serving this to my husband, Chris, for the first time; he’s quite the carnivore, and I half-expected a polite inquiry about adding bacon. To my surprise and delight, not a single suggestion! The sheer deliciousness of the warm, cheesy dip and soft bread was enough to silence any cravings for meat. It’s a testament to how flavorful and hearty a plant-forward meal can be when done right.
Beyond its incredible taste, the practicality of this recipe is a major win. It’s designed as a glorious one-pan meal, meaning everything — from the golden-brown dough balls to the bubbling, cheesy dip — is cooked and served in a single skillet. This makes it an absolute dream for family get-togethers, casual gatherings, or even a relaxed weekend brunch. Just “plonk” it on the table, as we say, and let everyone dive in! The added bonus? Significantly less washing up, leaving you more time to enjoy the company and the compliments.
I’ve already earmarked this recipe for our Christmas menu this year, even though it’s only June! Yes, I might be a tad enthusiastic about holiday planning, especially when it involves food. But that’s how truly special this dish is – it fits perfectly into any celebratory occasion, from summer barbecues to festive winter feasts. Its comforting nature and interactive serving style make it a crowd-pleaser year-round. But let’s not get ahead of ourselves with Christmas talk; there’s plenty of time for that once August rolls around.
My Bread Journey: A Nod to Paul Hollywood
My journey into the wonderful world of bread making hasn’t always been smooth. For years, I struggled to achieve that perfect rise, the ideal texture, or even a consistently edible loaf. It felt like a mystery, a culinary art form beyond my grasp. That all changed a few years ago when I stumbled upon the recipes of Paul Hollywood. His clear instructions and meticulous techniques completely demystified the process for me. Suddenly, bread baking clicked, and I found myself confidently producing beautiful loaves and rolls. His teachings truly turned the tide, transforming me from a hesitant baker into someone who makes bread all the time.
One of his recipes that profoundly impacted my baking is his famous milk loaf. It’s a beautifully soft, slightly sweet bread with an incredibly tender crumb. It quickly became a household favorite, and I often return to it for its sheer versatility and comforting flavor. For these Skillet Dough Balls, I’ve adapted Paul Hollywood’s milk loaf recipe as the foundation for the dough. The richness of the milk and butter in the dough provides a perfect balance to the savory chard dip, creating dough balls that are both sturdy enough for dipping and melt-in-your-mouth delicious. This recipe builds on that solid foundation, ensuring your dough balls will be light, airy, and utterly irresistible.
Understanding the Key Ingredients for Perfection
Crafting these delectable dough balls and their accompanying cheesy chard dip requires a thoughtful selection of ingredients, each playing a crucial role in the final flavor and texture. For the dough balls, strong white bread flour is paramount. Its higher protein content develops more gluten, which is essential for giving the dough its elastic structure and signature chewiness. A careful balance of salt and caster sugar not only enhances the flavor but also aids in yeast activity and crust development. Instant yeast, as its name suggests, is convenient and reliable, providing a consistent rise without the need for prior activation. Softened unsalted butter adds richness and tenderness, while warm full-fat milk contributes moisture and a luxurious flavor that echoes the classic milk loaf. A touch of olive oil for kneading ensures the dough remains pliable and prevents sticking.
The cheesy chard dip is a symphony of creamy, savory, and earthy notes. Cream cheese forms the rich, tangy base, providing an incredibly smooth texture. Soured cream adds another layer of tang and creaminess, balancing the richness of the cheeses. Freshly crushed garlic infuses the dip with an aromatic punch, elevating the overall flavor. Mature cheddar cheese brings a sharp, robust, and wonderfully savory element, while grated Parmesan adds a salty, umami depth. The star vegetable, baby chard, offers a mild, earthy sweetness and a beautiful vibrant color, contrasting perfectly with the creamy cheeses. Finally, a pinch of black pepper and finely chopped chives introduce a subtle peppery warmth and a fresh, herbaceous finish, rounding out this irresistible dip.
The Skillet Dough Balls with Cheesy Chard Dip Recipe
Dough Balls with Cheesy Chard Dip
Ingredients
Dough Balls:
- 500 g strong white bread flour
- 10 g salt
- 25 g caster sugar
- 10 g instant yeast
- 30 g unsalted butter softened
- 320 ml warm full fat milk
- Olive oil for kneading
Cheesy Chard Dip:
- 200 g cream cheese
- 100 ml soured cream
- 2 cloves garlic peeled and crushed
- 120 g mature cheddar cheese grated
- 30 g parmesan grated
- 35 g baby chard washed and finely chopped
- pinch of black pepper
- A couple of chives chopped finely
Instructions
-
1. Prepare the Dough: Begin by combining the strong white bread flour in a large bowl. Add the salt and caster sugar to one side of the bowl, and the instant yeast to the opposite side. It’s important to keep yeast and salt from coming into direct contact initially, as salt can inhibit yeast activity. Incorporate the softened butter and about three-quarters of the warm milk. Mix the dough together with one hand, gradually adding more milk a little at a time until all the flour from the sides of the bowl is incorporated and you have a soft, but not overly sticky, dough. You might not need all the milk.
-
2. Knead and First Prove: Lightly oil your work surface with a small amount of olive oil. Turn the dough out onto the prepared surface and knead for 5-10 minutes. Initially, the dough may be slightly sticky, but with continuous kneading, it will gradually become smoother and more elastic. Once kneaded, clean and dry your bowl, wipe it with a little olive oil, and place the dough inside. Cover the bowl with cling film and set it in a warm room for 1 hour to allow it to prove until doubled in size.
-
3. Prepare the Skillet: Take a large oven-safe frying pan, approximately 30-35cm (12-14 inches) in diameter. Place an oven-proof upturned bowl (about 16-20cm or 6-8 inches in diameter) in the center of the pan. Lightly brush the outside of this central bowl with a little olive oil or cooking spray. Set the pan aside while the dough finishes proving.
-
4. Shape the Dough Balls and Second Prove: Once the dough has doubled in size, turn it out onto a lightly floured surface. Gently ‘knock back’ the air by folding it in on itself repeatedly until deflated. Now, divide the dough into individual portions. For a rustic charm, you can do this by eye. For precision, weigh the entire dough and divide by 30; each portion should be roughly 30g. Roll each portion into a smooth ball, ensuring any rough edges are tucked underneath. Arrange these dough balls around the central upturned bowl in the skillet. For instance, you could place 11 balls in an inner circle and 19 in an outer circle. Cover the skillet loosely with cling film and allow the dough balls to prove for another 30-40 minutes in a warm place.
-
5. Make the Cheesy Chard Dip: While the dough balls are undergoing their second prove, preheat your oven to 190°C (375°F). Prepare the dip by reserving a small amount of the grated cheddar cheese (about 20g) and the finely chopped chives for garnish. In a separate bowl, combine the cream cheese, soured cream, crushed garlic, the majority of the mature cheddar cheese, grated Parmesan, and finely chopped baby chard. Mix thoroughly until all ingredients are well combined and smooth.
-
6. Assemble and Bake: Once the dough has finished proving and the dough balls look plump and airy, carefully remove the upturned bowl from the center of the skillet. Pour the prepared cheesy chard dip into the hollow space created in the center. Sprinkle the reserved cheddar cheese over the top of the dip. If desired, you can also lightly dust the tops of the dough balls with a little plain flour for a rustic finish. Place the skillet into the preheated oven and bake for 20-30 minutes, or until the dough balls are golden brown and cooked through, and the dip is bubbly and slightly golden.
-
7. Serve: Carefully remove the skillet from the oven and allow it to cool for about 10 minutes. This short resting period allows the dip to set slightly and makes the dough balls easier to handle. Finally, sprinkle the reserved chopped chives and a bit more fresh black pepper over the top for a vibrant garnish and added flavor. Serve warm, directly from the skillet, and let everyone enjoy pulling off the dough balls to scoop up the delicious dip!
Notes
Nutrition
Calories: 642kcal | Carbohydrates: 73g | Protein: 20g | Fat: 29g | Saturated Fat: 17g | Cholesterol: 85mg | Sodium: 1009mg | Fiber: 2g | Sugar: 8g
Nutrition information is automatically calculated, so should only be used as an approximation.
Like this recipe? We’d love to hear your thoughts! Leave a comment below and share your experience.
Pro-Tips for Perfect Dough Balls and Dip
Achieving bakery-quality dough balls and a consistently creamy dip is simpler than you might think with a few insider tips. When making the dough, the warmth of your milk is crucial; it should be lukewarm, not hot, to properly activate the yeast without killing it. If the dough feels too sticky during kneading, resist the urge to add too much extra flour. Instead, lightly oil your hands and the work surface. The stickiness will gradually disappear as the gluten develops. For proving, a warm, draft-free spot is ideal. You can create a makeshift proving drawer by placing the covered bowl in a slightly warm, turned-off oven (ensure it’s not too hot!).
For the dip, ensure your cream cheese is at room temperature before mixing. This prevents lumps and ensures a smooth, uniform consistency. Don’t over-mix the dip once the chard and cheeses are added, as this can make the chard bitter. When arranging the dough balls, try to space them relatively evenly to allow for proper expansion during the second prove and even cooking. A trick for perfectly round dough balls is to roll them between your palms and then pinch the bottom to create a smooth top surface. Finally, keep an eye on the dough balls in the oven – every oven is different, so adjust baking time as needed until they are beautifully golden brown.
Variations & Serving Suggestions
While the classic Cheesy Chard Dip is undeniably delicious, this recipe offers a fantastic canvas for creative variations. Feel free to experiment with different greens; spinach, kale, or even a mix of fresh herbs like dill and parsley could replace or complement the chard. The cheese blend can also be customized. Gruyère, mozzarella, or a sharp provolone would introduce different flavor profiles, each equally delightful. For a touch of spice, a pinch of red pepper flakes in the dip can add a subtle kick. If you’re not strictly vegetarian, a sprinkle of crispy, crumbled bacon on top (Chris would be thrilled!) or some finely diced pancetta sautéed with the garlic would be a decadent addition.
These dough balls are incredibly versatile. Beyond Father’s Day or Christmas, they make an excellent centerpiece for a game night, a potluck starter, or a comforting weeknight meal. Serve them with a simple side salad to make it a complete meal. They are also wonderful alongside a hearty soup or stew, offering a textural contrast and an extra layer of flavor. For a sweeter twist, you could even omit the savory dip entirely and serve the plain dough balls with a sweet cinnamon sugar butter or a fruit compote for a dessert-like experience, showcasing the versatility of the milk bread dough.
Make Ahead & Storage Tips
Planning ahead can make mealtime even more enjoyable. The dough for the dough balls can be prepared and proven for its first rise, then refrigerated overnight. Just bring it back to room temperature for about 30-60 minutes before proceeding with step 4. This can save significant time on the day of serving. The cheesy chard dip can also be prepared a day in advance and stored in an airtight container in the refrigerator. Just give it a good stir before adding it to the skillet.
Leftovers, if there are any (which is rare!), can be stored in an airtight container in the refrigerator for up to 2-3 days. Reheat the entire skillet in a preheated oven at 160°C (325°F) for 15-20 minutes, or until warmed through and the dough balls are soft again. Individual dough balls and dip can also be reheated in the microwave, though the dough balls might lose some of their crispness. We recommend enjoying this dish fresh from the oven for the ultimate experience, but knowing you have options for leftovers is always a plus.
Your dough should go from this:
to this: