
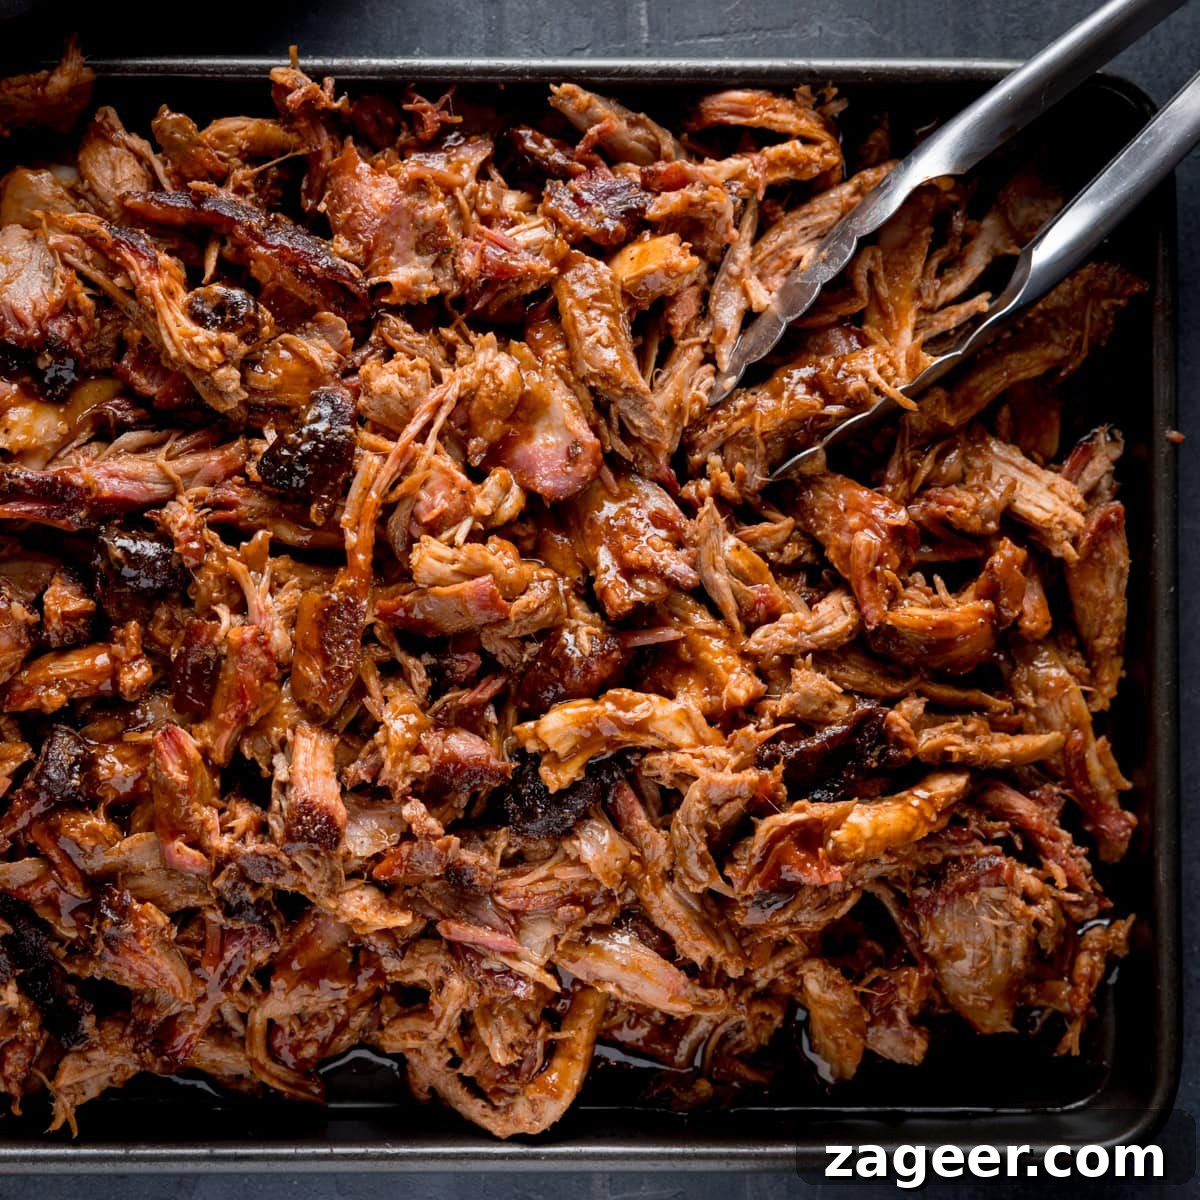
Ultimate BBQ Pulled Pork: A Guide to Smoky, Tender Perfection
There’s an undeniable magic to pulled pork, especially when it’s been lovingly cooked low and slow on the barbecue. The enchanting aroma of wood smoke weaving its way through succulent pork shoulder is a culinary experience like no other. This patient cooking method is the secret to achieving pork that is so incredibly tender and juicy, it effortlessly pulls apart, practically melting in your mouth.
Whether you prefer it naked to savor its pure, smoky essence, or drenched in a rich, sweet, and tangy BBQ sauce for that irresistible sticky glaze, pulled pork offers unparalleled versatility. Serve it piled high in soft brioche buns, nestled into warm baked potatoes, or as a show-stopping centerpiece alongside all your other cherished BBQ favorites. It’s more than just a meal; it’s a celebration of flavor and a testament to the art of slow cooking.
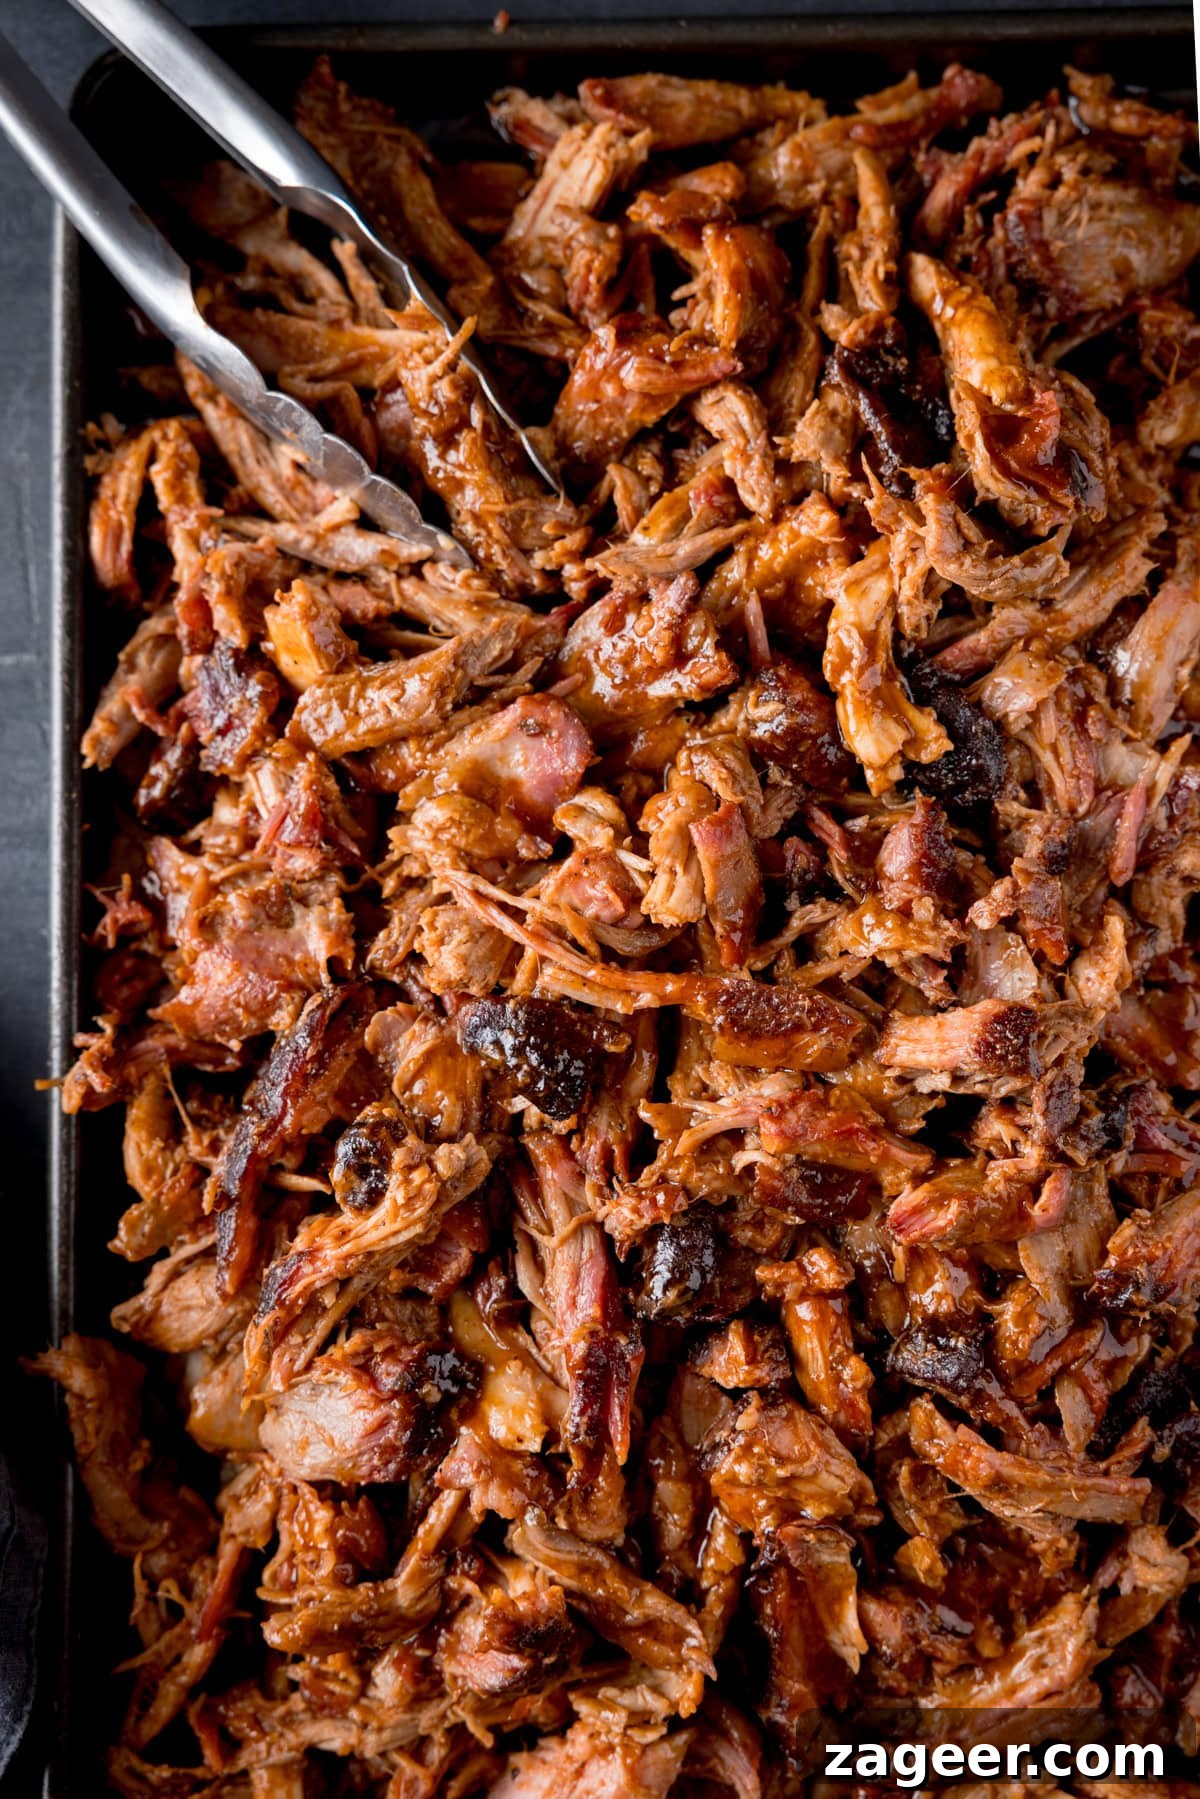
This smoky, unbelievably juicy BBQ Pulled Pork isn’t just mouth-watering; it’s a genuine game-changer for any BBQ dinner. It elevates a simple gathering into a memorable feast, making you the undisputed champion of the grill. What truly sets this dish apart is the incredible freedom you have to personalize its flavor profile with a homemade rub and your favorite BBQ sauces. Personally, I find it reaches peak perfection when paired with a sweet and tangy Homemade BBQ Sauce, adding an extra layer of complexity and a delightful stickiness.
While preparing this masterpiece requires a bit of initial effort, don’t be intimidated! Once the prep work is done, your barbecue, smoker, or oven takes over, doing most of the heavy lifting. The true magic unfolds during the long, gentle cooking process, transforming a humble cut of pork into something extraordinary.
I wholeheartedly recommend this as a quintessential summer dinner, a star component of a grand BBQ spread, or even as the incredibly satisfying filling for sandwiches, tacos, or burritos. And here’s the best part: it makes the most PERFECT leftovers. Seriously, you’ll be eagerly anticipating the next meal for weeks after, craving that tender, flavorful pork. It’s a dish that keeps on giving! 😋
Table of Contents
- Why Pulled Pork is the Ultimate BBQ Dish
- Choosing the Right Cut: Pork Shoulder Perfection
- 📋 Ingredients for Flavorful Pulled Pork
- Crafting the Perfect Rub
- How to make it: Step-by-Step Guide
- Mastering the Smoke: Low and Slow Techniques
- Pro Tip: Scoring for Maximum Flavor
- The Art of Resting and Shredding
- 🍽️ What to serve it with: Delicious Pairings
- Make Ahead and Storage Tips
- 🍲 More fantastic BBQ recipes
- BBQ Pulled Pork Recipe Card
Why Pulled Pork is the Ultimate BBQ Dish
Pulled pork holds a revered place in the world of barbecue, and for good reason. Its appeal lies in the remarkable transformation of an affordable cut of meat into a deeply flavorful, impossibly tender dish through the magic of slow cooking. The “low and slow” method, typically involving hours of gentle heat and smoke, breaks down tough connective tissues and renders fat, resulting in a moist, shreddable texture that truly defines comfort food. It’s a dish that embodies patience and yields immense rewards, making it a perfect choice for weekend gatherings, potlucks, or simply a delicious family meal.
Choosing the Right Cut: Pork Shoulder Perfection
The foundation of exceptional pulled pork begins with selecting the correct cut of meat. For this recipe, you want to use a **pork shoulder joint**, often referred to as a **Boston butt** in the US. This cut is ideal because it contains a generous amount of fat and collagen marbling throughout. As the pork cooks slowly, this fat renders, basting the meat from within and contributing to its incredible juiciness, while the collagen breaks down into gelatin, creating that signature fall-apart tenderness.
Whether you choose bone-in or boneless pork shoulder, both will yield fantastic results. Bone-in cuts often impart a little extra flavor and moisture, as the bone conducts heat slowly and evenly. However, boneless cuts are slightly easier to handle during prep and shredding. When selecting your pork, look for a cut with good marbling and a nice fat cap, which will protect the meat from drying out during the long cooking process. A 3 kg (6.6 lb) pork shoulder is a great size for feeding 6-8 people, ensuring you have enough for a delicious meal and, crucially, those coveted leftovers.
📋 Ingredients for Flavorful Pulled Pork
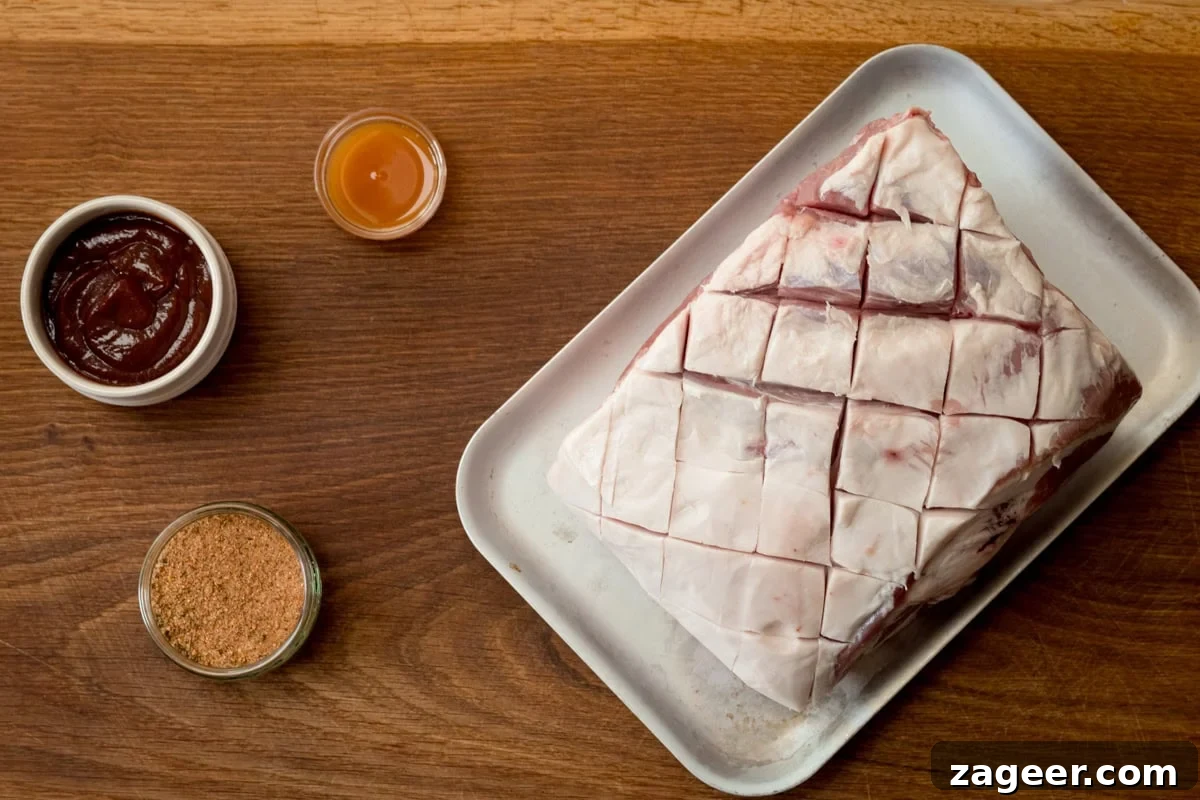
Pork
As mentioned, a pork shoulder joint (or Boston butt) is non-negotiable for authentic pulled pork. Its inherent fattiness and collagen content are key to achieving that melt-in-your-mouth texture. The fat not only adds flavor but also helps keep the meat incredibly moist during the extensive cooking time. Don’t be tempted to trim too much fat before cooking; it’s your friend in this process!
Crafting the Perfect Rub
A good dry rub is the soul of barbecue, infusing the pork with layers of flavor that penetrate deep into the meat. Our rub is a balanced blend designed to create a beautiful “bark” – the flavorful, crusty exterior that forms during smoking – while complementing the pork’s natural richness:
- Soft Brown Sugar: This is crucial for caramelization, contributing to that desirable dark bark and a subtle sweetness that balances the savory spices.
- Paprika: Adds color and a mild, earthy, slightly smoky flavor. You can use sweet, hot, or smoked paprika depending on your preference.
- Salt: Essential for seasoning and acts as a dry brine, drawing moisture from the meat and then reabsorbing it along with the rub flavors.
- Black Pepper: Provides a sharp, aromatic kick.
- Garlic Powder & Onion Powder: These provide foundational savory notes that are classic in BBQ profiles.
- Dried Oregano: Offers an aromatic, slightly earthy, and peppery undertone.
- Mild Chilli Powder (optional): For those who enjoy a hint of heat. Adjust to your liking or omit for a milder flavor.
Feel free to experiment with other spices like cumin, mustard powder, or cayenne pepper to customize your rub.
BBQ Sauce
While delicious on its own, BBQ sauce takes pulled pork to another level for many. I often use my Homemade BBQ Sauce, which allows me to control the sweetness and tanginess. However, feel free to use your favorite store-bought brand. There are many regional variations: sweet and smoky tomato-based sauces, tangy vinegar-based sauces, or rich mustard-based sauces. Choose one that speaks to your taste buds!
Apple Cider Vinegar
Used for spritzing during the cooking process, apple cider vinegar plays a dual role. Its acidity helps tenderize the meat further and adds a bright, tangy counterpoint to the rich pork and smoky flavors, preventing the meat from becoming overly heavy. It also helps keep the surface moist, promoting better bark formation without drying out.
How to make it: Step-by-Step Guide to Perfection
Creating phenomenal BBQ pulled pork is a journey of patience and technique, but the steps are surprisingly straightforward. Follow this guide for tender, smoky results every time.
- Prepare the Rub: In a small bowl or jar, combine all the rub ingredients thoroughly. This ensures an even distribution of flavors when applied to the pork.
- Score and Season the Pork: Begin by removing the skin from your pork shoulder (your butcher can usually do this for you). Then, using a sharp knife, score the fat cap on top of the meat in a criss-cross pattern, about 1 cm (0.4 inches) deep. This increases the surface area for the rub and smoke to penetrate. Generously dust the pork on all sides, working the rub into all the scores and crevices.
- Dry Brine the Meat: Cover the seasoned pork and refrigerate it for 1-2 hours, or ideally, overnight. This dry brining process allows the salt to draw moisture out of the meat, which then dissolves the spices and re-enters the meat, infusing it with deep flavor and helping to keep it moist during cooking.
- Preheat and Set Up Your BBQ/Smoker: When ready to cook, preheat your BBQ or smoker to a consistent 110°C (230°F). It’s crucial to set it up for **indirect cooking**, meaning the meat is not directly over the heat source. Place a pan or foil tray filled with water beneath where the pork will sit. This water pan adds moisture to the cooking environment, helping to keep the pork juicy.
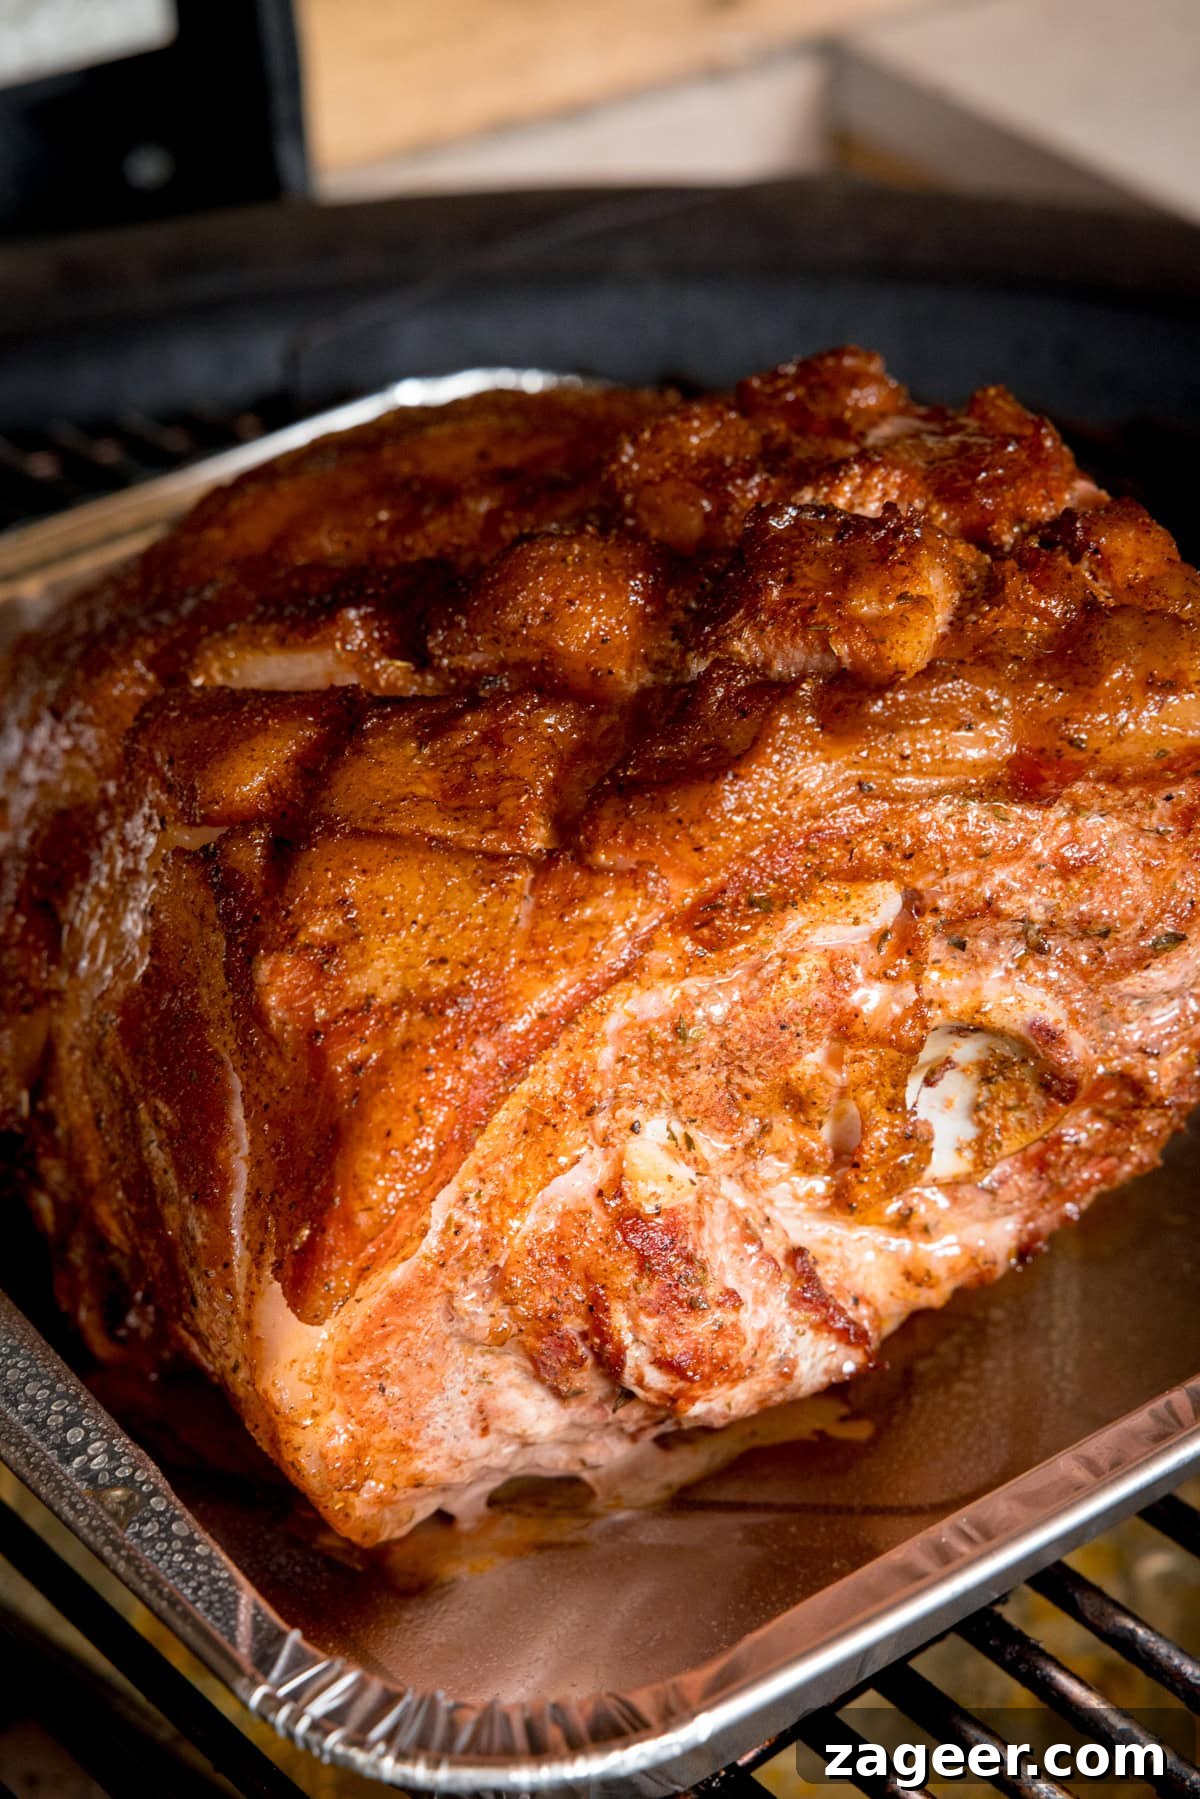
- Initial Smoke Phase: Place the pork shoulder directly on the grill grates in the center of your BBQ, over the water pan, but not directly over the heat. Close the lid and let it smoke for 2 hours. This initial phase is vital for developing a beautiful smoke ring and infusing the pork with that signature smoky flavor.
- Wrap and Continue Cooking: After 2 hours, you should see a lovely pink “bark” starting to form on the surface. At this point, the pork has absorbed sufficient smoke. Carefully transfer the pork joint to a sturdy foil tray. Using a spray bottle, spritz the pork with a little apple cider vinegar. This step is known as the “Texas Crutch” and helps prevent the outside of the meat from drying out while accelerating the cooking process by pushing it through the “stall” phase.
- Extended Slow Cook: Continue cooking the pork in the foil tray, covered (loosely tented or fully wrapped, depending on desired bark softness), for approximately 2-2.5 hours per kilogram of meat (including the initial smoking time) until the internal temperature, when tested with a reliable meat thermometer, reaches around 95°C (200°F). Spritz with apple cider vinegar every hour or so, and for the last hour of cooking, ensure the tray is fully covered with foil to trap moisture.
- Rest the Pork: Once the pork has reached the target temperature and a meat thermometer slides into the meat with minimal resistance, carefully remove the tray from the BBQ. Keep it covered with foil and drape a couple of clean tea towels over it. Let the pork rest for a minimum of 1 hour (up to 2-3 hours is even better). This resting period is critical for the juices to redistribute throughout the meat, ensuring maximum tenderness and flavor.
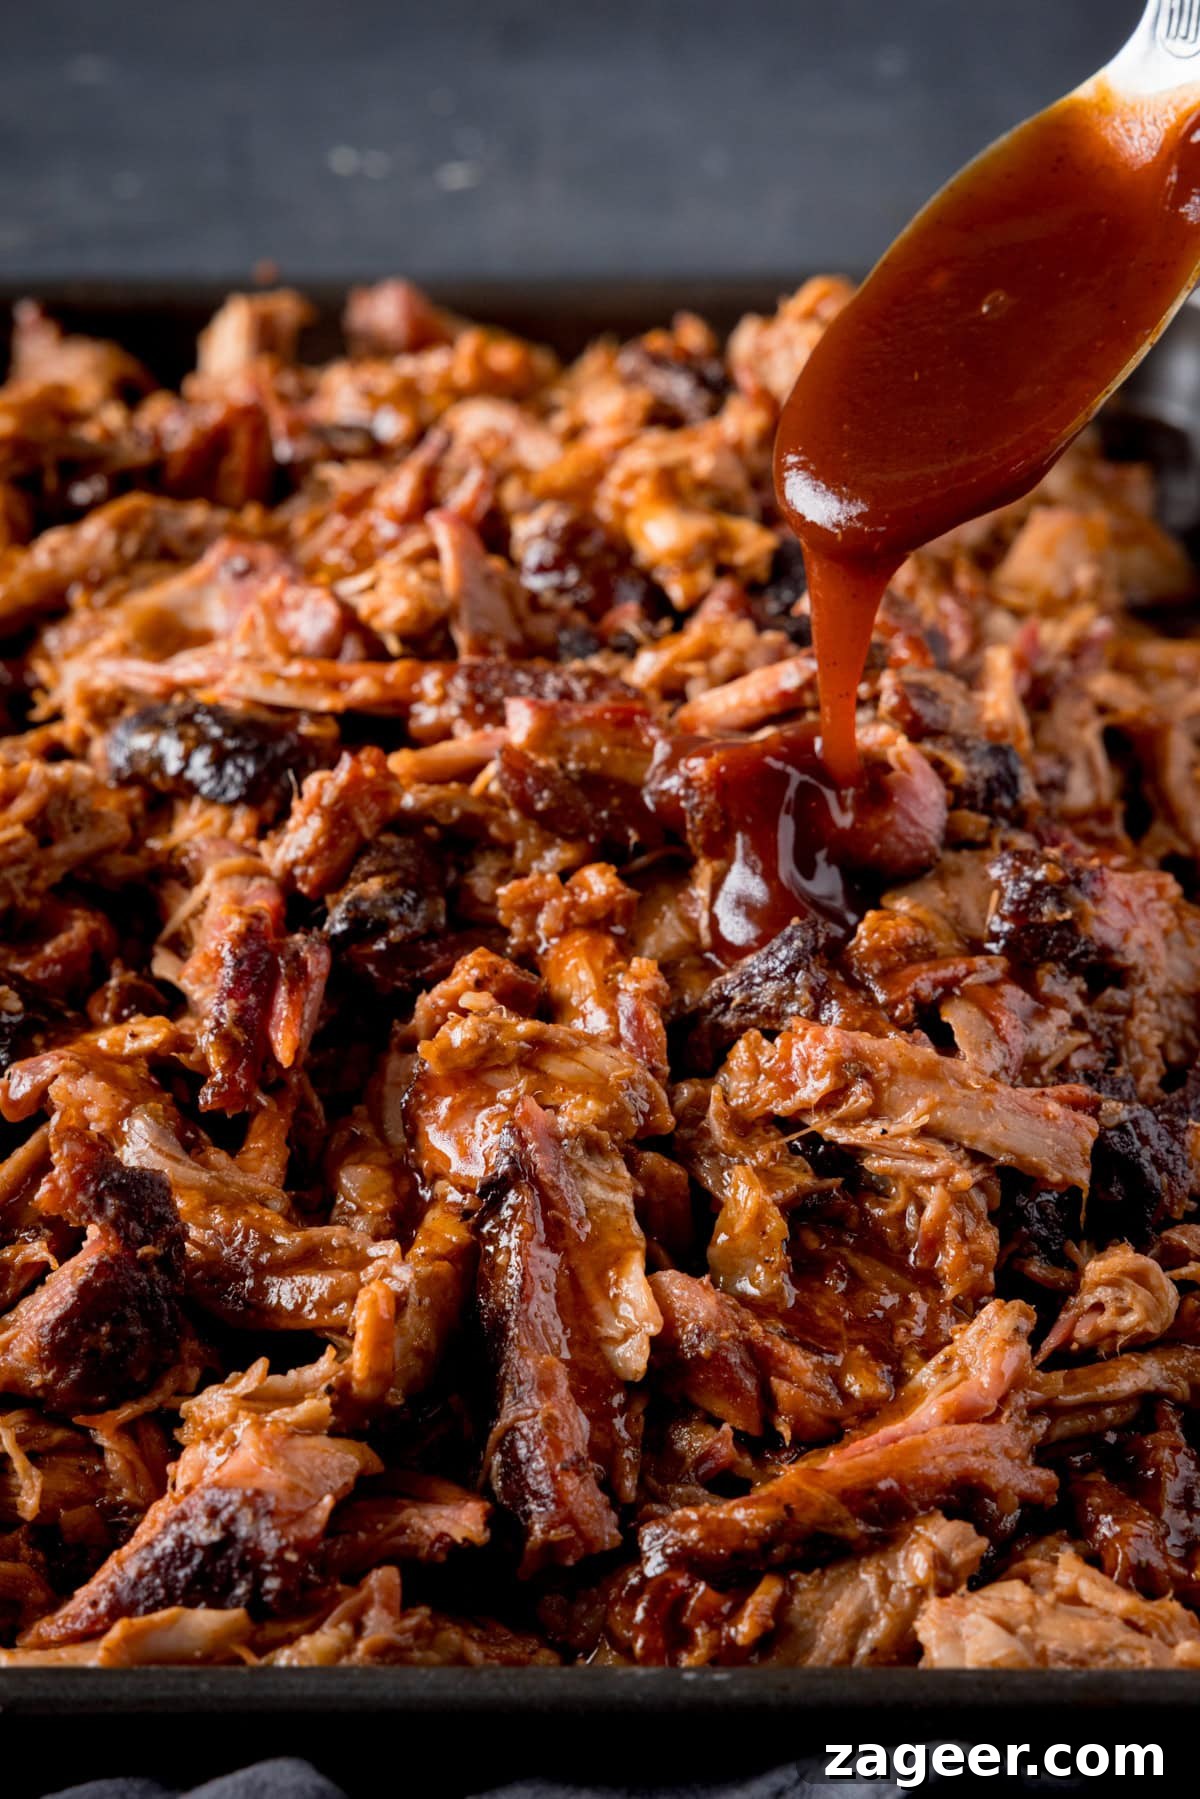
- Shred and Serve: Finally, uncover the pork shoulder. If you used a bone-in joint, the bone should slide out cleanly. Use two forks or a pair of bear claws to easily shred the meat. It should literally fall apart. At this stage, you can serve it as is, or for a more traditional and flavorful pulled pork, mix in 6 tablespoons of your favorite BBQ sauce. Serve alongside your chosen sides and enjoy!
Pro Tip: Scoring for Maximum Flavor & Bark
Scoring the pork’s fat cap deeply (about 1 cm or 0.4 inches) in a criss-cross pattern before applying the rub and dry brining is a small step with big flavor implications. This technique doesn’t just look good; it significantly increases the surface area of the meat. This larger surface allows the dry rub to penetrate more effectively, creating a deeper, more even flavor throughout the pork. More importantly, it provides additional channels for the smoky flavors from your BBQ to infuse directly into the meat, resulting in a richer, more profound smoky taste. Furthermore, these scores aid in rendering the fat more efficiently, contributing to an incredibly juicy final product and helping to form that highly sought-after, delicious bark on the exterior of your pulled pork.
The journey from a raw pork shoulder to this tender, flavorful BBQ masterpiece is an immensely rewarding one. It’s super simple in concept, but packs an incredible juicy, meaty flavor punch that will leave everyone asking for your secret!
Pin this now to find it later
Pin It
🍽️ What to serve it with: Delicious Pairings
The beauty of BBQ pulled pork lies in its incredible versatility, making it a star in various culinary contexts. Here are some fantastic ways to serve this tender, smoky delight:
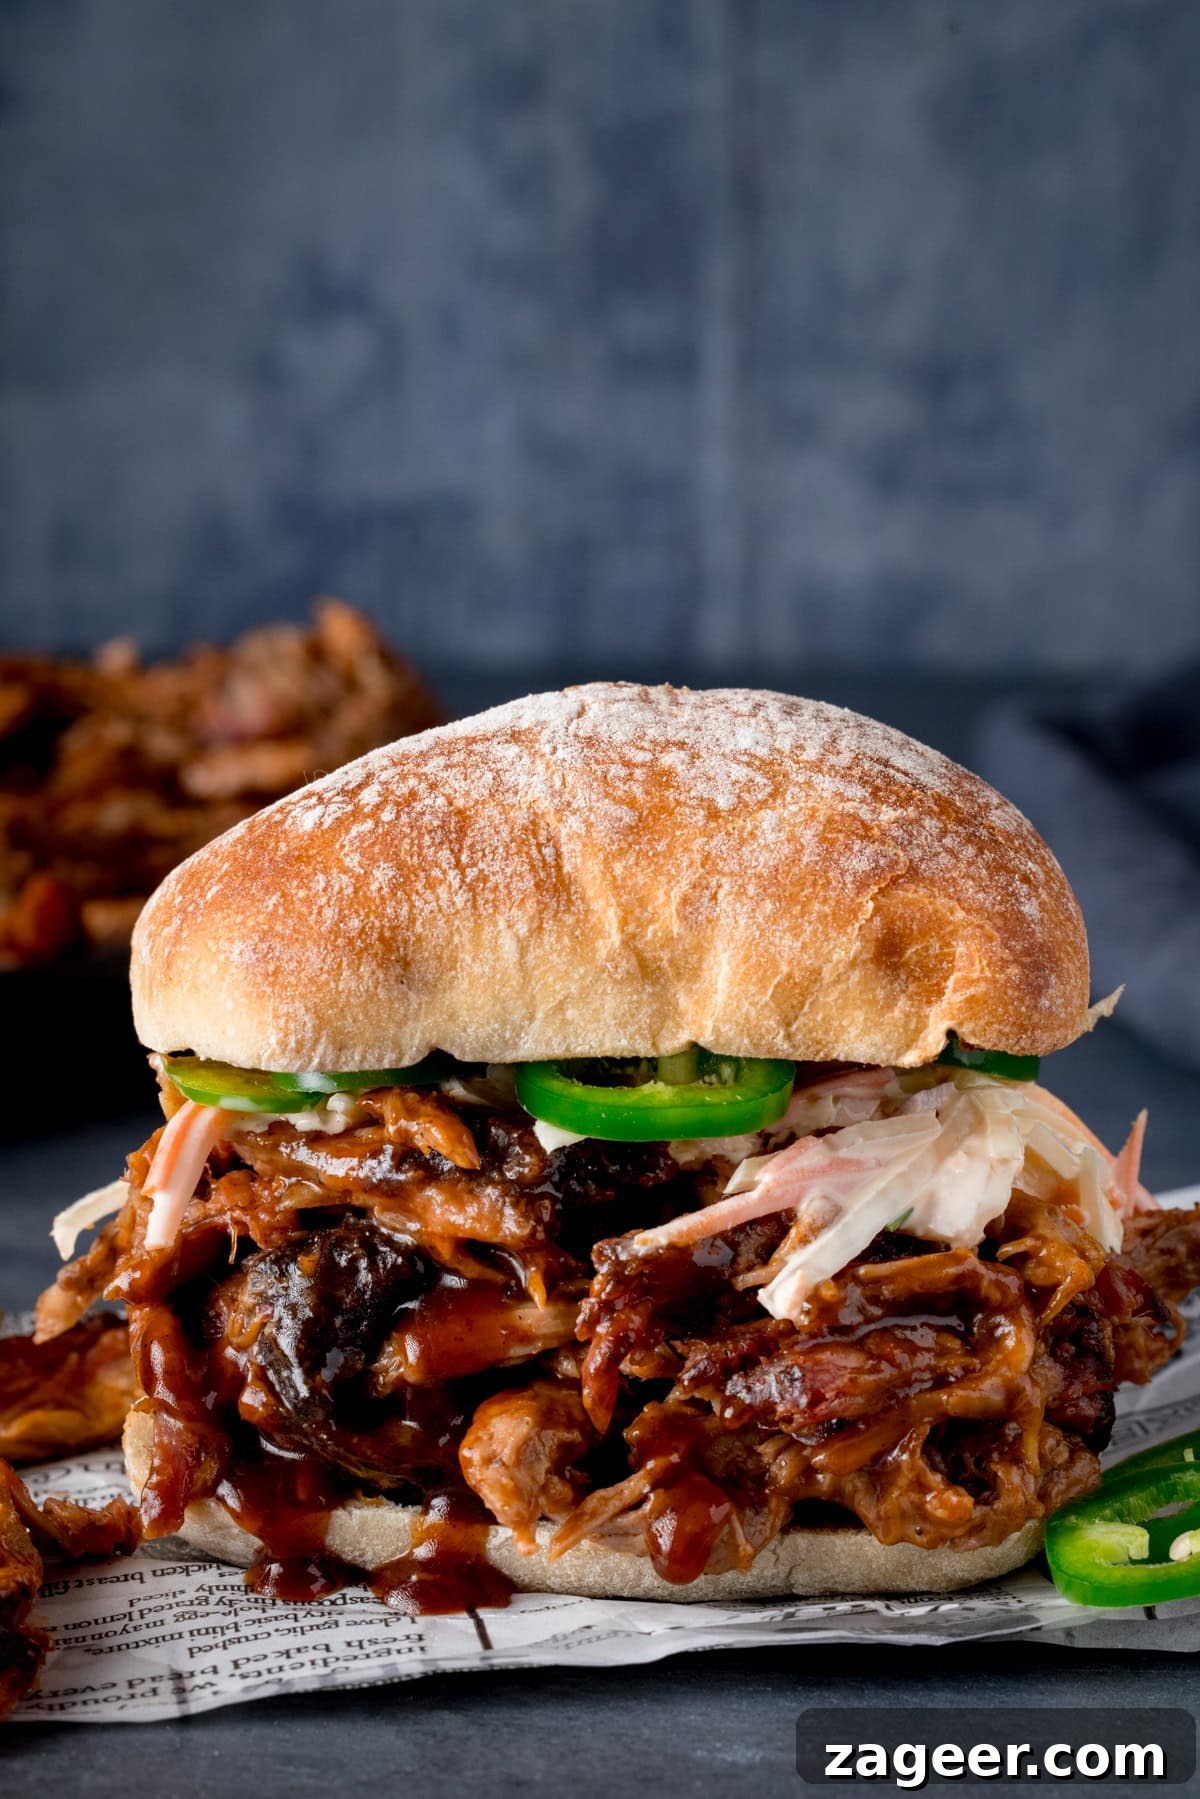
- Classic Pulled Pork Sandwich: Heap generous amounts of pulled pork into a soft brioche bun, topped with creamy, crunchy Creamy Coleslaw and drizzled with extra Homemade BBQ Sauce. It’s a match made in heaven!
- Loaded Baked Potatoes: Transform a simple baked potato into a meal by topping it with a generous portion of pulled pork, a dollop of sour cream, chives, and shredded cheese.
- BBQ Tacos or Burritos: Serve the pulled pork in warm tortillas with a fresh salsa, avocado, and a squeeze of lime for a Tex-Mex twist.
- Pulled Pork Nachos or Fries: Layer pulled pork over crispy tortilla chips or French fries with melted cheese, jalapeños, and your favorite toppings for an indulgent snack or appetizer.
- As Part of a Grand BBQ Feast: My absolute favorite way to enjoy pulled pork is as the centerpiece of a full BBQ spread. Pair it with these timeless sides for an unforgettable meal:
- Easy BBQ Beans: Sweet and savory, a perfect complement to smoky pork.
- Easy 4 Cheese Mac ‘n’ Cheese: Creamy, cheesy, and utterly comforting.
- Creamy Potato Salad: A cool, tangy classic that cuts through the richness of the pork.
- Corn on the Cob: Grilled or boiled, a simple and sweet addition.
- Cornbread: A delightful accompaniment to soak up all the delicious juices.
When done right, this pulled pork is cooked to absolute perfection! Each strand is infused with flavor, creating a truly memorable dining experience.
🍲 More fantastic BBQ recipes to try!
BBQ
BBQ Dry Rub Ribs
BBQ
Honey Garlic Chicken Skewers
Appetizers
BBQ Chicken Wings
BBQ
BBQ Sticky Slow-Cooked Ribs
Street Food
The Ultimate Double Cheeseburger
Street Food
Chicken Tikka Chapati Burritos
Make Ahead and Storage Tips for Pulled Pork
Absolutely! Pulled pork is an excellent dish for meal prepping or preparing in advance, allowing you to enjoy its deliciousness with minimal last-minute effort. Here are a couple of convenient ways to make it ahead:
First, you can prepare the pork up to step 4 of the instructions (rubbing and dry brining) and then cover it tightly before refrigerating overnight. This allows the flavors to meld beautifully and saves you time on the day of cooking.
Alternatively, you can cook the pulled pork through to the end of the recipe. Once cooked, allow it to cool completely before transferring it to an airtight container. It can then be refrigerated for up to 3 days. When you’re ready to serve, simply reheat it gently in a skillet or pan over medium heat, adding a splash of apple cider vinegar or chicken broth if needed to maintain moisture, until it’s piping hot throughout. This method ensures maximum flavor and tenderness for your make-ahead meals.
Yes, pulled pork freezes remarkably well and reheats beautifully, making it perfect for storing leftovers! I highly recommend freezing any extra portions you might have.
To freeze, follow the recipe completely, then allow the cooked pulled pork to cool quickly to room temperature. Transfer it into a sealed, freezer-safe container or heavy-duty freezer bags, ensuring as much air is removed as possible to prevent freezer burn. It can be stored in the freezer for up to 3 months.
When you wish to reheat, defrost the frozen pulled pork overnight in the refrigerator. Once thawed, you can reheat it in a pan or skillet over medium heat, or even in the oven (covered) at a low temperature (around 160°C/325°F), until it’s piping hot throughout. A little extra BBQ sauce or a splash of broth can be added during reheating to restore moisture and flavor.
Stay updated with new recipes and cooking tips!
Subscribe to our newsletter to hear when I post a new recipe and get exclusive content delivered straight to your inbox. You can also find me on YouTube(new videos every week!) and Instagramfor behind-the-scenes stories, beautiful food photos, and quick cooking inspiration.
Click the stars to rate or comment
BBQ Pulled Pork Recipe
Nicky Corbishley
2 hours
8 hours
1 hour
11 hours
6
-8 Servings
Dinner
American
Ingredients
-
3 kg (6.6lb) Pork Shoulder (Boston Butt – See Note 1)
For the Rub:
-
2 tbsp soft brown sugar -
1 tsp paprika -
2 tsp salt -
1 tsp black pepper -
1 tsp garlic powder -
1 tsp onion powder -
1 tsp dried oregano -
½ tsp mild chilli powder (optional)
Also:
-
2 tbsp apple cider vinegar (for spritzing) -
6 tbsp BBQ Sauce
Instructions
Prepare the pork:
-
First of all we’re going to make the rub. Add all of the rub ingredients into a jar and mix together until fully combined.2 tbsp soft brown sugar,
1 tsp paprika,
2 tsp salt,
1 tsp black pepper,
1 tsp garlic powder,
1 tsp onion powder,
1 tsp dried oregano,
1/2 tsp mild chilli powder -
Take the Pork shoulder and remove the skin (you can ask your butcher to do this for you). Then score quite deeply (approx 1 cm deep) in a criss cross pattern on the top fat cap side of the meat.3 kg (6.6lb) Pork Shoulder
-
Lightly dust the pork with the rub on all sides and into all the cracks and scores in the pork.
-
Cover and leave for 1-2 hours or up to overnight to allow the meat to dry brine.
Cook the pulled pork:
-
When you’re ready to cook, preheat your BBQ or smoker to 110C (230F) and set the BBQ up for indirect cooking (see note 2). I use applewood to smoke as I love the flavour of applewood with pork, but hickory or oak would also work really well.
-
Once the BBQ is up to temperature then place a pan (or foil tray) in the BBQ underneath where the pork shoulder will be placed and pour in some water into the tray. (see note 3)
-
Place the pork shoulder in the middle of the BBQ and close the lid, and leave to smoke for 2 hours.
-
After 2 hours, you should see a lovely pink bark starting to form. At this stage the smoke has done its job penetrating the outer layer of the meat, Now we’re going to transfer the pork joint to a foil tray and spritz with a little apple cider vinegar in a spray bottle. This is to help ensure the outside of the meat doesn’t dry out. The acidity of the vinegar helps break through the fat and adds to the pork flavour.
-
We want to cook the pork for approx 2-2.5 hours per KG altogether (including the smoking) until the the internal temperature when tested with a meat thermometer is around 95C (200F) (see note 4). So for a 3kg pork shoulder, continue to cook with the BBQ set at 110C for an additional 4-5.5 hours, lightly spritzing with cider vinegar every hour. For the last hour of cooking cover the tray with foil and leave on the BBQ to continue cooking.2 tbsp apple cider vinegar
-
Once the pork has hit the internal temperature and the meat thermometer passes into pork nice and easily then we’re ready to rest. Remove the tray from the BBQ and cover with foil and a couple of clean tea towels and leave to rest for 1 hour before serving.
-
Uncover the pork shoulder (remove the bone if you have a bone-in joint) and break up the meat. You can you a couple of forks or tongs. The meat should fall apart and the bone (if you have a bone-in joint) should come away clean.
-
Now you can serve just like this, or what I like to do for a traditional pulled pork, is add 6 tbsp of my homemade BBQ sauce (you can use your favourite brand) and mix it all together.6 tbsp BBQ Sauce
Notes
Note 1 – The Pork Joint & Scoring
Bone-in or boneless pork shoulder (Boston butt in the US) works perfectly. This cut is rich in fat and collagen, which are essential for tender, juicy pulled pork. Scoring the pork before dry brining provides more surface area for the rub to penetrate and for the smoke to infuse, enhancing flavor and bark formation.
Note 2 – Indirect Heat Explained
Setting up your BBQ for indirect cooking is crucial. This means positioning a barrier between the heat source (charcoal/wood) and the meat. Some barbecues, like Kamado Joe or Green Egg, have a ceramic plate for this purpose. In others, you might place coals to one side and the meat on the other, or use a drip pan as a barrier. The goal is to cook the pork slowly with hot air and smoke, rather than direct flame, which can dry out or burn the meat. This method ensures your pork remains wonderfully juicy. For specific instructions, I recommend searching YouTube for “how to set up indirect heat” for your particular BBQ model.
Note 3 – The Role of Liquid in the BBQ
Placing a foil tray of water directly underneath the pork in your BBQ adds vital moisture to the circulating air. This humid environment helps prevent the pork from drying out during the long cooking process, contributing to a more tender and juicy final product. It also helps to stabilize the temperature inside your smoker.
Note 4 – Understanding Pulled Pork Temperature (Why 95°C/200°F?)
For food safety, most pork cuts are generally considered fully cooked at an internal temperature of 63°C (145°F). So, you might wonder why we’re targeting a much higher temperature of 95°C (200°F) for pulled pork.
For collagen-rich cuts like pork shoulder/Boston butt, simply reaching 63°C (145°F) will result in edible but tough meat. To achieve that signature “fall-apart” pulled pork texture, the meat needs to be cooked to a higher temperature over an extended period. This prolonged heat at a higher internal temperature (95°C/200°F) is necessary to completely break down the tough connective tissues and collagen into gelatin. This breakdown is what transforms the pork shoulder into tender, shreddable deliciousness. It’s a balance of temperature and time that ensures ultimate tenderness.
Nutrition
Calories:
515
kcal
|
Carbohydrates:
9
g
|
Protein:
85
g
|
Fat:
13
g
|
Saturated Fat:
4
g
|
Polyunsaturated Fat:
2
g
|
Monounsaturated Fat:
6
g
|
Trans Fat:
0.1
g
|
Cholesterol:
225
mg
|
Sodium:
923
mg
|
Fiber:
0.5
g
|
Sugar:
7
g
Nutrition information is automatically calculated, so should only be used as an approximation.
Like this recipe? Leave a comment below!
Some of the links in this post may be affiliate links – which means if you buy the product I get a small commission (at no extra cost to you). If you do buy, then thank you! That’s what helps us to keep Kitchen Sanctuary running. The nutritional information provided is approximate and can vary depending on several factors. For more information please see our Terms & Conditions.