Sticky Korean Chicken Steamed Buns
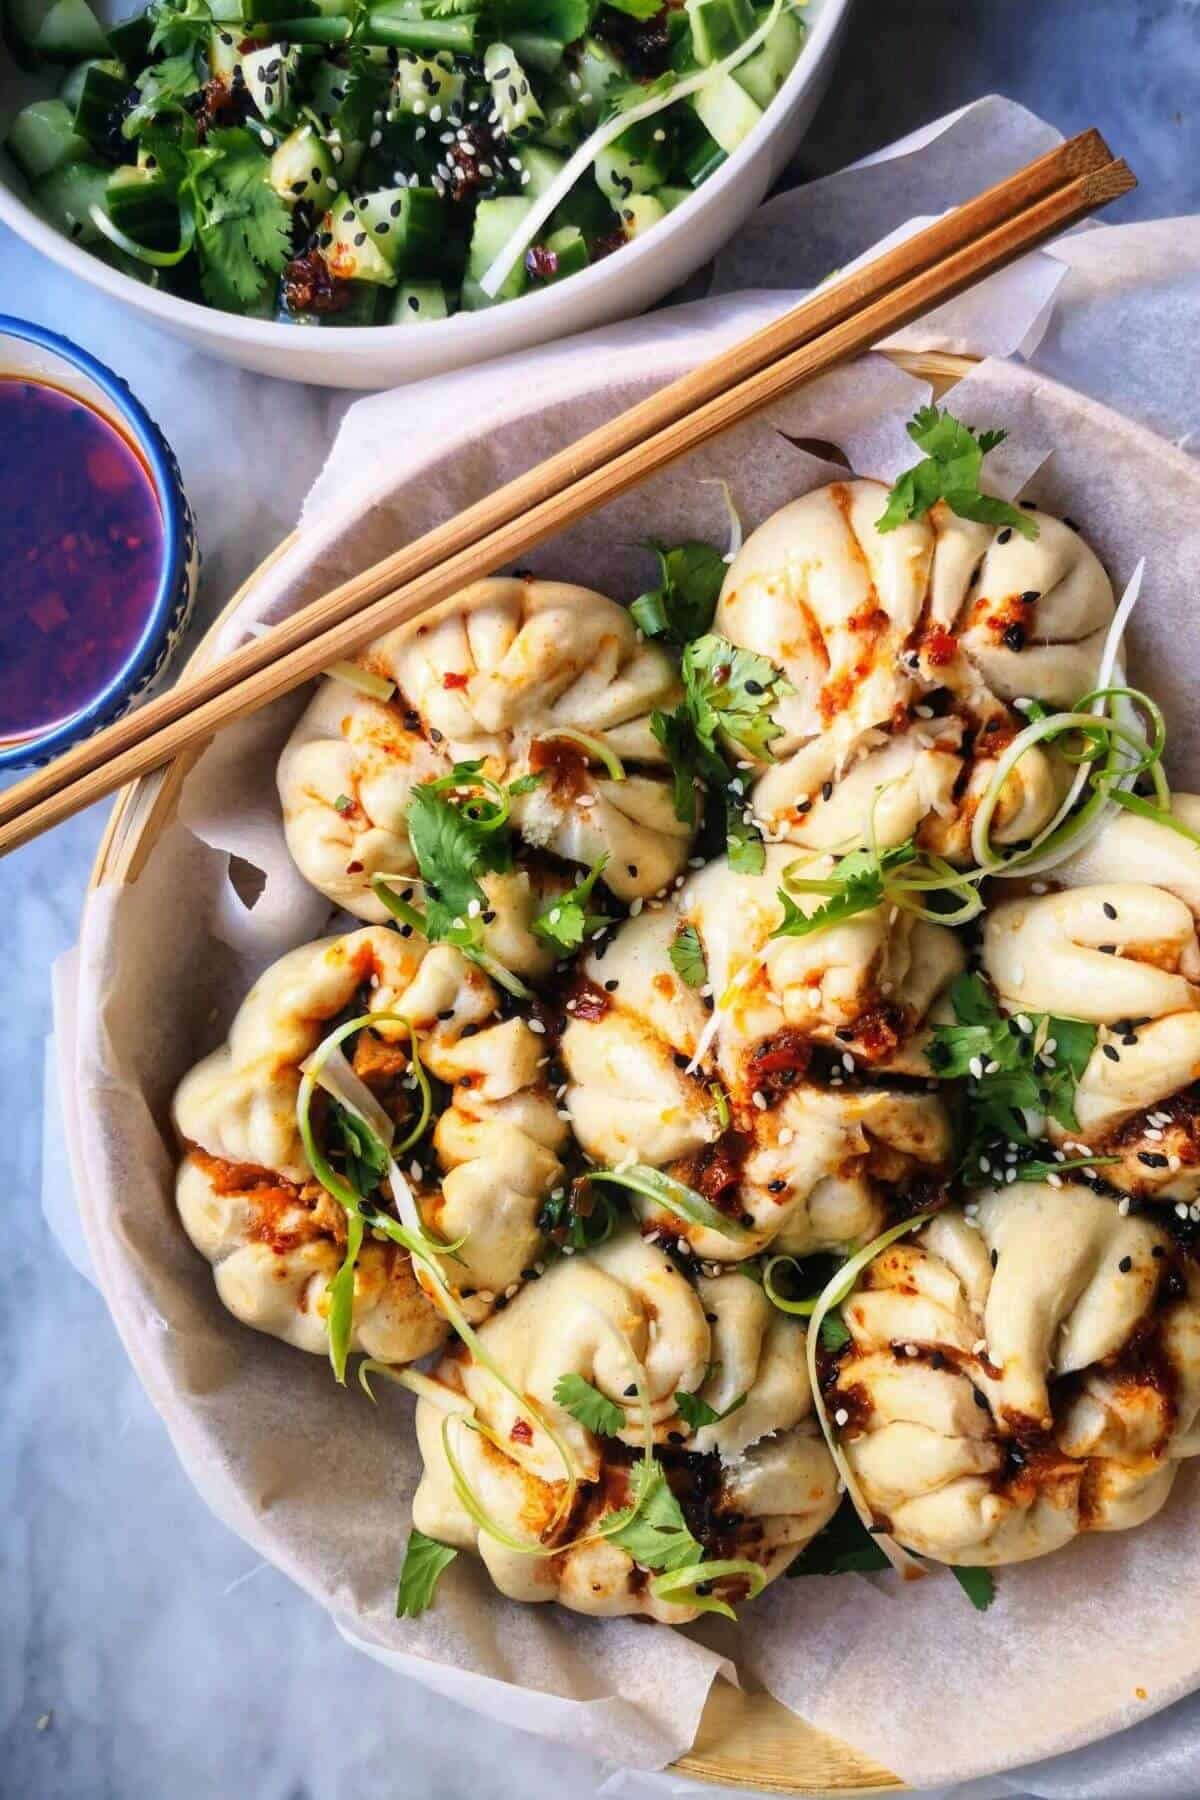
These sticky Korean chicken steamed buns wrap juicy, sweet, spicy gochujang chicken in gorgeously soft, fluffy dough. They’re easier to make than you might think and, frankly, irresistible. Brilliant for using leftover roast chicken, they freeze beautifully, and can be steamed or pan-fried. Drizzle with lots of spicy chili oil and dumpling dipping sauce for a fabulous better-than-takeout night in.
Korean Chicken Steamed Buns, at a Glance
⏰Time: 1 hour, including 30 minutes resting time
🍽️Makes: 12 stuffed buns
🛒 Key Ingredients: All-purpose flour, instant yeast, baking powder, chicken thighs, gochujang paste, honey
🧠 Skill Level: Beginner-friendly
👩🍳 Cooking Method: Steam until pillowy, or pan-fry for golden, crispy bottoms
🍳 Equipment Needed: A bamboo or regular steamer
⏳ Prep Ahead: Cook and freeze the buns, then steam them straight from frozen
💃 Why it Works: Instant yeast AND baking powder supercharge the dough, so you can fill and shape your buns straight away.
The Steamed Buns That Started With Leftovers
We need to talk about these buns. I first made them with leftover juicy herb roasted chicken, mixed with leftover sticky gochujang sauce from making crispy Korean fried chicken. I loved them so much that I had to work out exactly what I’d done and make them again.
Inspired by the classic dim sum dish, char siu pork buns, these are very easy to eat and brilliant for entertaining. The filling is juicy, sweet, spicy, and the dough is wonderfully soft and fluffy. It’s truly hard to stop at just one of these.
The dough is the same as my steamed fluffy bao buns. It uses baking powder AND yeast, so you can get straight to shaping your buns after kneading, with no first rise to wait for.
And once you know the technique, you can make them your own. Take inspiration from my original idea and stuff them with leftover meat (Instant Pot pulled pork or sticky miso chicken are great) or use roasted veggies, or even leftover curry.
Make it a proper better-than-takeout night in with a zingy smacked cucumber salad on the side, with lots of lovely spicy chilli oil or dumpling dipping sauce for drizzling and dipping.

Ingredients You’ll Need
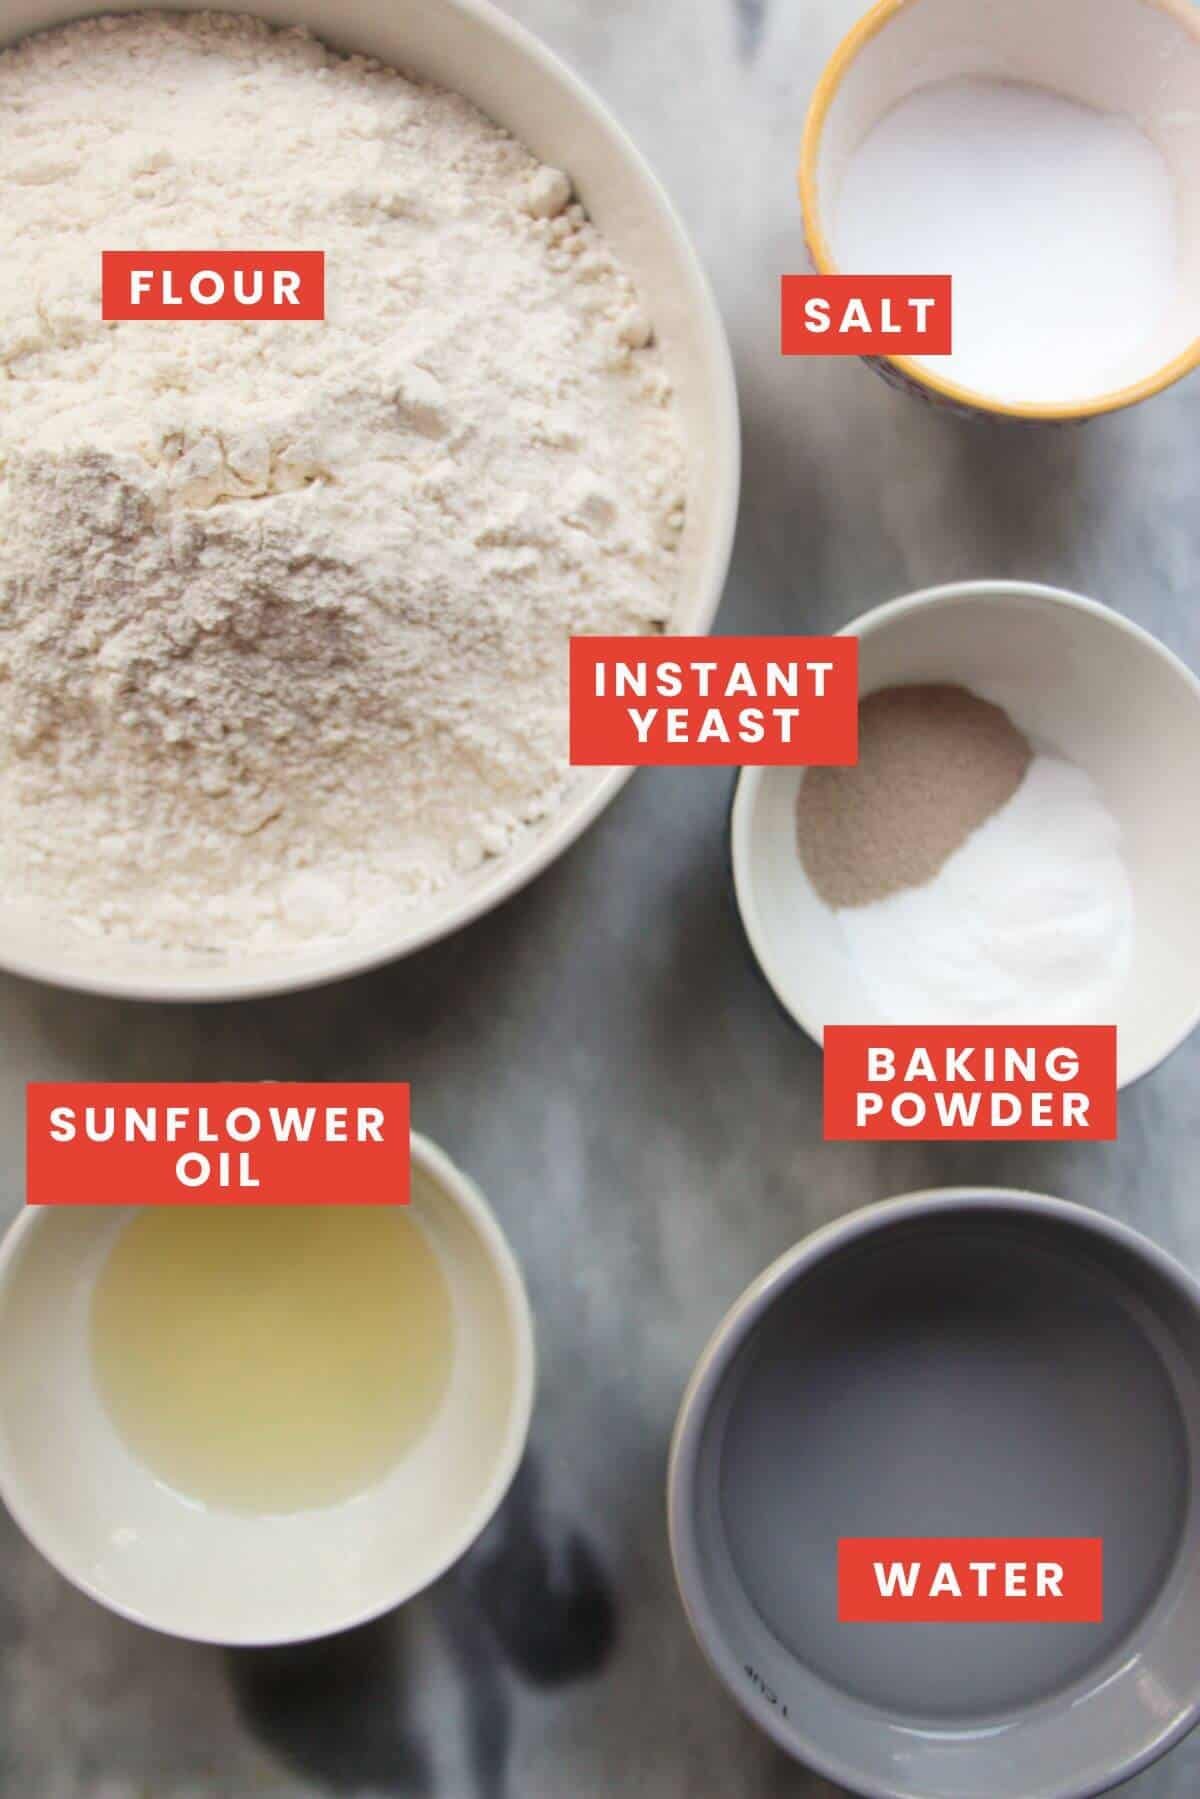
- Instant yeast. Make sure you’re using instant yeast, rather than active yeast here. You can use active yeast, but you’ll need to mix it with water and let it sit for 10 minutes to activate it. If you try to mix active yeast straight into the dough, it won’t dissolve properly, and you’ll end up with little granules throughout your dough.
- Baking powder. This gives the dough a little boost and means you can skip the first rise and go straight to filling and shaping your buns.
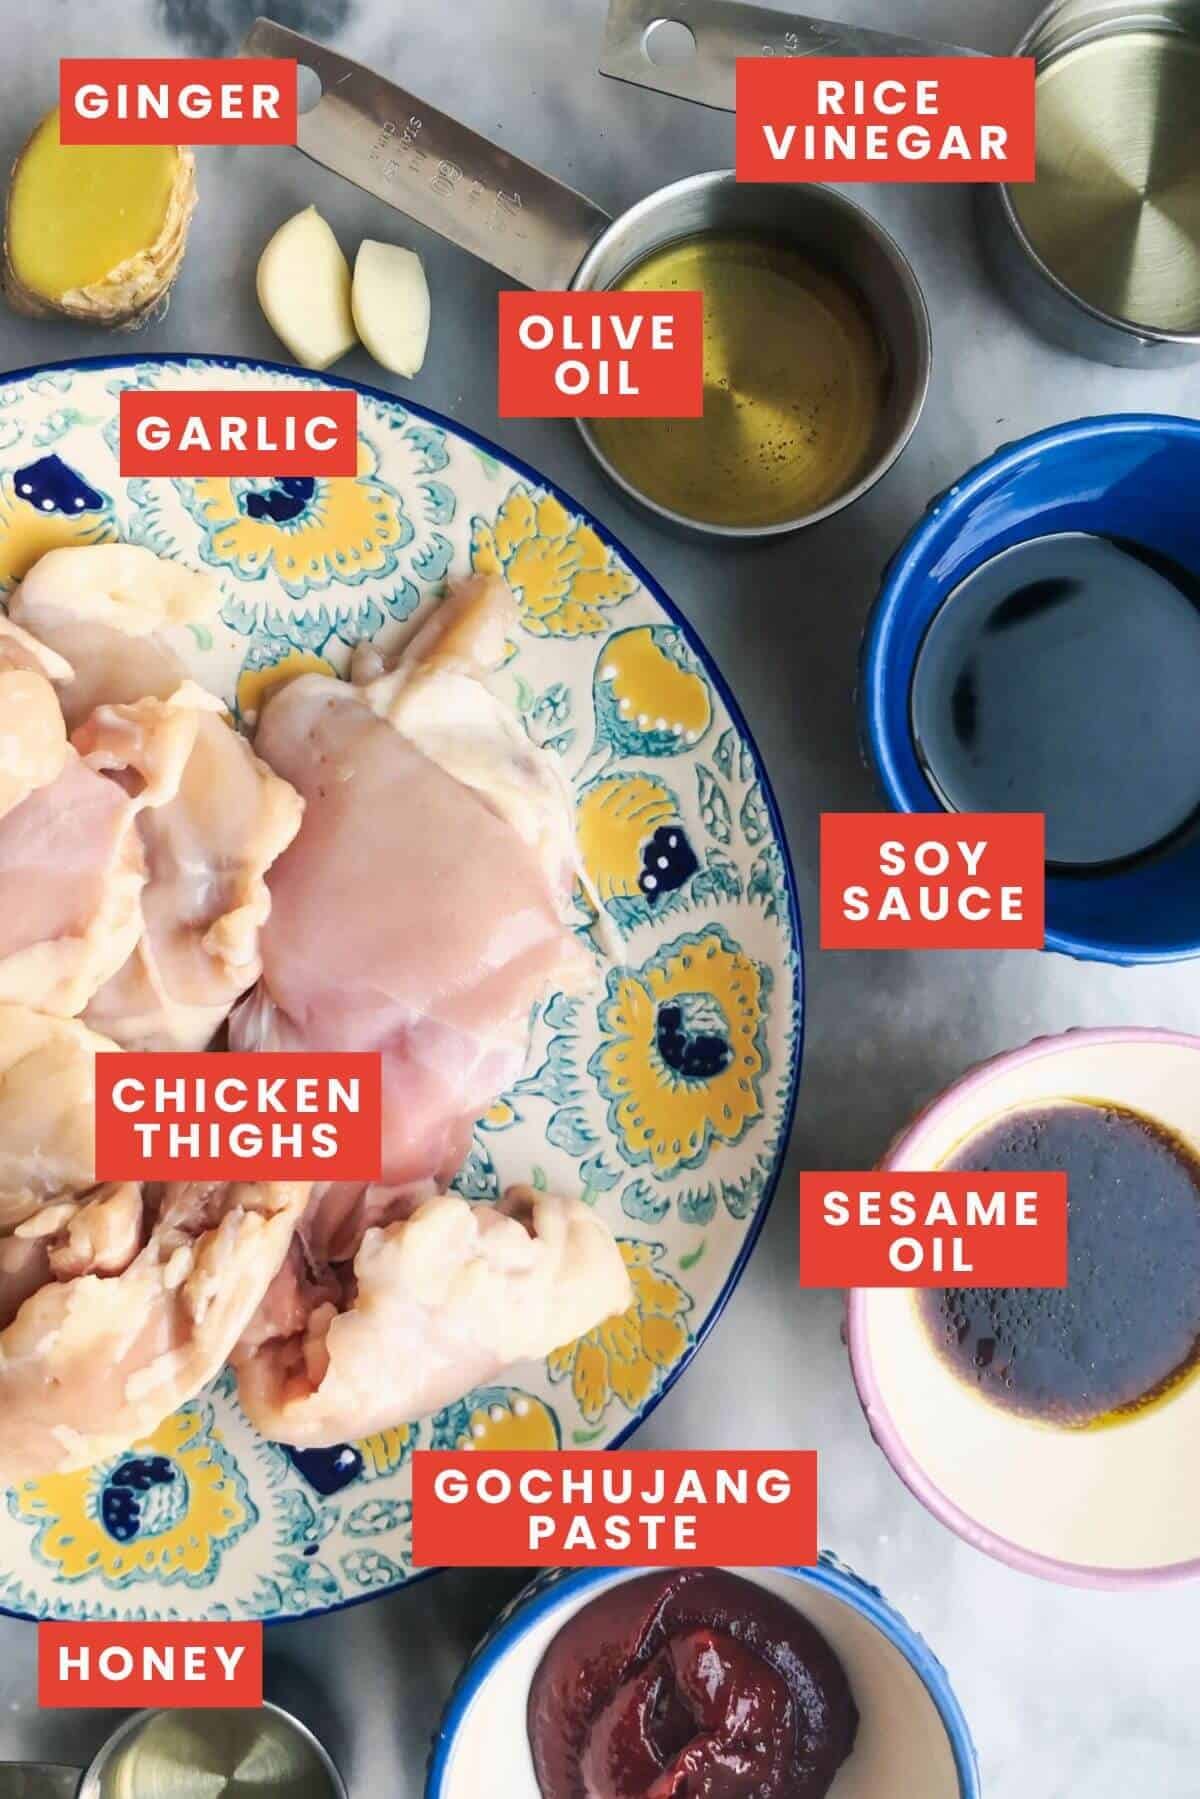
- Chicken thighs. I prefer using chicken thighs because they stay nice and juicy inside the buns. You can use chicken breasts if you prefer. You can also use cooked, shredded chicken to make this even easier.
- Gochujang paste. Gochujang paste is a Korean fermented chili paste that delivers an amazing, deep savory flavor to the filling. You can find it in larger stores, in the International aisle, in Asian grocery stores, or on Amazon.
- Ginger and garlic. You can use garlic and ginger paste, instead of fresh, if that’s all you have.
How to Make Korean Chicken Steamed Buns
This is a step-by-step photo overview of how to make the buns – the full recipe with ingredient quantities is at the bottom of the page for you.
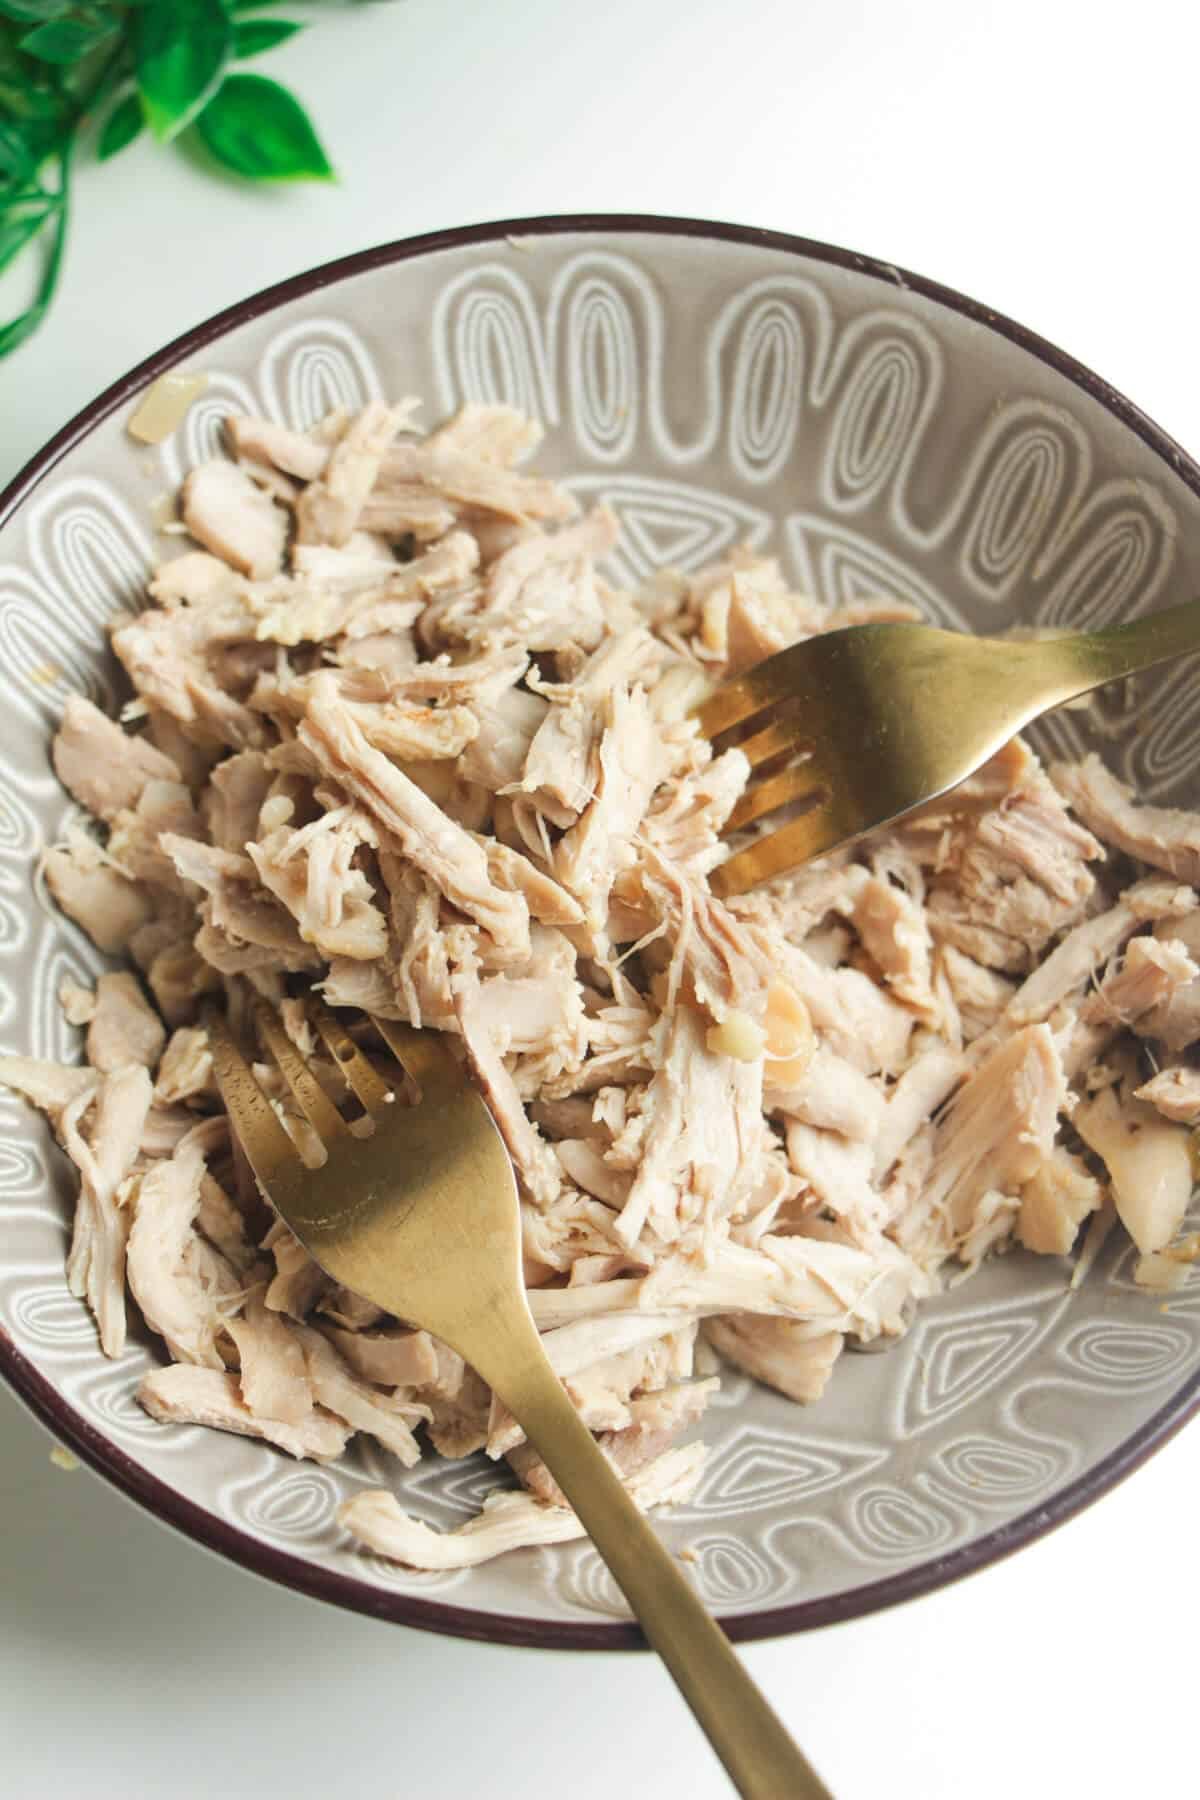
- Cook, then shred your chicken (or use leftover or a rotisserie chicken for ease).
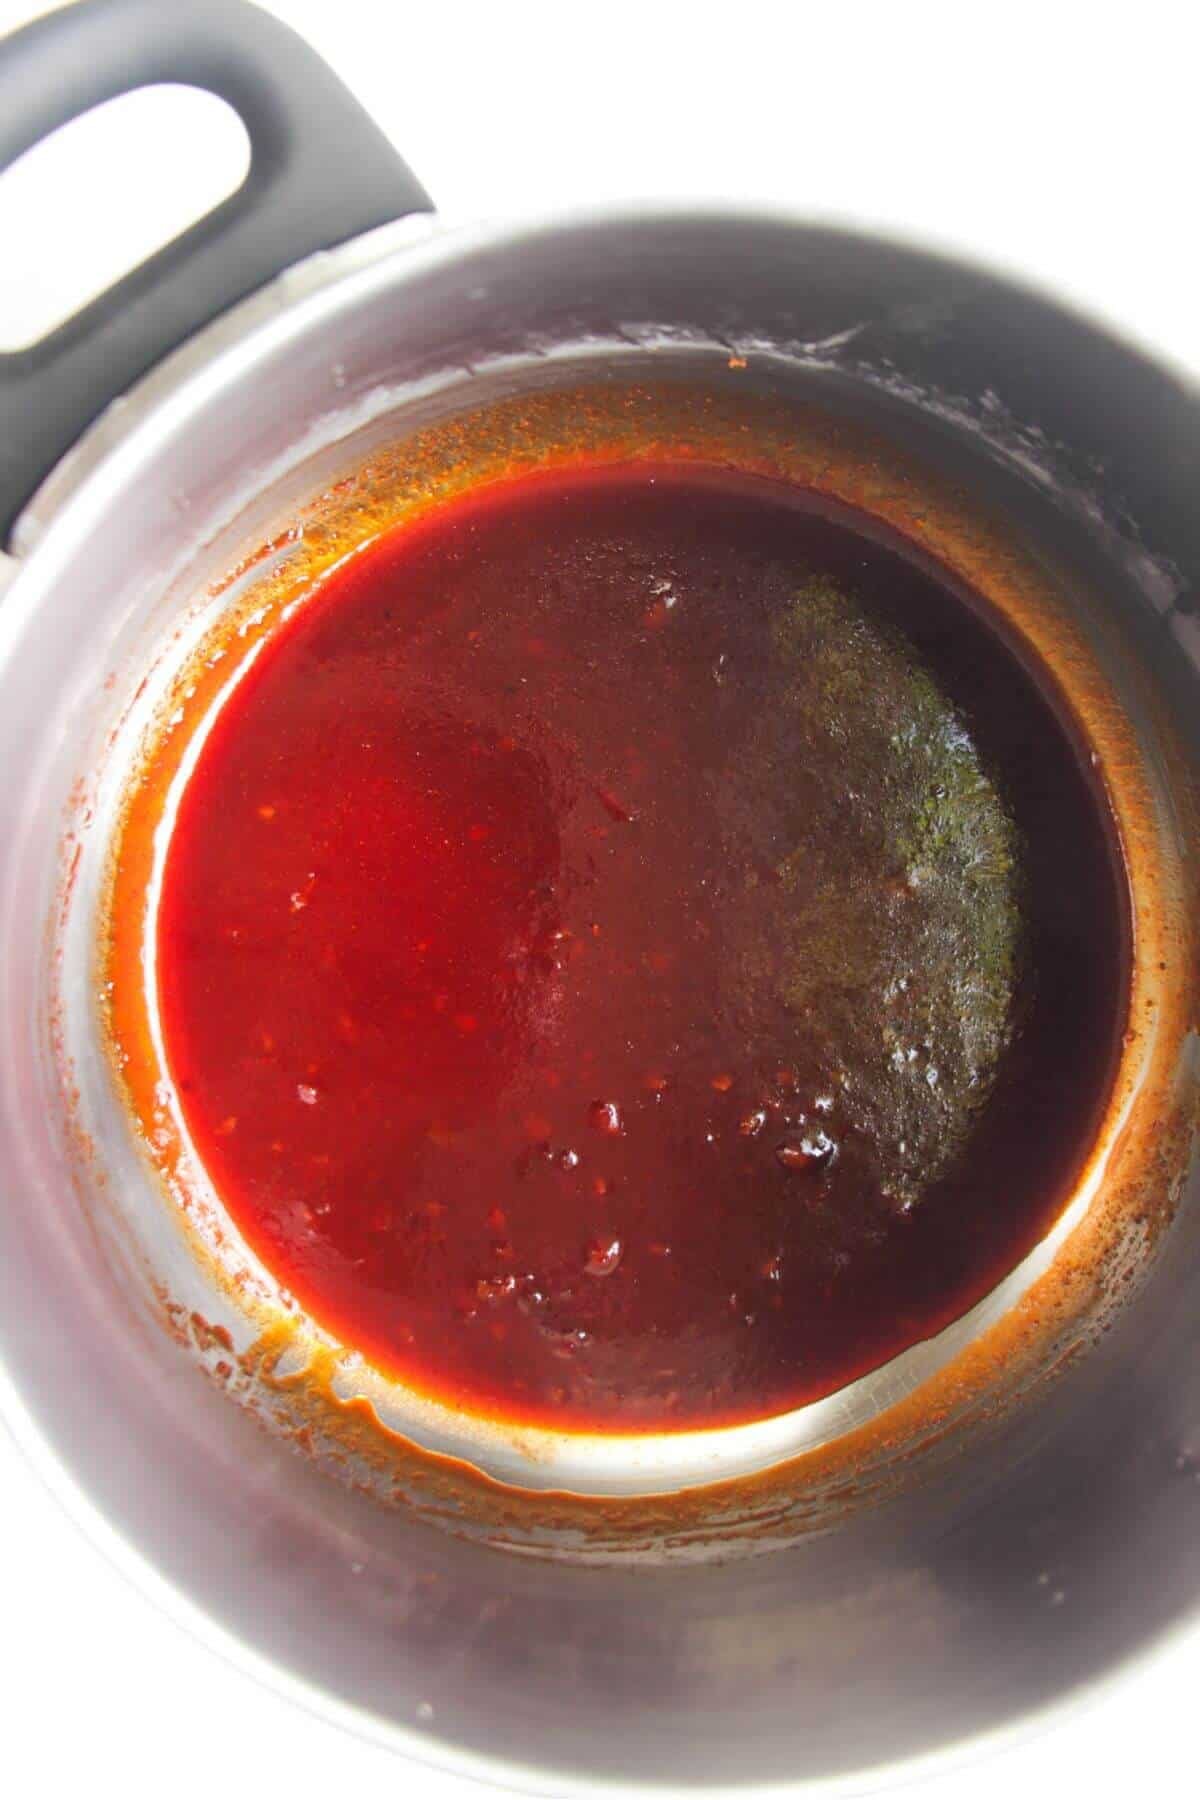
- Make your gochujang sauce, then mix it with the shredded chicken.
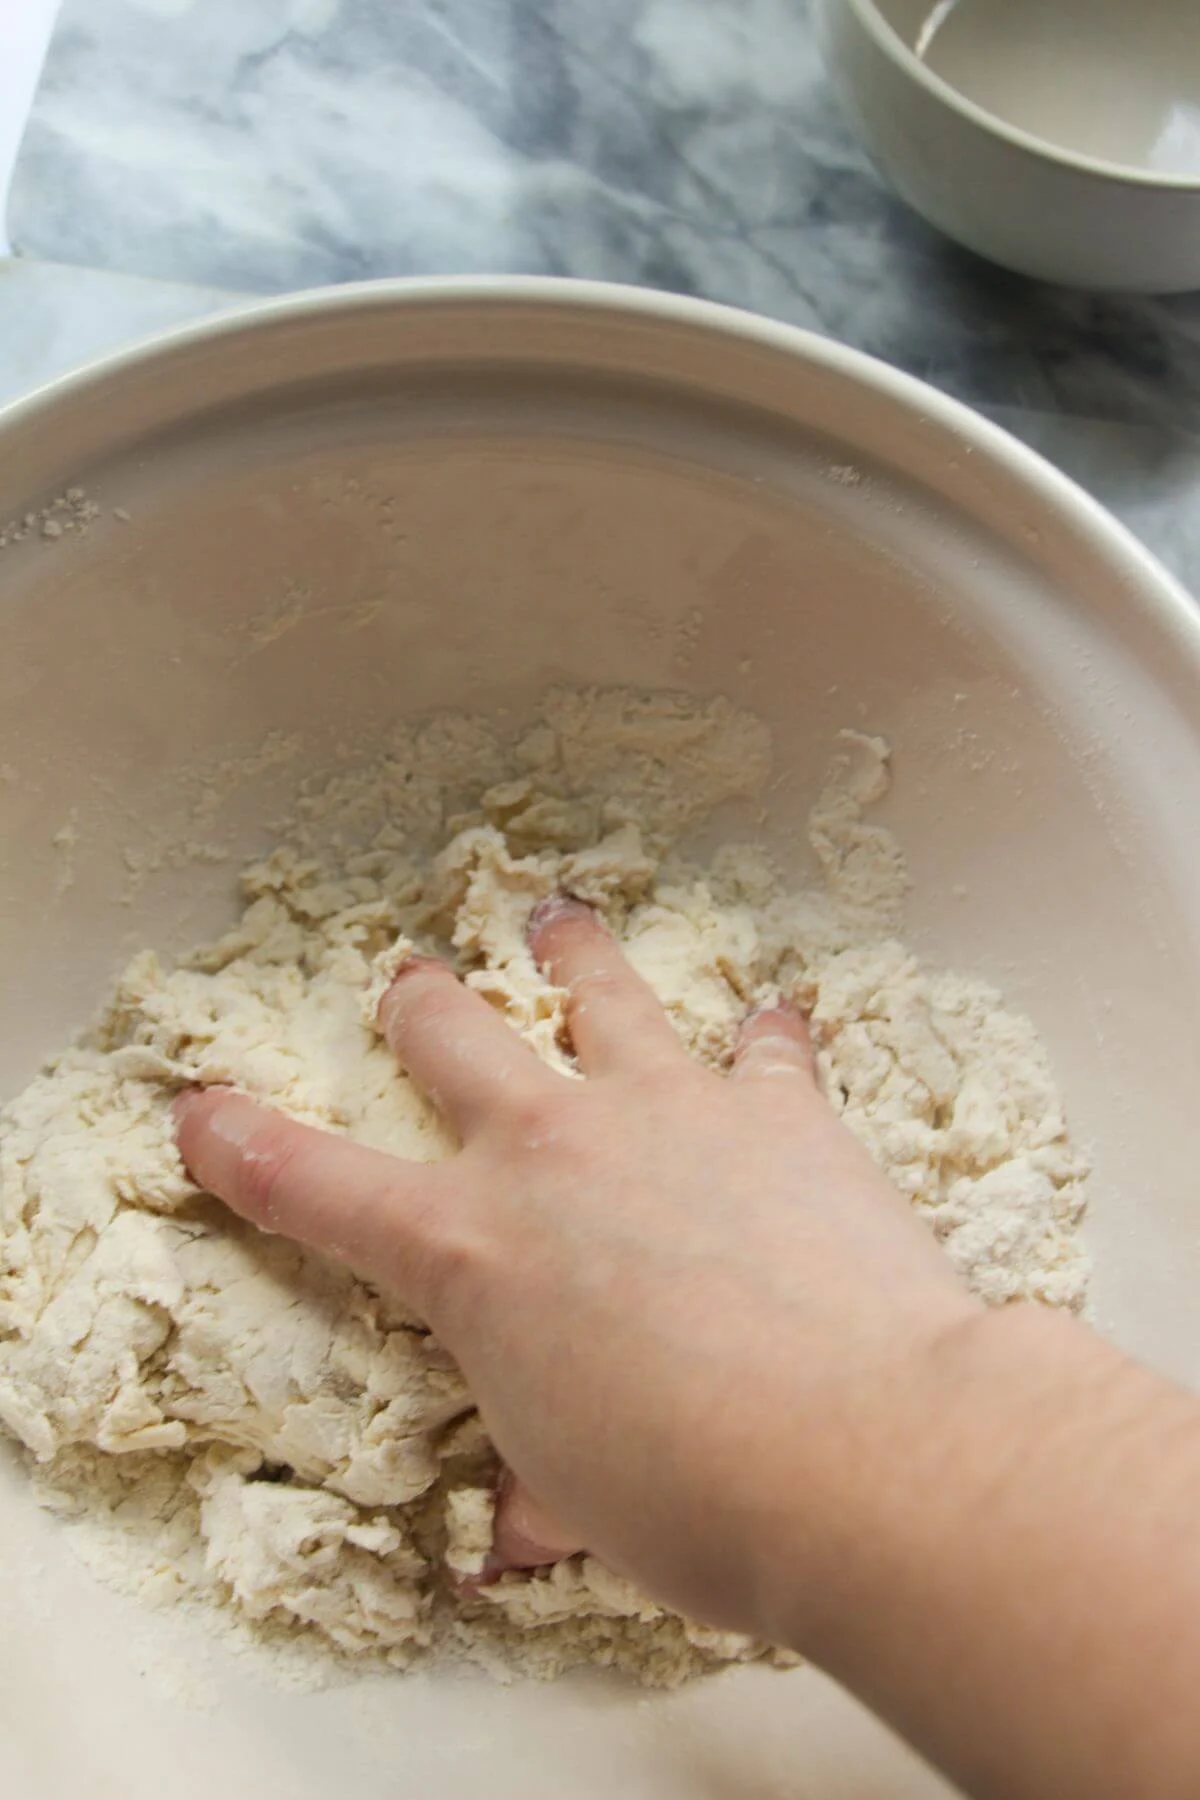
- Add flour, instant yeast, salt, and water to a large bowl and mix into a rough dough. You can do this by hand or use a stand mixer. Knead the dough for a few minutes.
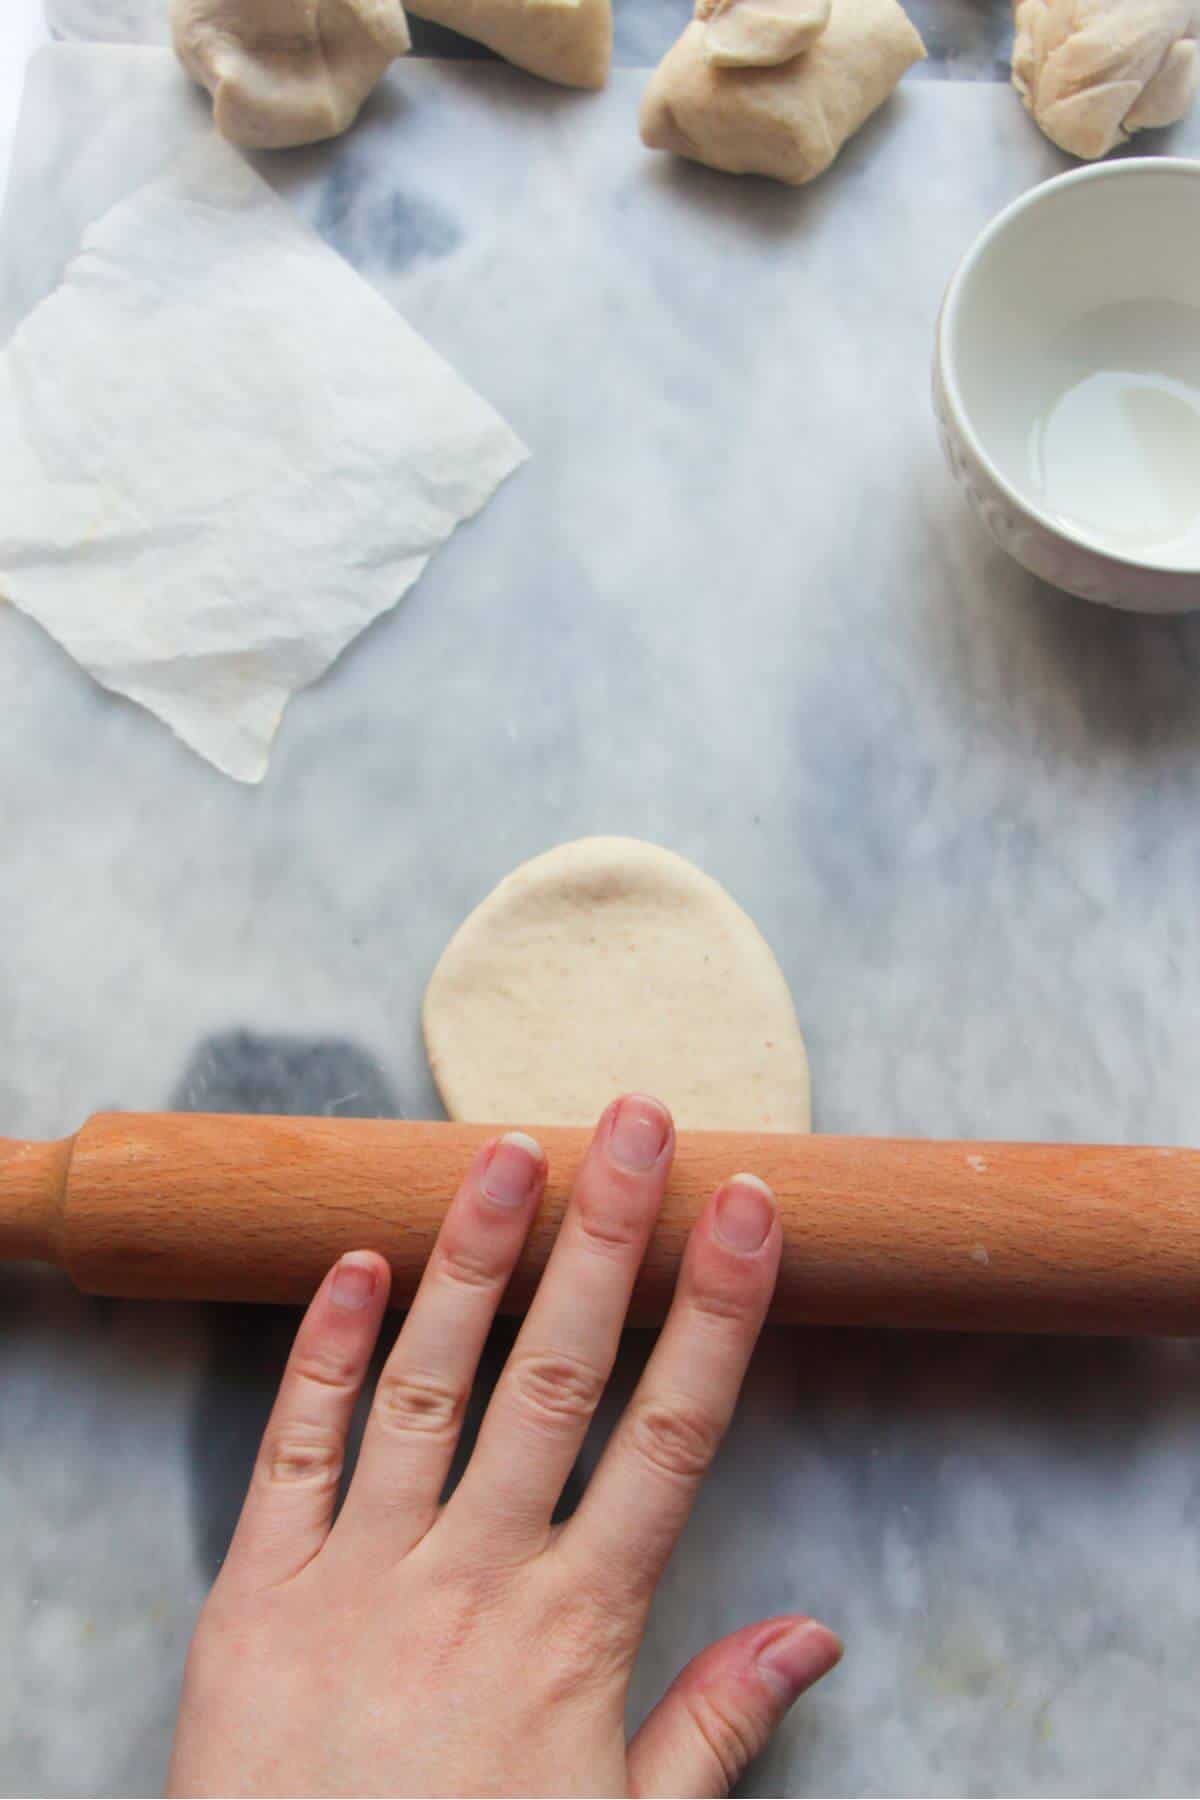
- Divide the dough into 12 roughly equal balls, then roll each out into a flat disc.
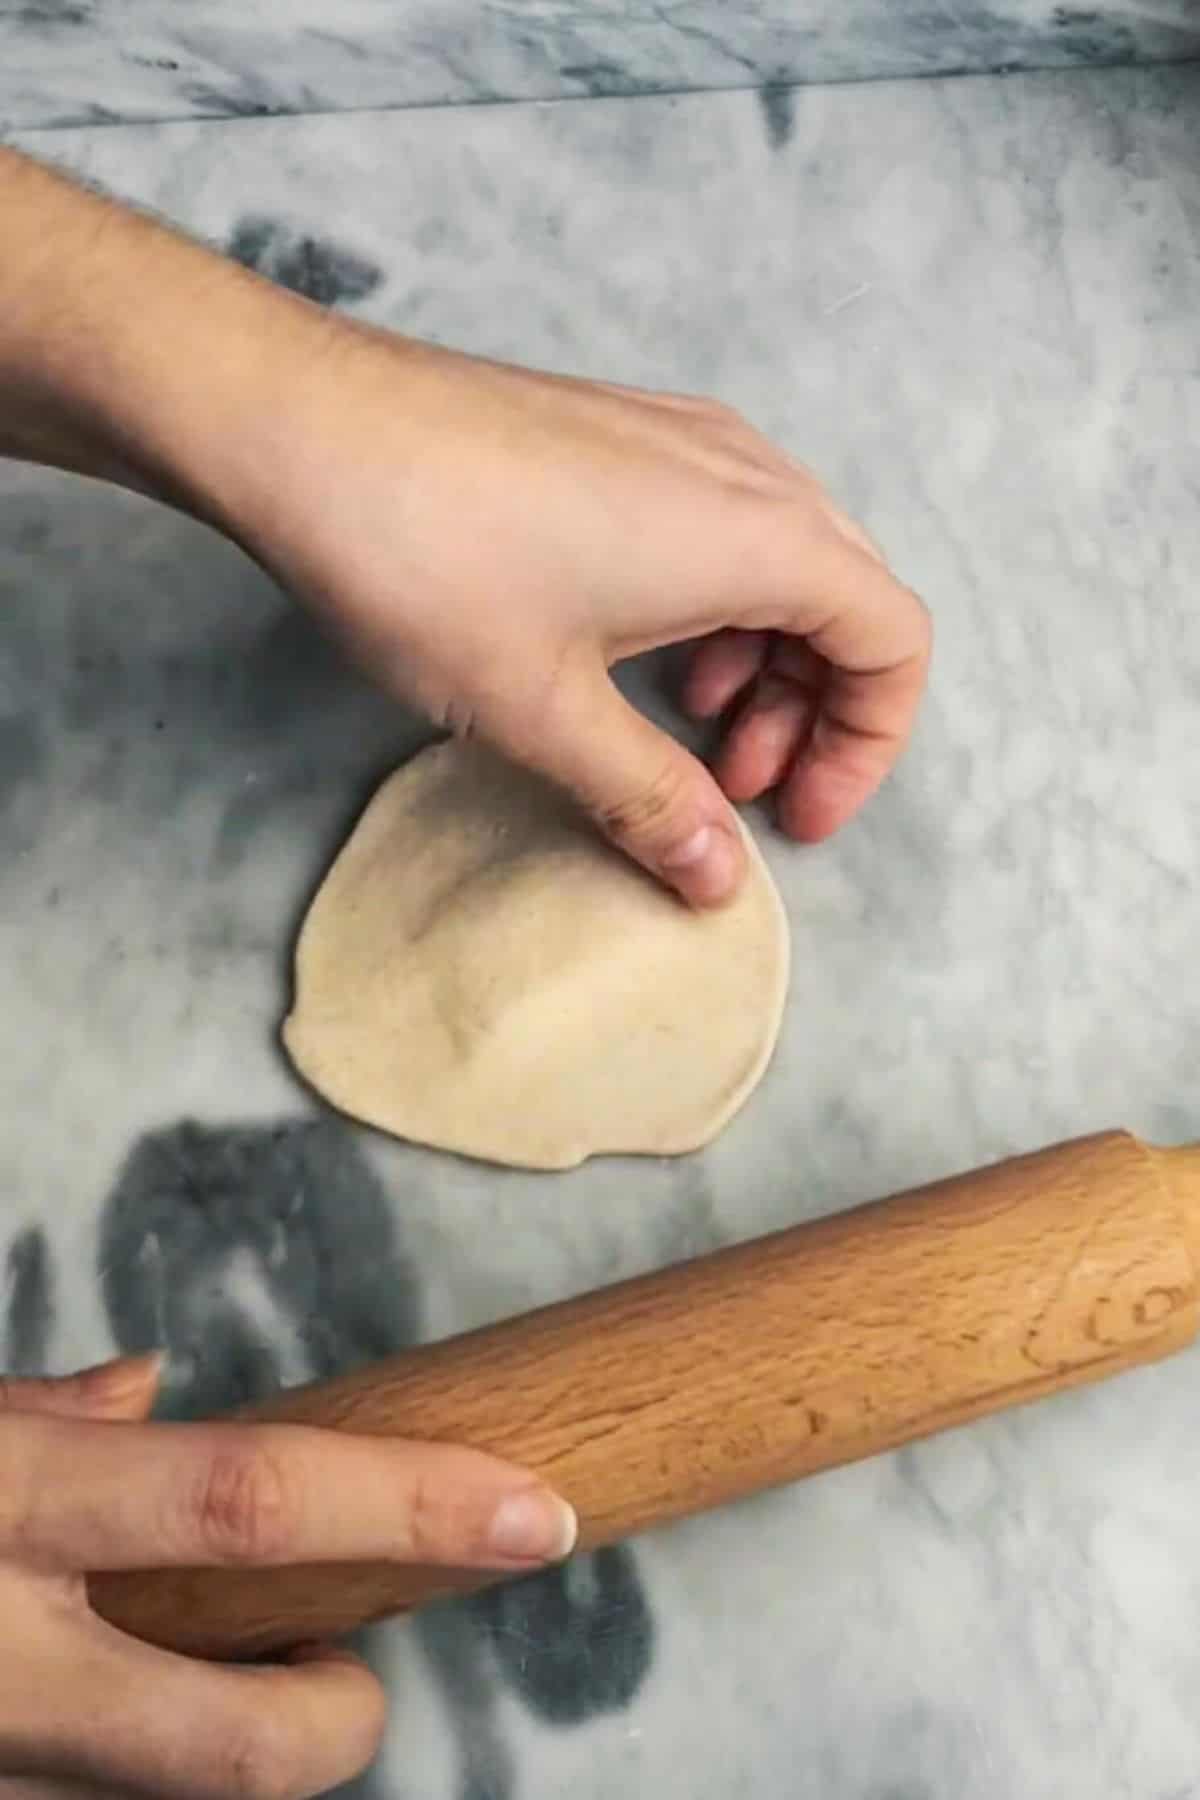
- Try to leave the middle of your dough circles a little thicker than the outside – this helps prevent any filling or sauce from leaking through the bottom.
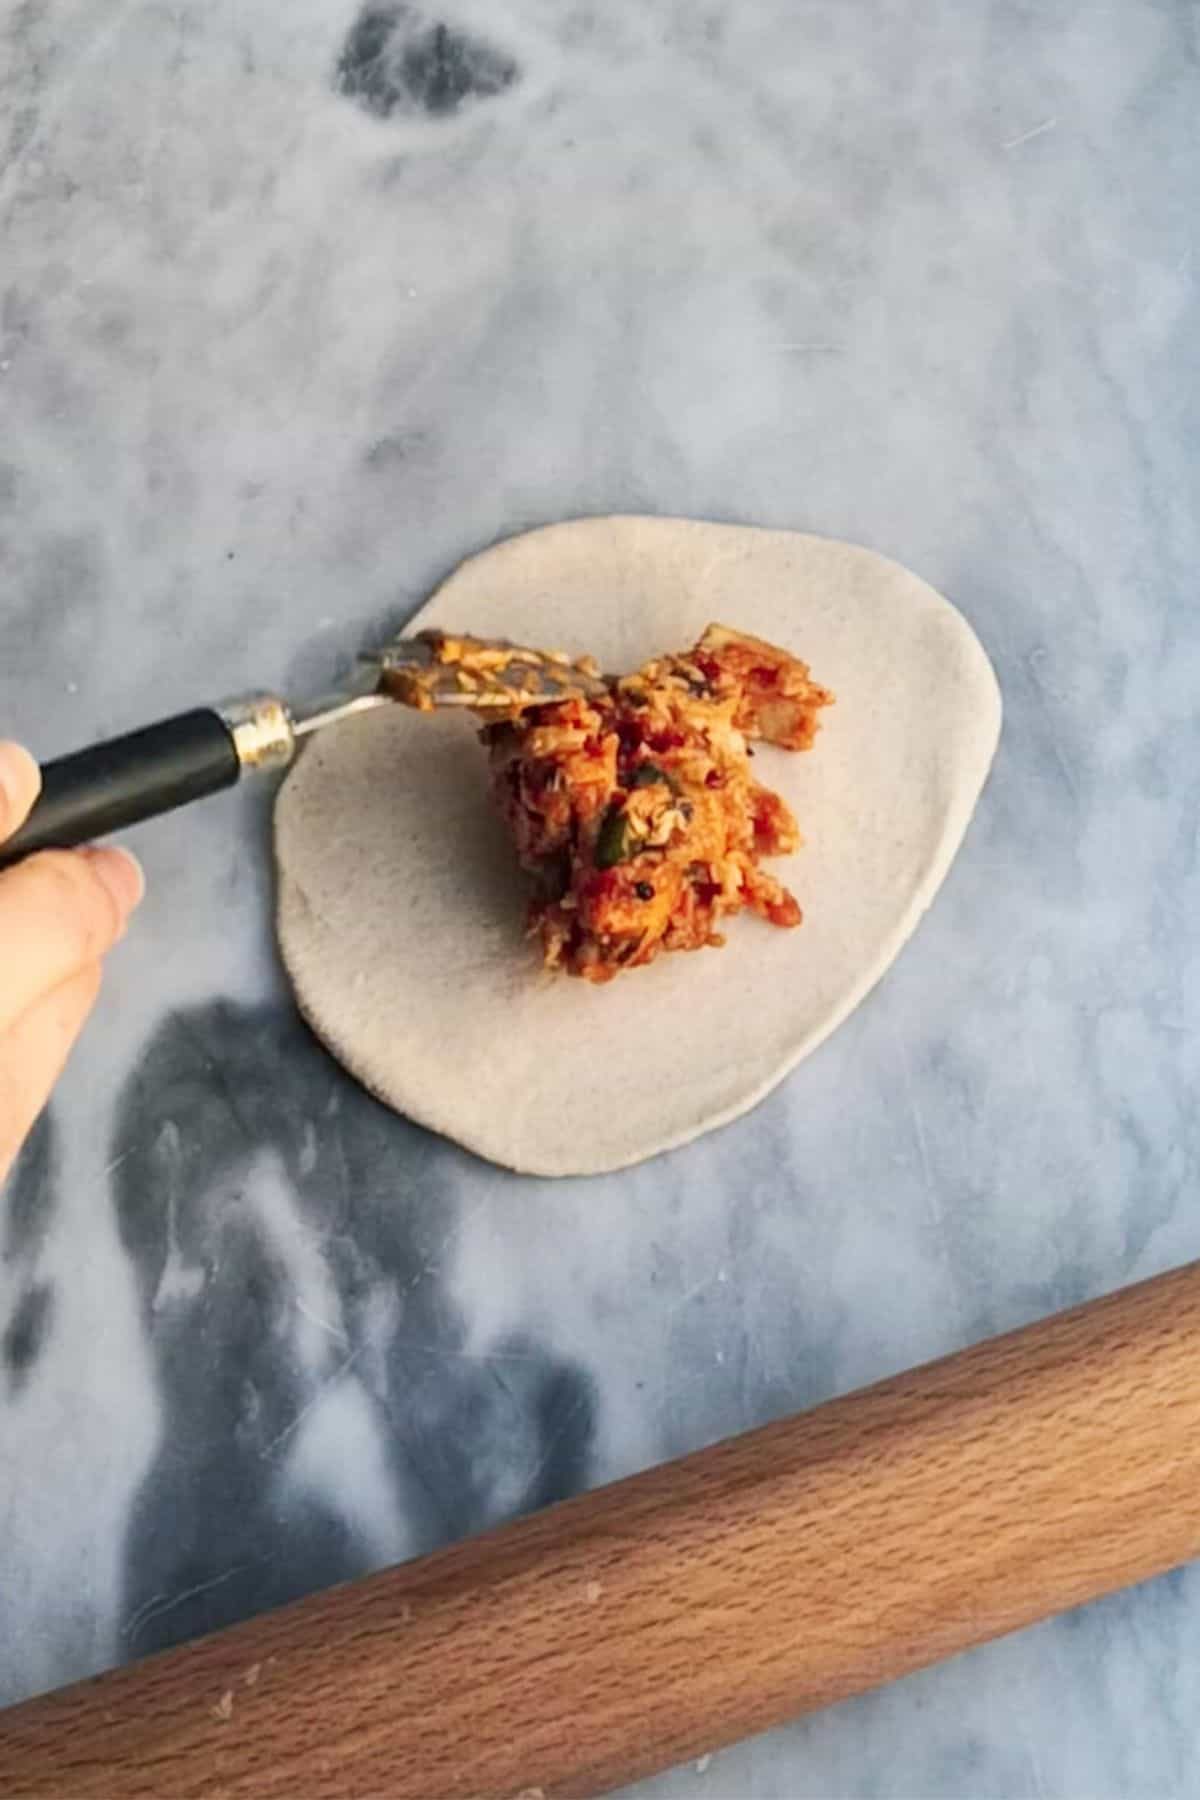
- Arrange a heaped spoonful of the chicken mixture into the middle of the dough. Now it’s time to pleat them. I promise this is easier than it looks and will get easier the more you do it.
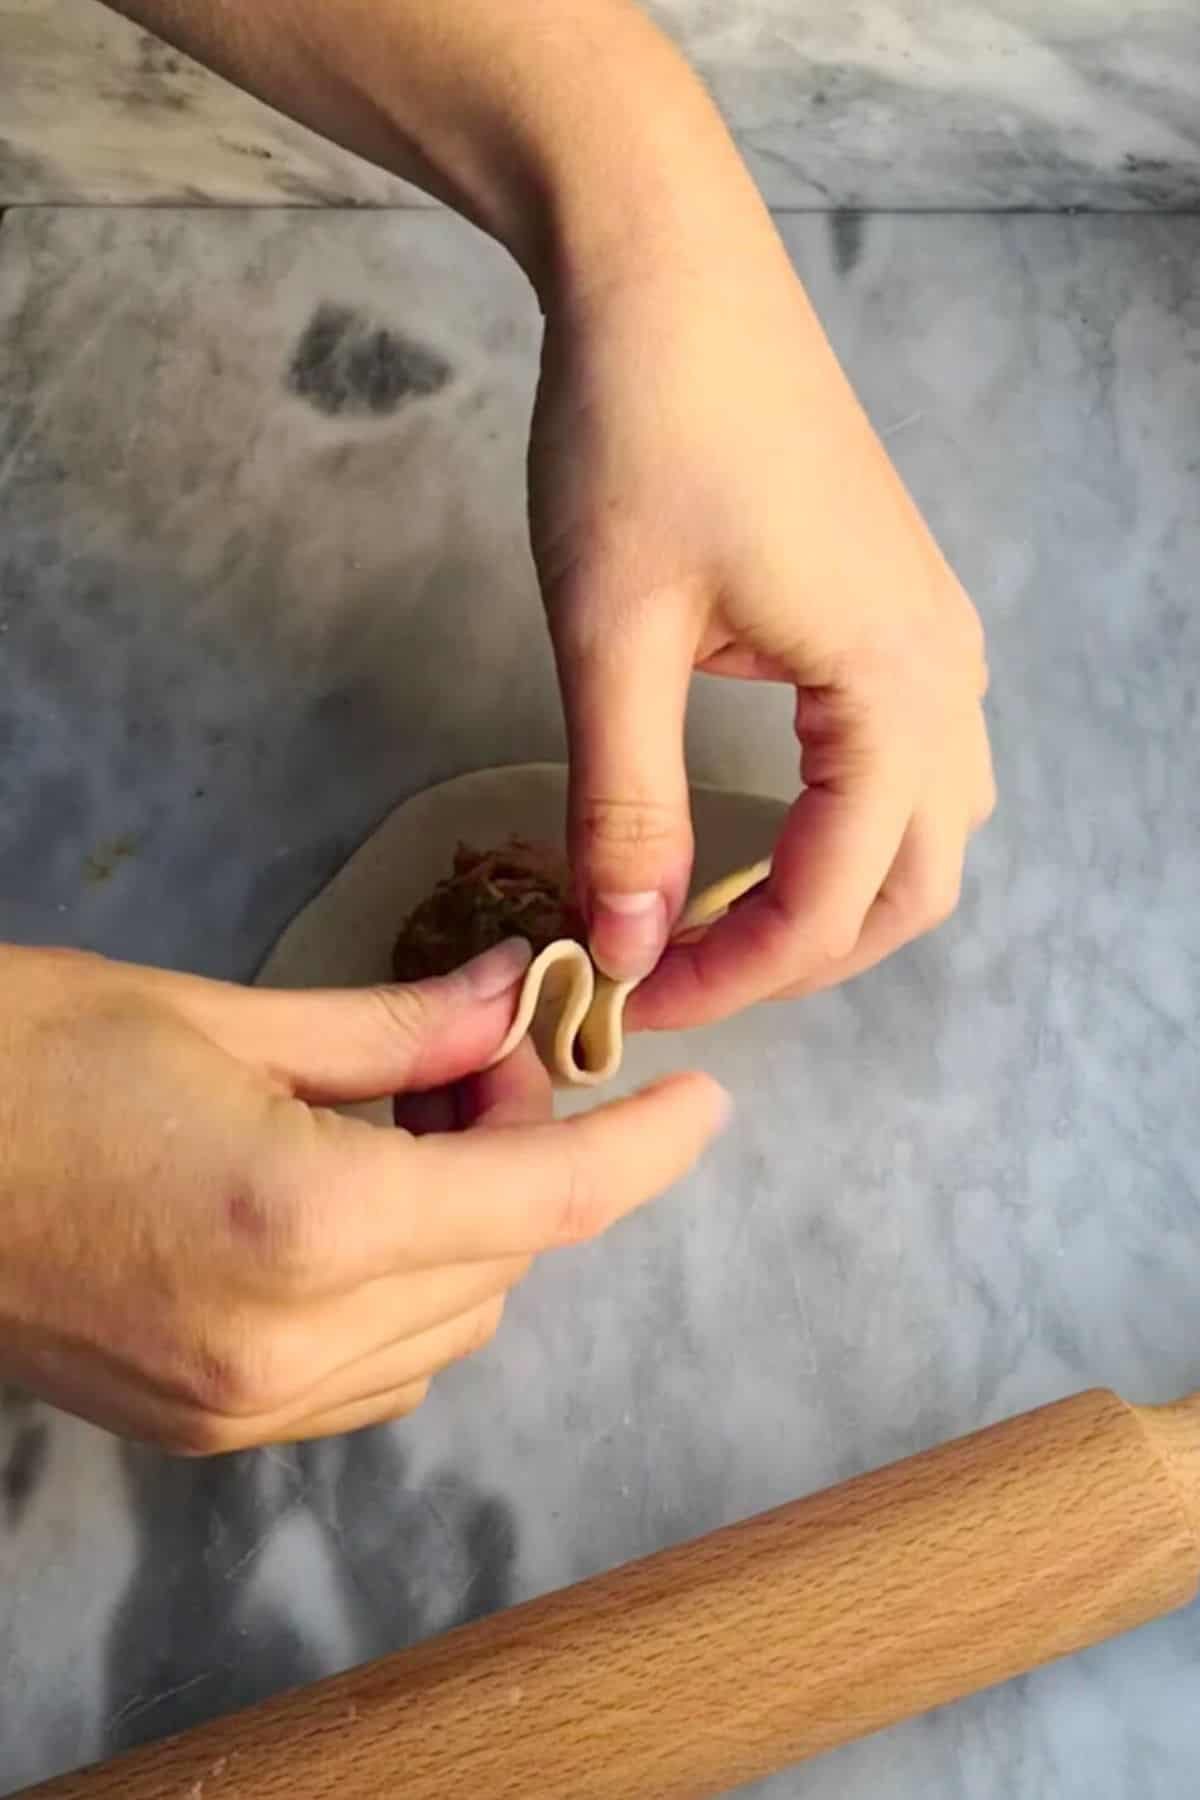
- Start with the side furthest away from you. Pick up the edge of the dough and fold a small piece back on itself. The dough will stick to itself, making this easier. Repeat this, rotating the bun all the way around as you do.
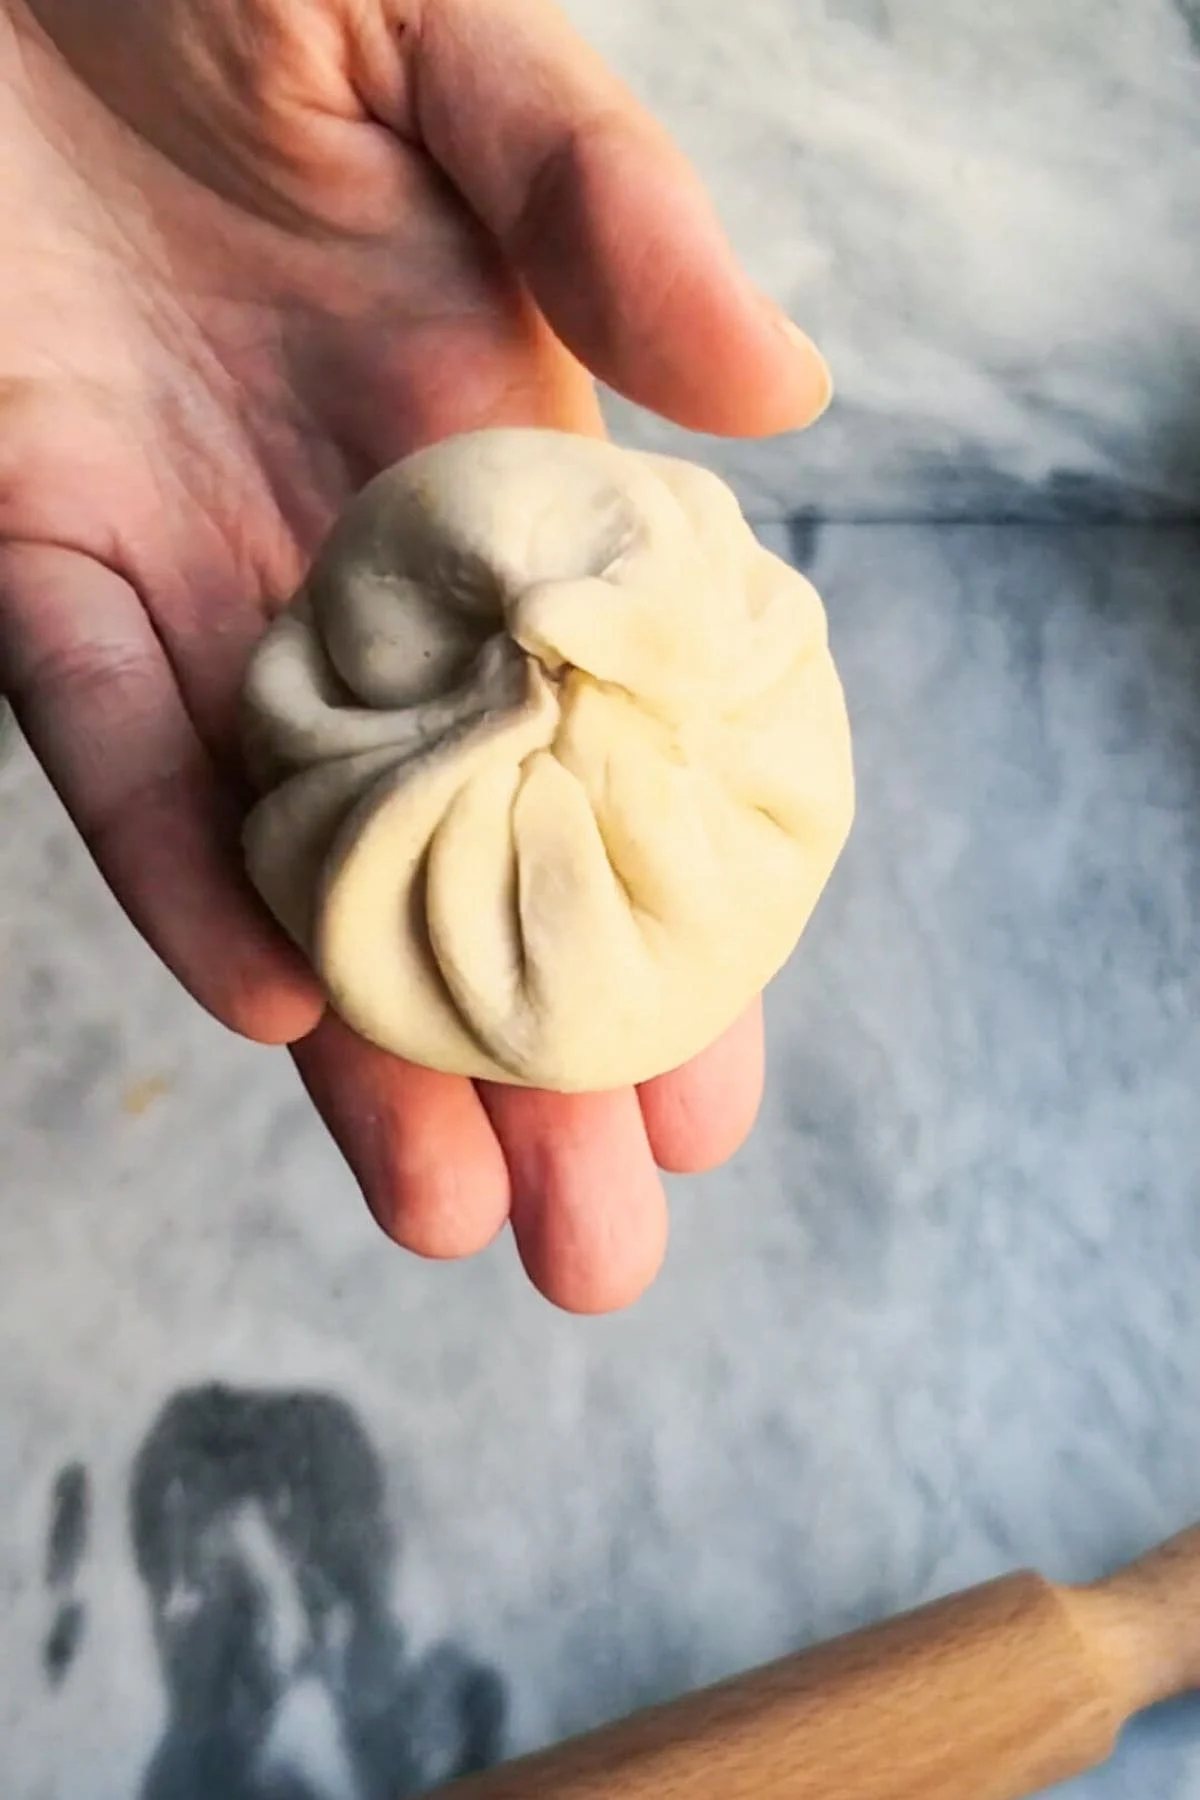
- As you complete the circle, press the dough together at the top to seal the bun, then give it a little twist.
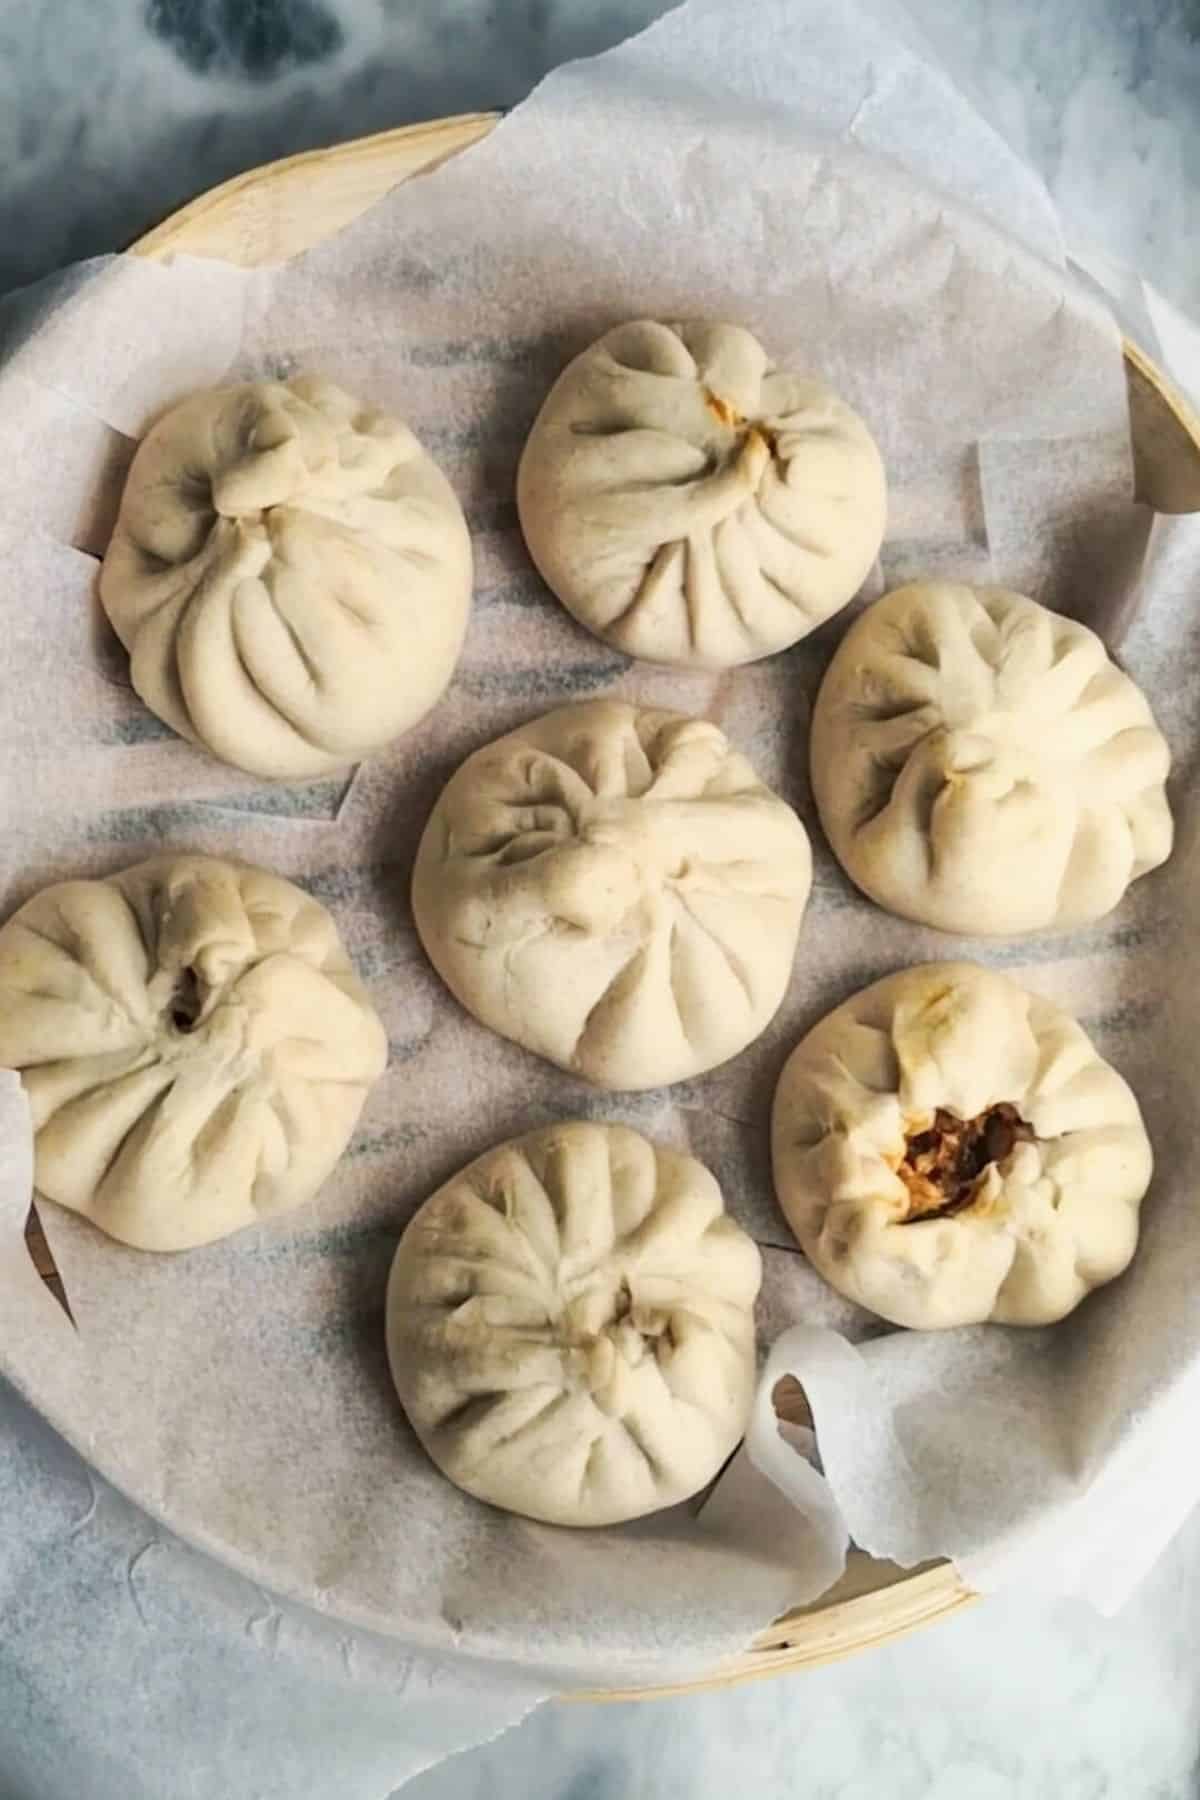
- You can either pan-fry or steam these buns. If you’re steaming them, arrange the buns inside a lined steamer basket, leaving a little space in between each one so they have room to rise as they steam. Let the buns rest in the steamer for 30 minutes.
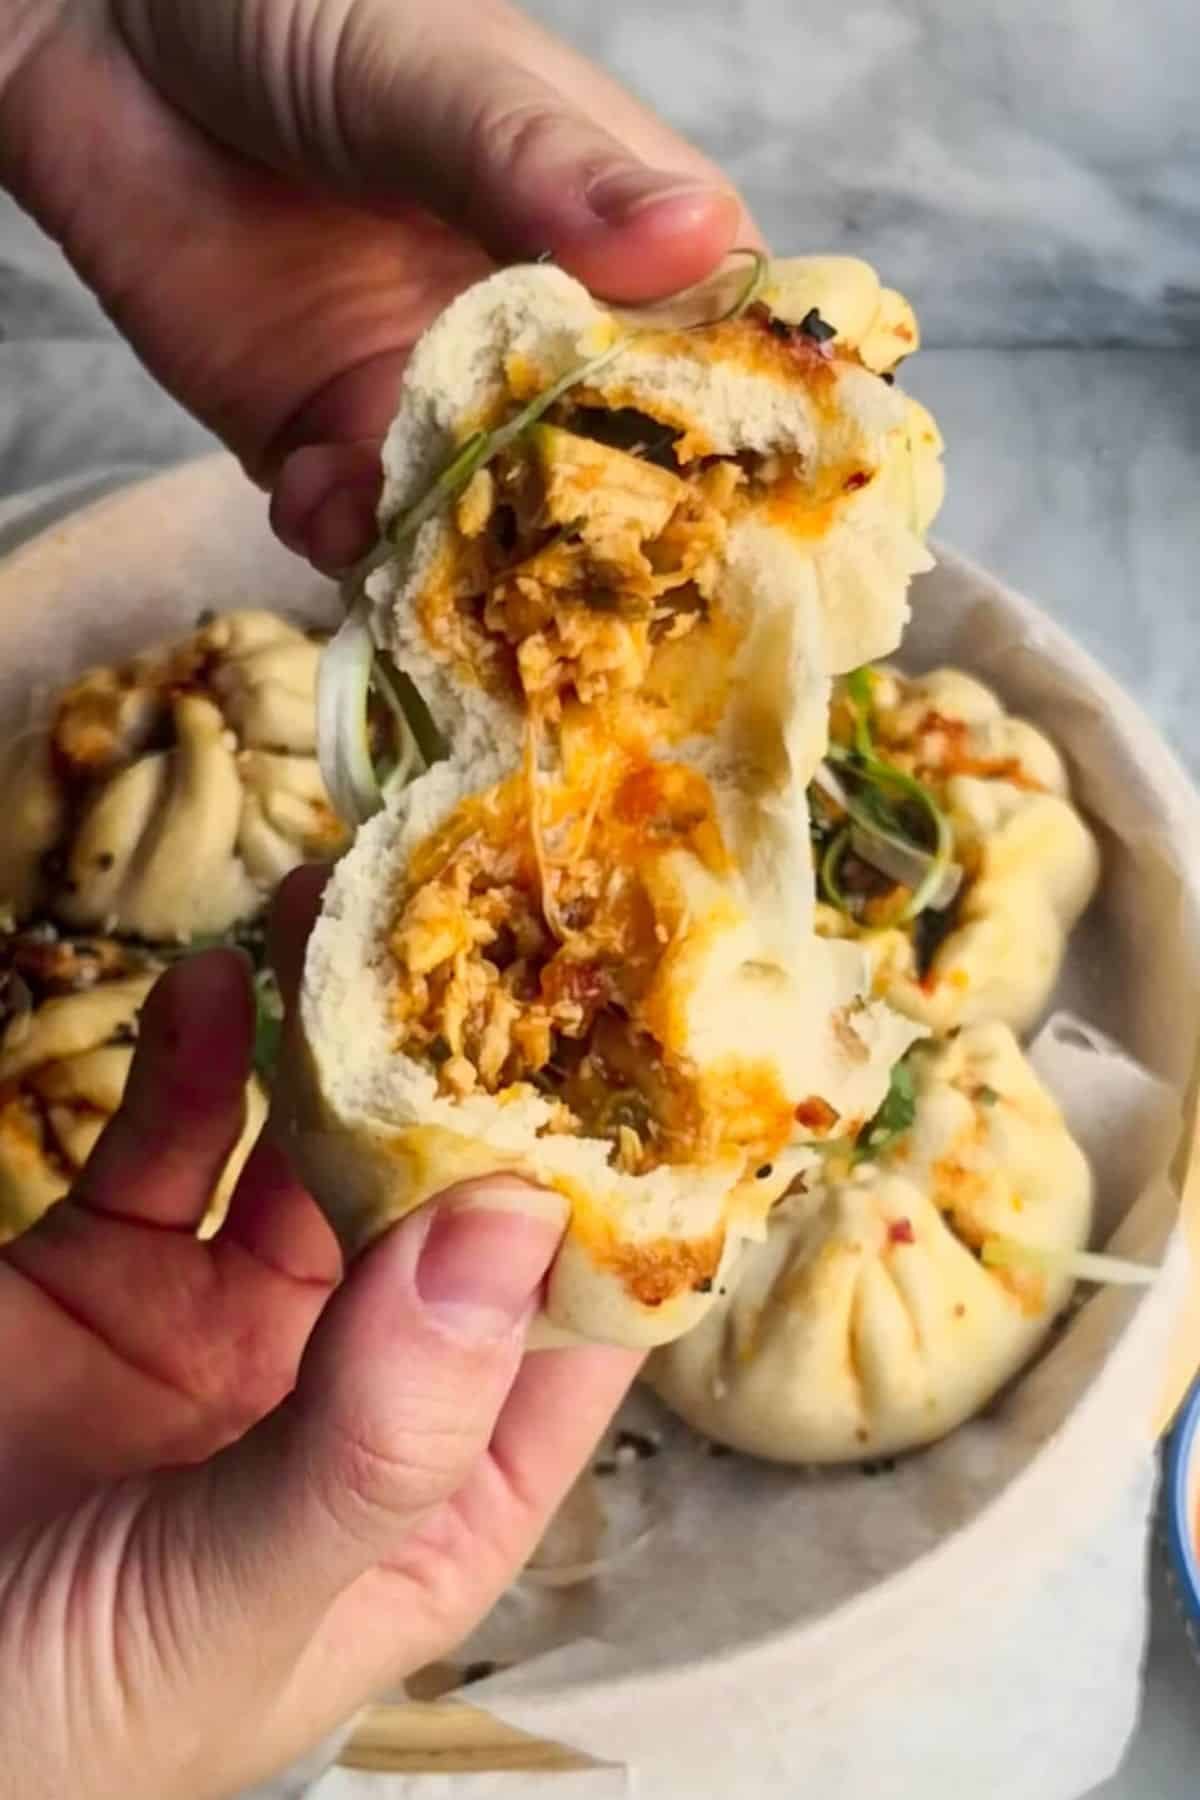
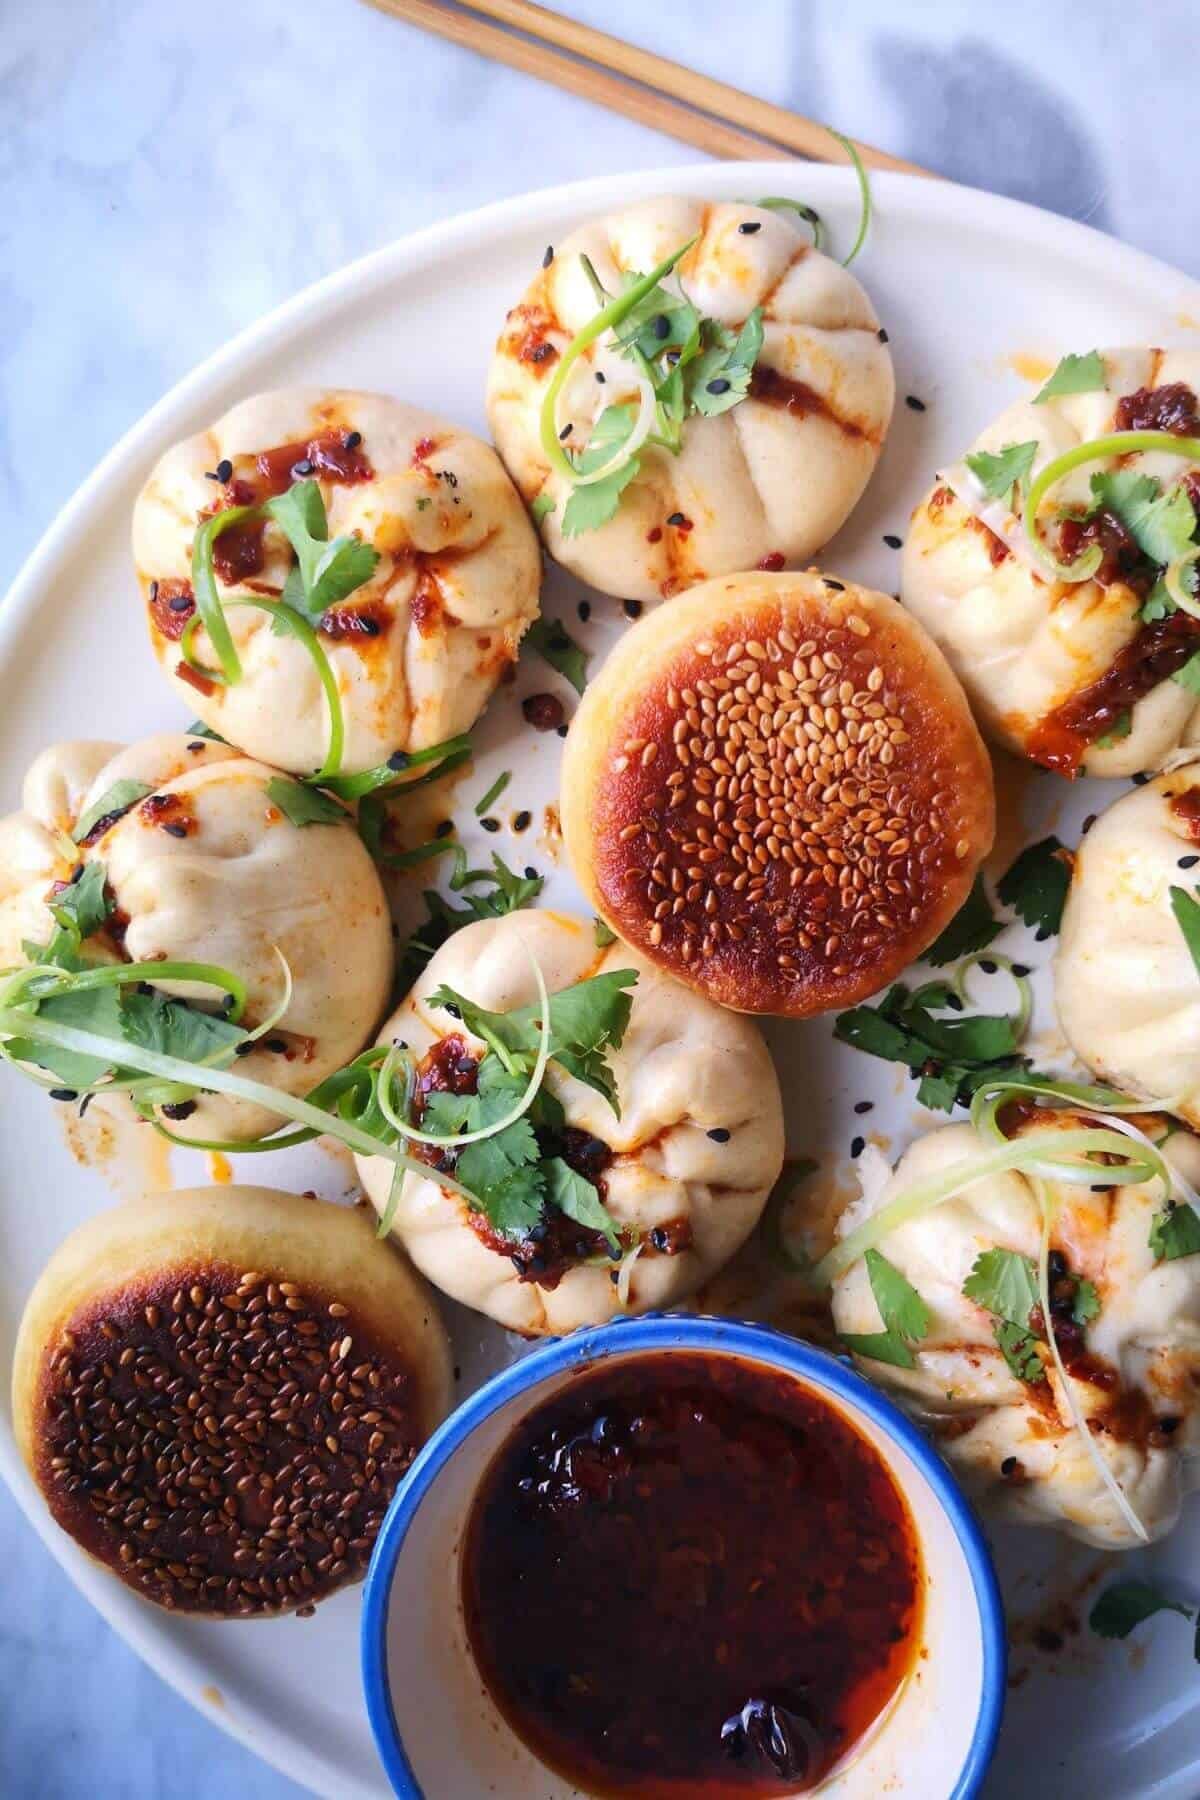
- Steam (or pan-fry) the buns until gorgeously puffy and glossy. Drizzle with lots of chili oil and dumpling dipping sauce, then serve while hot.

Kate’s Top Steamed Buns Tips
Don’t worry if your buns look a little rough around the edges!
In the photos above, you’ll see that some of mine are opening a little bit, especially after rising. This is normal. A classic char siu bun is served this way – the top cracks so you can see that glorious filling. So don’t worry if yours opens a bit.
Watch How to Make the Chicken Buns
Sticky Korean Chicken Buns FAQs
How spicy are the steamed buns?Gochujang definitely has a kick of heat to it, but you can temper that by adding more honey to your sauce.
Just keep tasting, and reduce the amount of gochujang to 1 tablespoon if you’re really worried.
Yes! These freeze incredibly well, and I’ll actually often make a double batch so I can stock my freezer.
Just put them on a lined tray after steaming, and pop the tray into the freezer. Freeze until solid, then transfer the buns into ziplock bags to store.
You can then steam them straight from frozen whenever you like.
You can use an ordinary aluminium steamer, or you can make do with some foil, a pot, and a plate.
For that, make a few big balls of foil – they need to be big enough for the plate to sit on top of them inside a large pot with a lid. Then pop your plate on top, making sure it’s one with a little space around the edges so steam can circulate properly and steam the buns. Add a little water, bring it to a simmer, line the plate with parchment paper, and arrange the buns on the lined plate. Cover with a lid and steam as per the recipe.
Honestly, the sky’s the limit here. I love using leftover meat – sticky pulled pork or herby roast chicken is great – as is roasted or stir-fried veggies or tofu. I’ve even used leftover curry before. NZ-style butter chicken and chicken saag make wonderful fillings.
If you make this recipe, I’d love to hear from you! You can leave a recipe rating and a comment below. And remember to tag @Zageer on Instagram, Facebook and TikTok if you’ve made one of my recipes. Seeing your recreations really makes my day 😊.
These sticky Korean chicken steamed buns wrap juicy, sweet, spicy gochujang chicken in gorgeously soft, fluffy dough. They’re easier to make than you might think and, frankly, irresistible. Brilliant for using leftover roast chicken, they freeze beautifully, and can be steamed or pan-fried. Drizzle with lots of spicy chili oil and dumpling dipping sauce for a fabulous better-than-takeout night in.Prep Time 15 minsCook Time 15 mins
Rising time 30 mins
Total Time 1 hr
Servings: 12 buns
Course: better than takeout
Cuisine: Asian-inspired
Ingredients Method Nutrition Notes
Ingredients
For the chicken –- 1 lb (500g) boneless, skinless, free-range chicken thighs, (you can also use pre-cooked chicken or use leftovers from a roast chicken)
- 1 teaspoon salt
- 1 tablespoon olive oil
- 1 tablespoon sesame oil
- 2 garlic cloves, crushed
- 1 tablespoon ginger, grated (or use ginger paste)
- 2 tablespoons gochujang paste
- 2 tablespoons light soy sauce
- 1 tablespoon rice vinegar
- 3 tablespoons honey, or use sweet chili jam
- 350 g all-purpose flour
- 2 teaspoons baking powder
- 2 teaspoons instant yeast
- 1 teaspoon salt
- 1 ½ tablespoons neutral oil
- 180 g lukewarm water
- 1 tablespoon chili oil
- 1 tablespoon toasted sesame seeds
- 2 scallions, (spring onions), finely sliced
- A handful of fresh cilantro, (coriander)
Method
- Make the chicken (skip this step if you're using leftover or rotisserie chicken)Heat your oven to 400℉ (200℃) and line a sheet pan with parchment paper. Arrange the chicken thighs on the tray and scatter with salt and 1 tablespoon of olive oil. Pop into the oven and cook for 20 to 25 minutes, until charred and golden. Let cool for a few minutes, then roughly shred or chop into small pieces. HOW TO TELL IF YOUR CHICKEN IS COOKED: Use a probe thermometer in the thickest part of your chicken – it should read at least 165℉ or 74℃. You can also cut into your chicken and check that there are no opaque or pink areas.
- Mix the gochujang sauce with the chicken.Add 2 tablespoons of gochujang paste, 2 tablespoons of light soy sauce, 3 tablespoons of honey (or sweet chili jam), 1 tablespoon of rice vinegar, crushed garlic and ginger to a large mixing bowl. Mix well, then add the chicken and toss to coat in the sauce.
- Make the dough.Add 350g flour, 2 teaspoons of baking powder, 2 teaspoons of instant yeast, and 1 teaspoon of salt to a large bowl. Mix with a large wooden spoon or spatula, then add 1 ½ tablespoons of neutral oil and 180g lukewarm water. Keep mixing with the spoon until it comes together into a rough, shaggy dough.At this point, turn it out onto a lightly floured surface and knead for about five minutes, until it’s soft, supple, and smooth. It shouldn’t be sticky. STAND MIXER INSTRUCTIONS: Add all the ingredients to the bowl of your mixer, then with the dough hook attached, knead at medium speed for about six minutes, until the dough is soft, supple, and not sticky to the touch.
- Form the buns. Roll the dough into a long sausage, then cut it into 12 equal pieces. You can weigh the dough to make the pieces super accurate, but don’t worry if you don’t have a scale.Working with one piece at a time and keeping the others under a clean kitchen towel to prevent them from drying out, form them into a ball. Flatten the ball out into a circle, then using a rolling pin, roll it out to a circle about 4 inches, or 10cm in diameter. If you can, try to make the edges thinner than the middle to help prevent any leakage.
- Pleat and seal the buns.Place a couple of heaped tablespoons of sticky chicken into the middle of the dough. Start with the side furthest away from you. Pick up the edge of the dough and fold a small piece back on itself. The dough will stick to itself to make this easier for you. Repeat this action, rotating the bun all the way around as you do. As you complete the circle, press the dough together at the top to seal the bun, then give it a little twist.If you're steaming the buns, place them into a lined steamer basket and repeat with the remaining dough. If you're pan-frying them, place them on a parchment paper-lined plate and cover.
- Let the buns rest briefly.Once all the buns have been formed, they need to rest for 30 minutes to puff up a little. This can take longer or shorter depending on the temperature in your kitchen. PRO TIP: Take a photo of the buns as they go into the steamer basket so you can easily compare how they’re looking.
- Cook the buns.Once the buns are looking a little puffier, they're ready to cook. If you're steaming them, place your steamer on top of a pot of boiling water, cover, and steam for 10 minutes. Remove the basket from the pot and set it aside to cool slightly.If you're pan-frying them, drizzle a little oil into a large, non-stick skillet you have a lid for. Set over medium-high heat, then add the buns. Cook for a couple of minutes, until the bottoms are golden, then pour in enough water to come about one-third up the sides of the buns. Lower the heat, pop the lid on, and steam for 10 minutes.
- Garnish and serve.I like to serve these directly from the steamer basket if I've steamed them, as it’s easier and looks fun! If you've pan-fried them, transfer them to a serving platter.Drizzle with 1 tablespoon of chili oil (or more if you like), chopped scallions, cilantro, and sesame seeds before serving while hot.
Nutrition
Serving: 2bunsCalories: 490kcal
Carbohydrates: 58.5g
Protein: 24g
Fat: 17.3g
Saturated Fat: 2.7g
Polyunsaturated Fat: 6.5g
Monounsaturated Fat: 6.9g
Trans Fat: 0.02g
Cholesterol: 78mg
Sodium: 1460mg
Potassium: 341mg
Fiber: 2.3g
Sugar: 10g
Vitamin A: 183IU
Vitamin C: 1.8mg
Calcium: 138mg
Iron: 2mg