
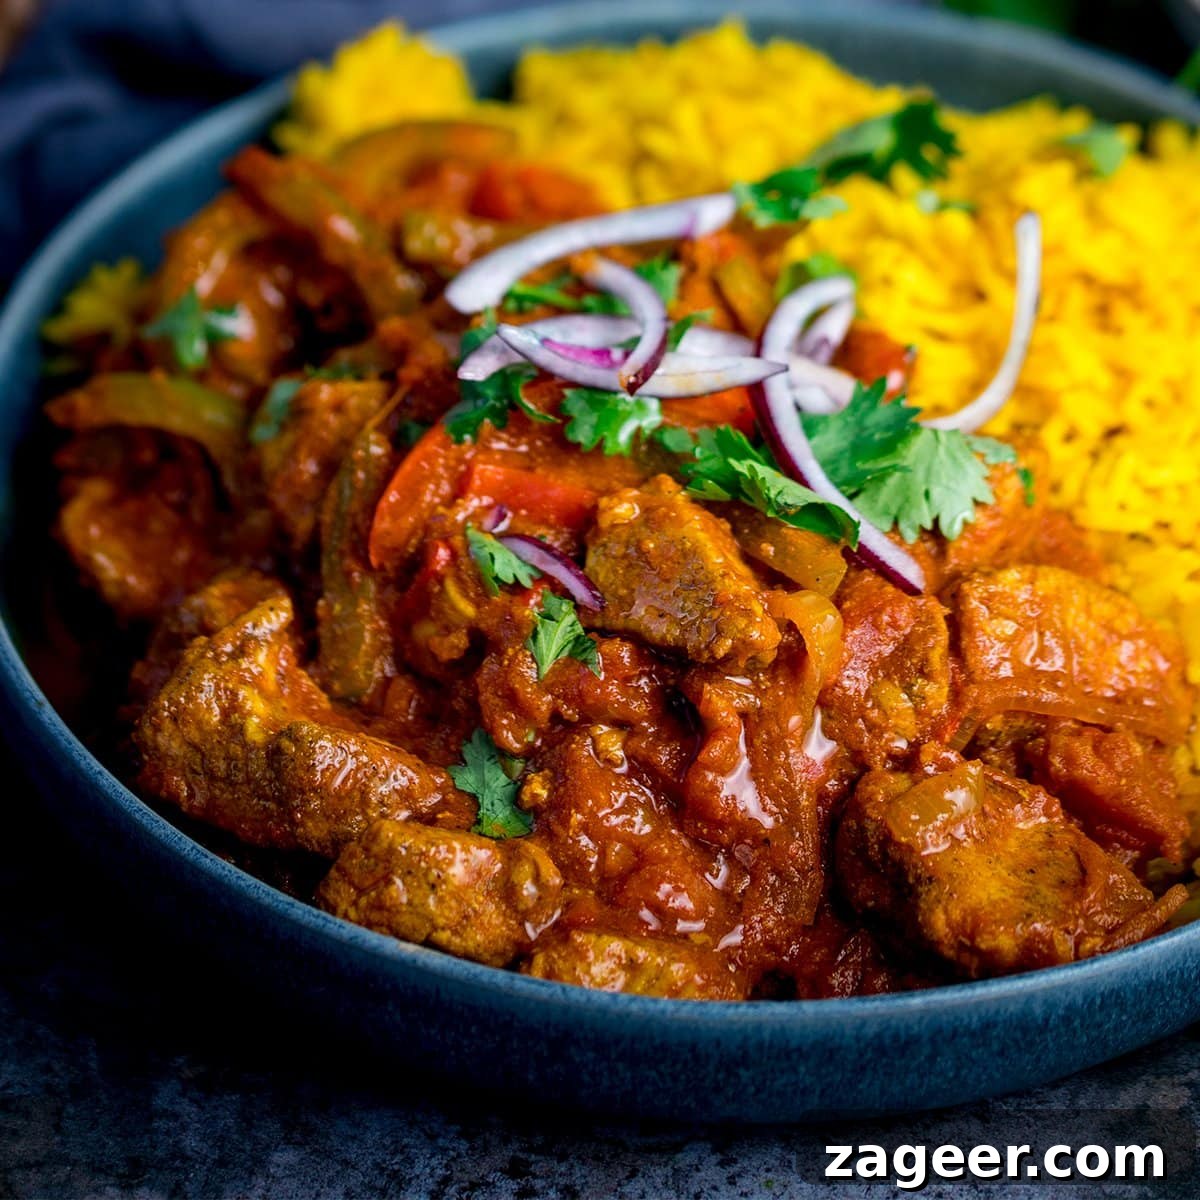
Embark on a culinary adventure right in your kitchen with this incredible Homemade Chicken Jalfrezi. This classic Indian dish, featuring tender chicken pieces enveloped in a rich, thick, and vibrantly spicy sauce, is an absolute delight for curry lovers. Perfect for a quick weeknight meal, it satisfies those intense curry cravings in under an hour. Pair it with a fluffy mound of quick and easy pilau rice, and you’ll have a restaurant-quality feast ready in around 40 minutes – a true testament to flavorful, home-cooked goodness.
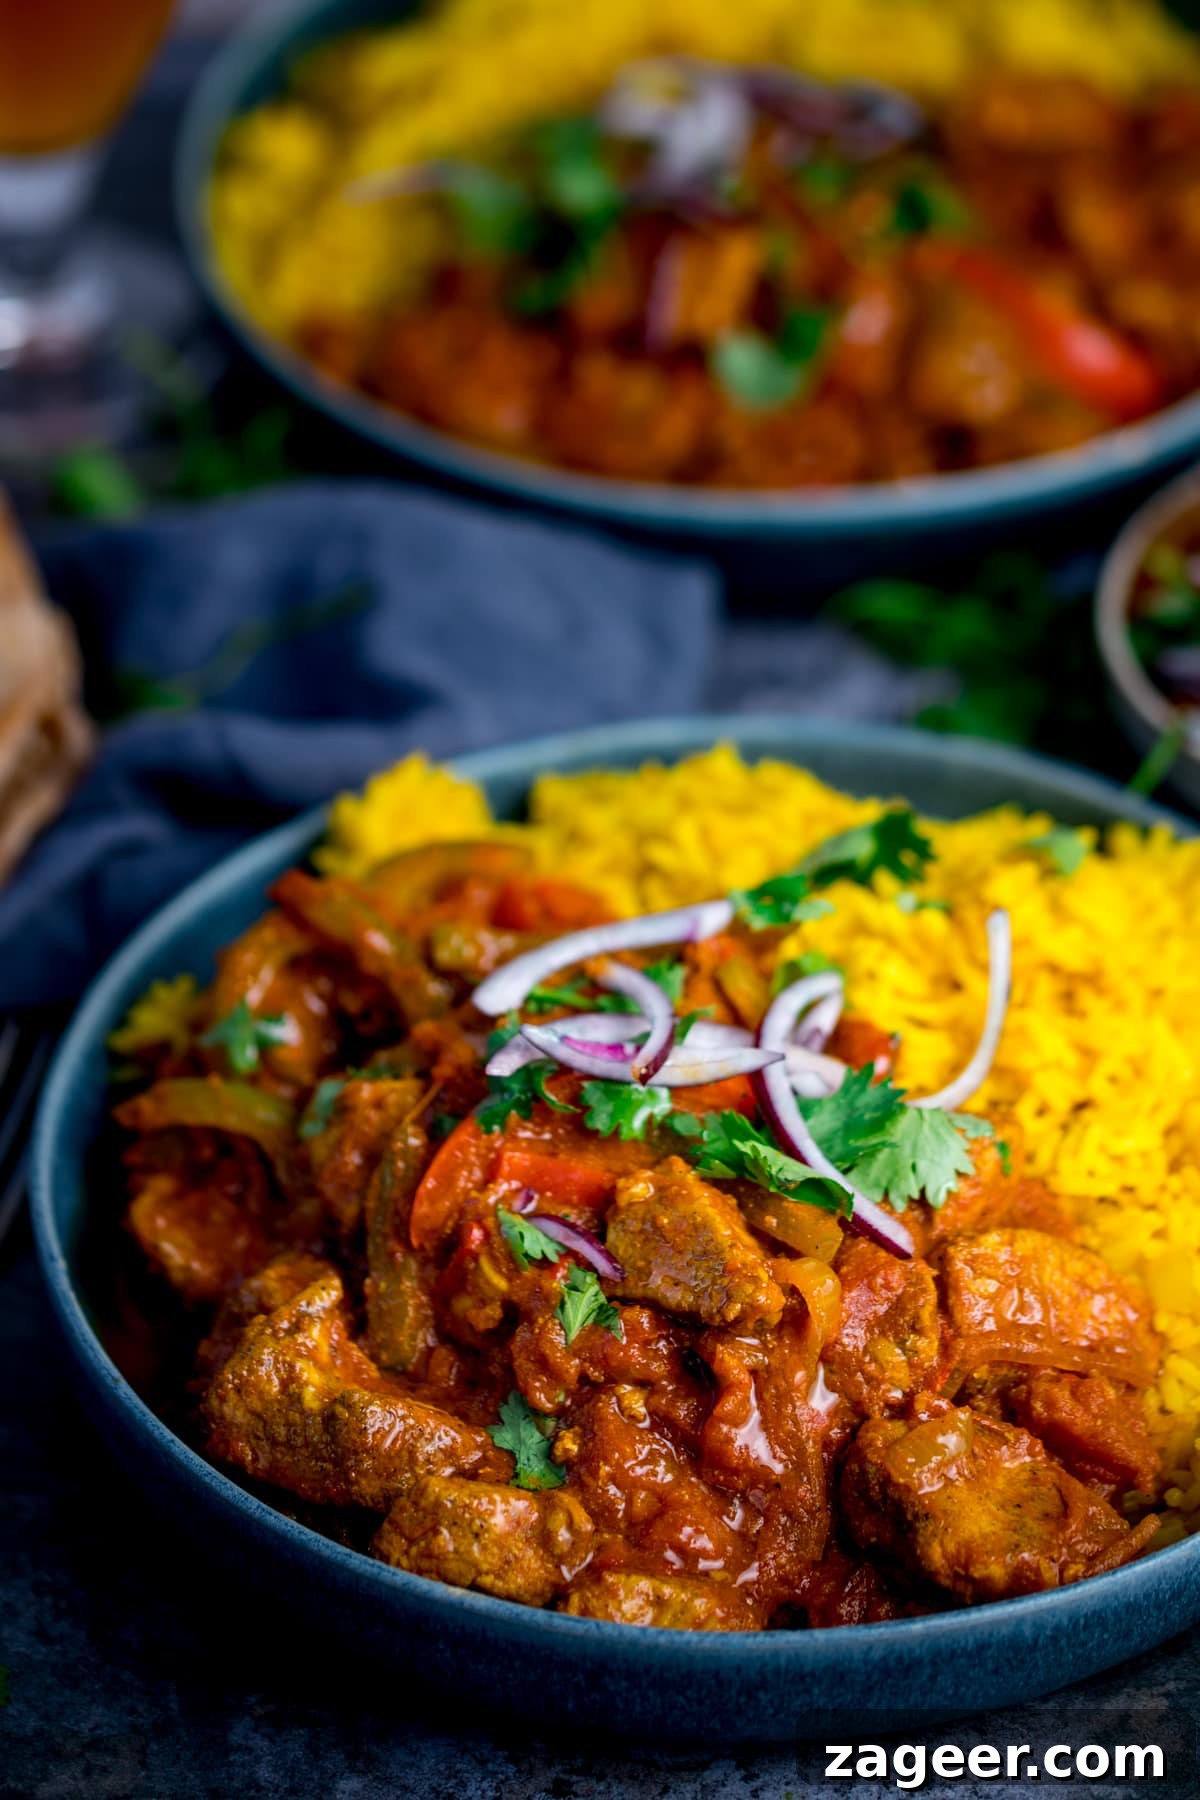
Homemade Chicken Jalfrezi: A Flavorful Indian Classic for Busy Weeknights
There’s something uniquely comforting and exciting about a well-made curry. In our home, it’s more than just a meal; it’s a culinary tradition we cherish. Whether it’s a zesty Thai curry whipped up on a hectic Tuesday or a simmering slow cooker butter chicken bubbling away for friends, curries are a staple. And when we return from a holiday, filled with memories of diverse cuisines, my ultimate comfort food craving is always a rich, saucy curry served with an abundance of rice.
This Chicken Jalfrezi recipe stands out as an exceptional choice, especially when you’re yearning for that distinctive spicy kick and robust flavor profile only an authentic Indian curry can deliver. Its vibrant colors, aromatic spices, and tender chicken make it an irresistible dish that’s surprisingly easy to achieve at home.
What is Chicken Jalfrezi? A Brief Dive into its Origins
Jalfrezi is a popular Indian curry known for its vibrant stir-fried appearance and bold, spicy flavor. The word “Jalfrezi” itself comes from Bengali, literally meaning “hot-fry.” Unlike many other Indian curries that rely on a base paste or extensive slow cooking, Jalfrezi typically involves stir-frying marinated meat (or vegetables) with plenty of fresh green chilies, bell peppers, and onions, all coated in a rich tomato-based sauce. It’s believed to have originated during the British Raj in India, often as a way to use up leftover cooked meat by stir-frying it with fresh ingredients and spices. This method resulted in a dish that was quicker to prepare and packed with fresh flavor, distinguishing it from longer-cooked curries. Our version embraces this heritage, focusing on fresh ingredients and a quick cooking method to bring you a truly satisfying spicy chicken curry that’s perfect for the modern home cook.
Why You’ll Love This Quick Chicken Jalfrezi Recipe
- Speedy Preparation: While the chicken benefits from a short marination, the active cooking time for this Jalfrezi is incredibly fast, allowing you to have a gourmet meal on the table in about 30 minutes.
- Explosive Flavor: Layers of authentic Indian spices, fresh aromatics, and vibrant bell peppers create a depth of flavor that rivals your favorite Indian takeaway.
- Perfect Spice Level: Customizable to your preference, this recipe delivers a satisfying warmth without overwhelming your palate. You can easily dial the heat up or down.
- Hearty and Wholesome: Packed with lean protein from the chicken and nutrients from the vegetables, it’s a wholesome meal that doesn’t compromise on taste.
- Versatile: Easily adaptable for different proteins or vegetables, making it a flexible recipe for various dietary needs or preferences.
Crafting Your Delicious Chicken Jalfrezi: A Step-by-Step Guide
The secret to a truly exceptional Chicken Jalfrezi lies in building layers of flavor. We start by marinating the chicken, infusing it with aromatic spices that will form the backbone of our curry. This short, yet impactful, step ensures every bite of chicken is bursting with taste.
Step 1: Marinate the Chicken
To begin, I like to give the chicken a quick marinade with a blend of ground cumin, coriander, turmeric, and garam masala. This isn’t a long process – a mere 10-15 minutes in the fridge is sufficient to let those incredible spices penetrate the chicken, making it extra tender and flavorful. This initial spice bath is crucial for setting the foundation of our Jalfrezi’s signature taste.
Step 2: Searing the Marinated Chicken
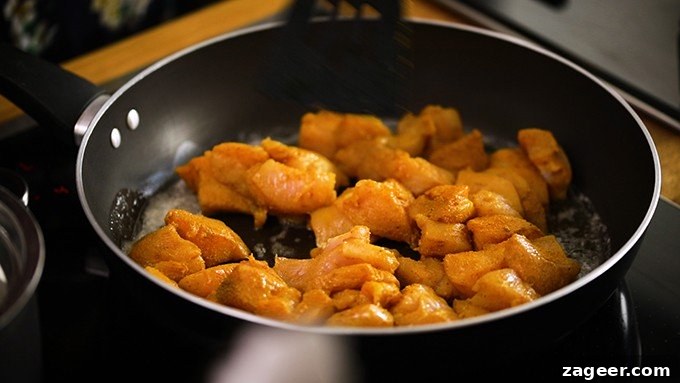
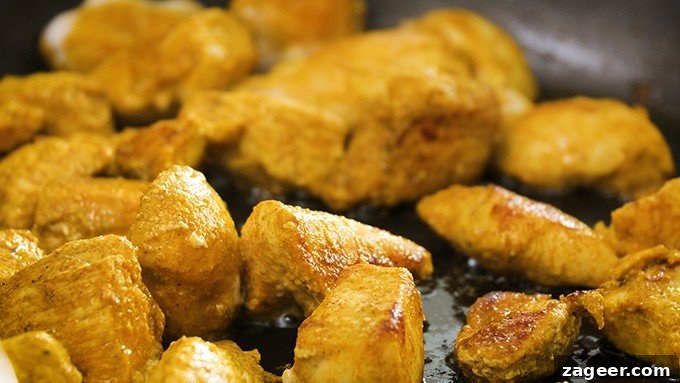
Once marinated, the chicken is ready for searing. Heat a little sunflower oil and unsalted butter in a large frying pan. The butter adds a lovely richness to the flavor profile. Fry the marinated chicken pieces over high heat for about 4-5 minutes. This quick sear helps to seal in the juices and creates a beautiful golden crust, adding texture and depth to the dish.
Step 3: Building the Aromatic Base
After sealing the chicken, remove it from the pan and set it aside. In the same pan, add sliced onions and sauté them until they begin to soften and turn translucent. This process sweetens the onions, forming a crucial aromatic base for our sauce. Next, introduce fresh green and red chilies, minced garlic, and grated ginger. These fresh aromatics are essential for Jalfrezi’s characteristic pungent and spicy notes. Cook for a couple of minutes until fragrant, allowing their flavors to meld beautifully with the softened onions.
Step 4: Layering the Spices for the Sauce
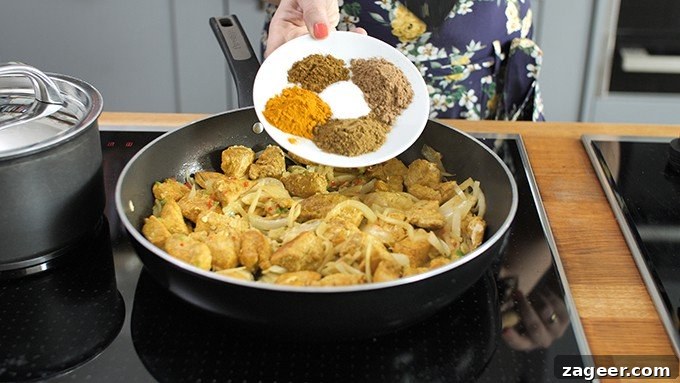
Now comes the second layer of spices, which will infuse the sauce with its signature Indian flavor. We’ll reintroduce a similar blend to the chicken marinade: garam masala, turmeric, cumin, and ground coriander, along with a pinch of salt to enhance all the flavors. Stir these spices into the onion and chili mixture, cooking for another minute or two. This step is vital for “blooming” the spices, releasing their full aromatic potential and deepening their flavor.
Step 5: Simmering to Perfection
Finally, it’s time to bring the sauce together. Add the vibrant chopped bell peppers (red and green are classic for Jalfrezi’s color and crunch), tinned chopped tomatoes, chicken stock, and a tablespoon of tomato puree (or paste for US readers). Stir everything together, bring the mixture to a gentle boil, then reduce the heat and let it simmer for about 10 minutes. This simmering time allows the flavors to meld, the sauce to thicken beautifully, and the bell peppers to soften slightly while still retaining a pleasing bite. Once the sauce has thickened to your desired consistency, return the seared chicken to the pan and gently warm through.
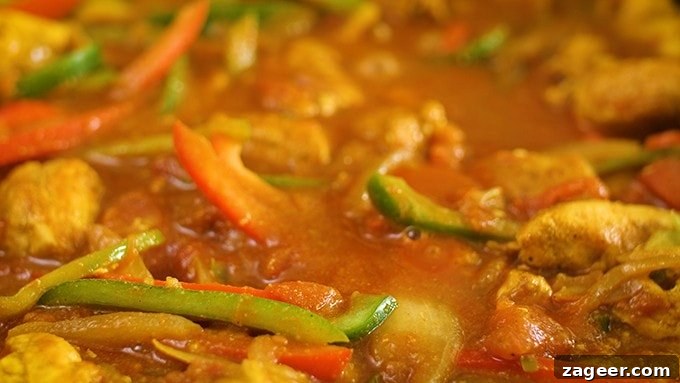
The result is a beautifully balanced dish with plenty of complexity – lots of aromatic spices, a satisfying kick of heat from the chilies, and a wonderfully thick sauce that’s just begging to be soaked up by fluffy rice or warm naan bread. It’s a complete meal that feels both indulgent and remarkably fresh.
The Perfect Companion: Homemade Pilau Rice
Speaking of rice, did you know that making restaurant-quality pilau rice at home is incredibly simple? It’s far superior to plain boiled rice and adds another layer of authenticity and flavor to your Indian meal. Pilau rice, with its fragrant spices and vibrant color, is the ideal accompaniment for a rich curry like Jalfrezi. It’s fluffy, aromatic, and perfectly complements the bold flavors of the chicken. I’ve included my go-to recipe for you to master this essential side dish. It’s ready in mere minutes and will elevate your curry night to new heights!
Serving Your Masterpiece
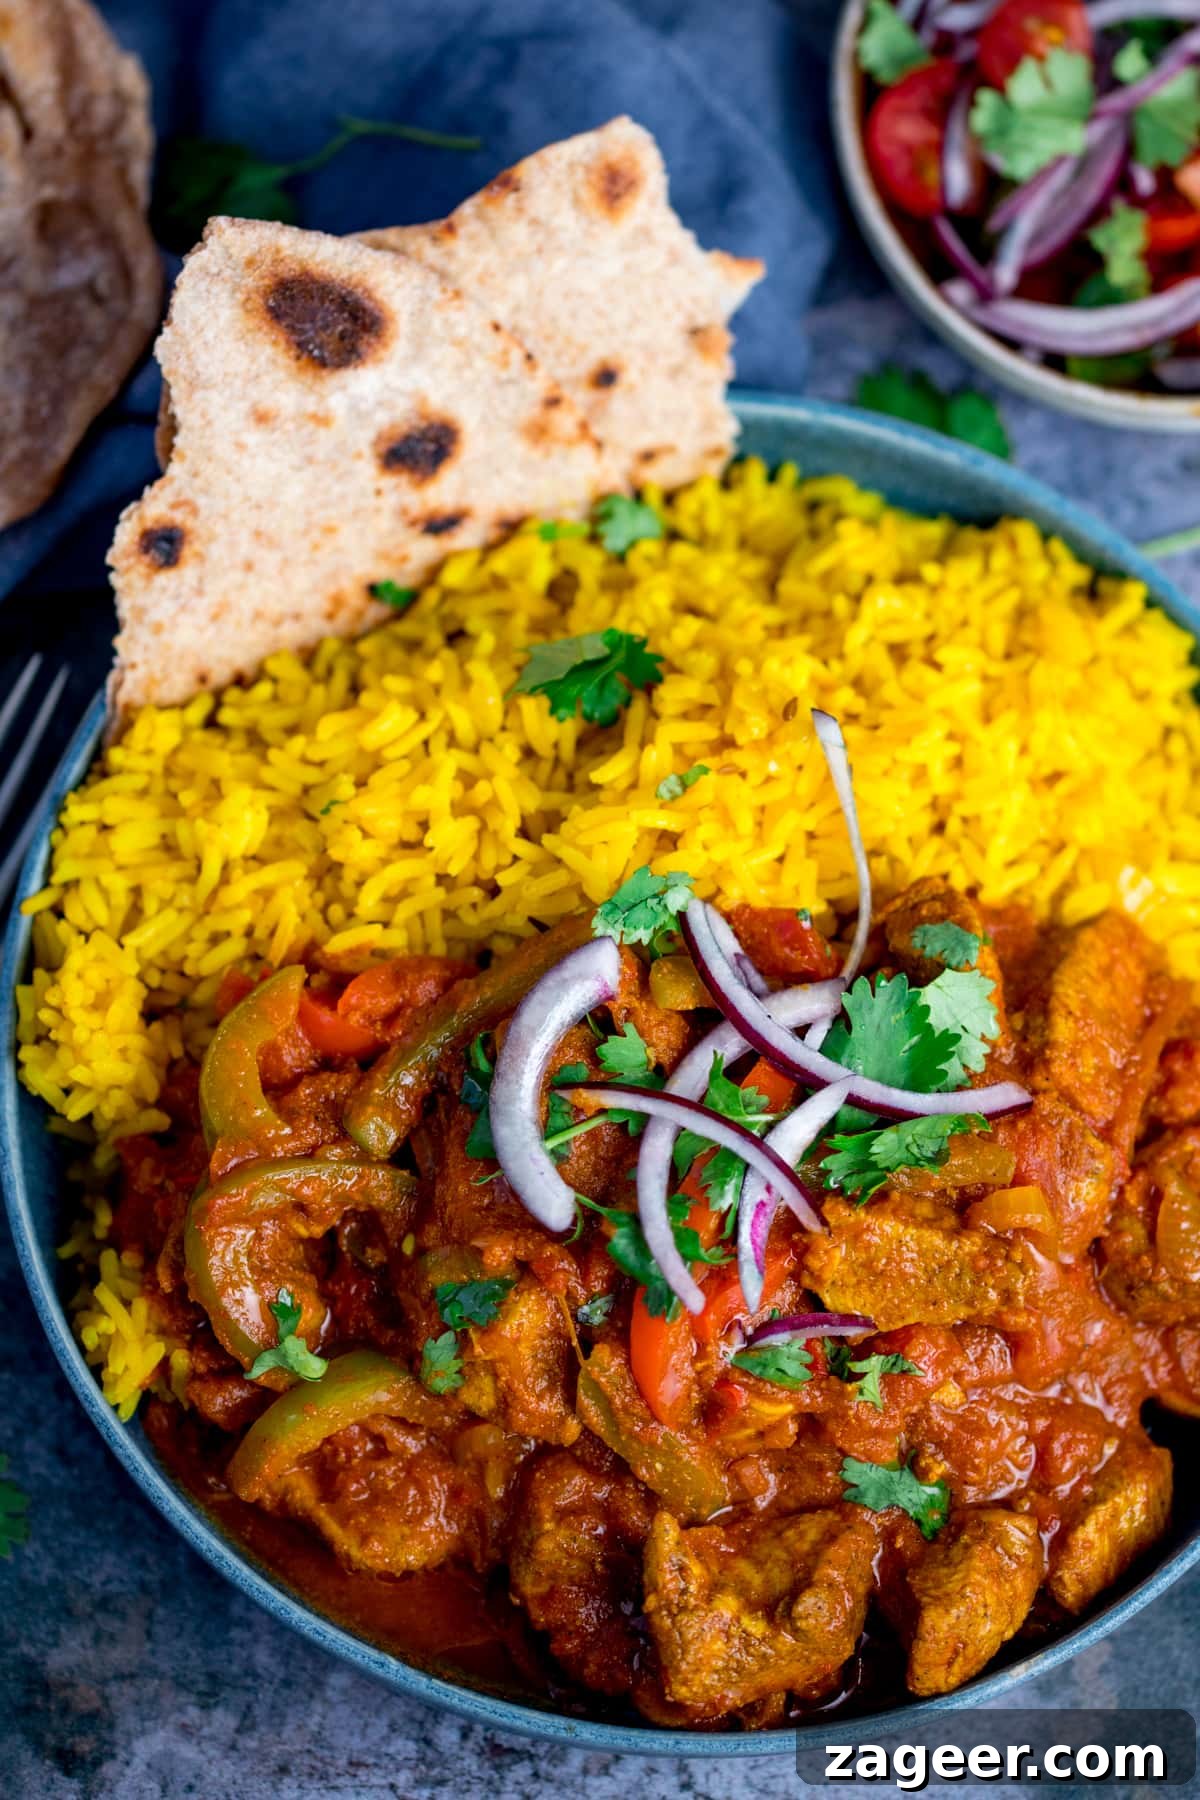
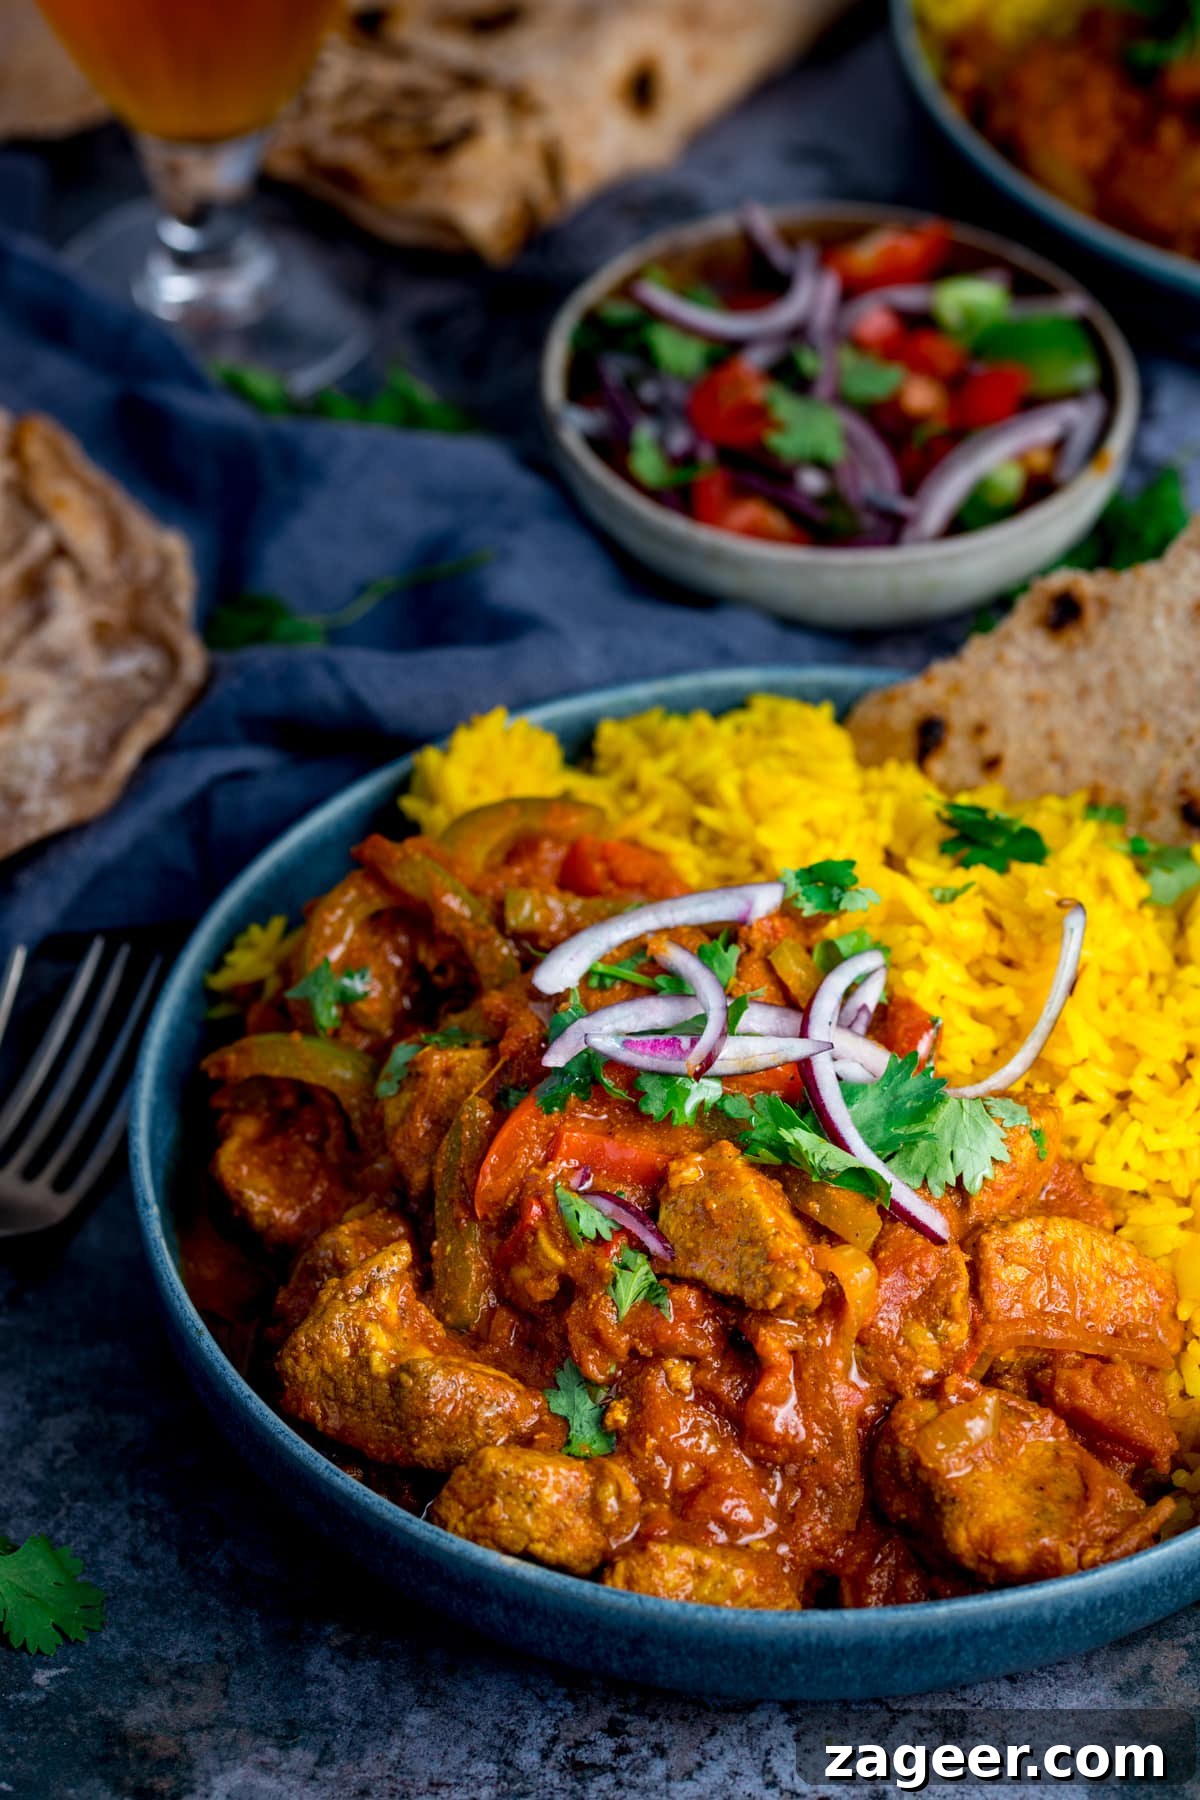
Once your Chicken Jalfrezi is cooked to perfection, dish it generously with that fragrant Pilau rice. To enhance both flavor and presentation, sprinkle generously with freshly chopped coriander and a scattering of finely sliced red onion just before serving. A few extra chili flakes can be added for those who crave even more heat!
What Else to Serve with Your Spicy Chicken Jalfrezi:
To truly complete your Indian feast, consider these delicious additions:
- Homemade Chapati or Garlic Naan: Essential for scooping up every last drop of that amazing sauce.
- Saag Aloo: A classic side dish of spiced potatoes and spinach that pairs wonderfully with Jalfrezi.
- Boiled Rice or Restaurant Style Pilau Rice: For those who prefer a simpler rice, or to complement the fragrant pilau.
- A Fresh Tomato & Onion Salad: A light, refreshing side to cut through the richness of the curry.
- These spicy Lamb Samosa Cups: Make a fantastic starter to kick off your meal.
- And for a sweet finish, these Pistachio and White Chocolate Blondies: Offer a delightful contrast to the spicy main course.
📺 Watch How to Make This Chicken Jalfrezi (and Pilau Rice!)
For a visual guide, watch the full cooking process for both the Chicken Jalfrezi and the accompanying Pilau Rice. Seeing the steps in action can make all the difference, ensuring your homemade curry is perfect every time!
You can find the video tutorial here: Watch Chicken Jalfrezi & Pilau Rice Recipe Video
🍽️ More Fantastic Curry Recipes
Curries
Butter Chicken
Curries
Lamb Bhuna
Curries
Easy Chicken Korma
Asian
Ultimate Beef Massaman Curry Recipe
Curries
Chicken Pathia
Vegetarian
Chickpea and Sweet Potato Curry
Advanced Tip: Incorporate a Curry Base Gravy
For those who love to get ahead and achieve an even deeper, more complex flavor profile reminiscent of your favorite takeaway, consider using a pre-made curry base gravy. This method is a game-changer for speeding up weeknight curries and ensures a consistently rich sauce. Check out the notes section of my comprehensive Curry Base Gravy recipe to learn how to easily adapt this Chicken Jalfrezi recipe using a make-ahead curry base. It’s a fantastic technique for building authentic Indian flavors with less effort on the day of cooking.
Stay updated with our latest recipes and cooking tips!
Subscribe to our newsletter to receive new recipes straight to your inbox. You can also follow us on YouTube for weekly video tutorials and on Instagram for behind-the-scenes stories and beautiful food photography.

Chicken Jalfrezi Recipe
Nicky Corbishley
5 mins
25 mins
10 mins
30 mins (plus marinating)
4
people
Dinner
Asian, Indian
Ingredients
For the Chicken Marinade:
- 3 chicken breasts (about 500g/1.1lbs) chopped into bitesized chunks
- 1 tsp cumin powder
- 1 tsp coriander powder
- 1 tsp turmeric powder
- 1 tsp garam masala
For the Jalfrezi Sauce:
- 1 tbsp sunflower oil
- 2 tbsp unsalted butter
- 1 large onion peeled and sliced
- 1 red chilli sliced (adjust to taste)
- 1 green chilli sliced (adjust to taste)
- 2 cloves garlic peeled and minced
- 2 tsp minced ginger
- 1 tsp garam masala
- 2 tsp turmeric powder
- 1 ½ tsp salt
- 2 tsp cumin powder
- 2 tsp ground coriander
- 1 red bell pepper sliced
- 1 green bell pepper sliced
- 400 g (14 oz) tin chopped tomatoes
- 240 ml (1 cup) chicken stock ensure this is a gluten-free stock if required
- 1 tbsp tomato puree (paste for US)
To Serve (Optional Garnishes):
- pilau rice or boiled rice
- fresh coriander chopped
- chilli flakes (for extra heat)
- sliced red onion
Instructions
-
In a bowl, coat the chopped chicken breasts evenly with 1 tsp each of cumin, coriander, turmeric, and garam masala. Cover the bowl and let the chicken marinate in the fridge for 10-15 minutes.
-
Once the chicken has marinated, heat 1 tbsp sunflower oil and 2 tbsp unsalted butter in a large frying pan over high heat. Add the marinated chicken and cook for 4-5 minutes, stirring occasionally, until the chicken is sealed and lightly browned on all sides. Remove the chicken from the pan and set aside.
-
Reduce the heat to low-medium. Add the sliced large onion to the pan (add a little more oil if needed). Cook for 5 minutes, stirring frequently, until the onion softens and becomes translucent.
-
Stir in the sliced red and green chillies, minced garlic, and minced ginger. Cook for a further 2 minutes until fragrant, being careful not to burn the garlic.
-
Add the remaining spices to the pan: 1 tsp garam masala, 2 tsp turmeric, 1 ½ tsp salt, 2 tsp cumin, and 2 tsp ground coriander. Stir well to coat the onions and aromatics, and cook for another 2 minutes to bloom the spices, releasing their full flavor.
-
Now, add the sliced red and green bell peppers, the 400g (14 oz) tin of chopped tomatoes, 240ml (1 cup) chicken stock, and 1 tbsp tomato puree. Stir everything together until well combined.
-
Bring the curry mixture to a boil, then reduce the heat to a simmer. Let it cook for 10 minutes, stirring occasionally, until the sauce has thickened to your desired consistency.
-
Return the seared chicken to the pan and stir to combine. Cook for an additional 2-3 minutes to ensure the chicken is heated through. Stir in fresh coriander (if using) just before serving. Serve immediately with pilau rice or boiled rice, topped with extra fresh coriander, a few chili flakes, and sliced red onion.
Video Tutorial
For a detailed visual guide, you can watch the full recipe video for this Chicken Jalfrezi and learn how to make the perfect pilau rice:
Video: Chicken Jalfrezi with Homemade Pilau Rice
Notes & Tips for Success
For an even richer and faster curry, you can incorporate a pre-made curry base gravy. Check out the notes section of my Curry Base Gravy recipe to see how to adapt this Jalfrezi recipe to use a make-ahead curry base.
Is this a gluten-free jalfrezi?
The ingredients listed for this chicken jalfrezi recipe are generally gluten-free. However, it’s always a good practice to double-check the labels of your specific brands for any hidden gluten-containing ingredients, especially in stock or spice mixes.
Can I make it vegetarian?
Absolutely! This Jalfrezi recipe is highly versatile. To make it vegetarian, simply replace the chicken with an equal amount of your favorite firm vegetables like paneer cubes, mushrooms, cauliflower, or courgette (zucchini). Marinating cubes of courgette and mushrooms in the same spice blend as the chicken works beautifully. Remember to use vegetable stock instead of chicken stock.
Can I make it ahead?
Yes, Chicken Jalfrezi is excellent for meal prep! You can cook the entire dish ahead of time. Once cooled, transfer it to an airtight container, cover, and refrigerate for up to 2-3 days. To reheat, simply warm it gently in a pan over medium heat until the chicken is piping hot throughout. Adding a splash of water or extra stock can help if the sauce has thickened too much.
Will it freeze well?
This curry freezes beautifully. After cooking, allow the jalfrezi to cool completely. Transfer it to freezer-safe containers with a tight-fitting lid and freeze for up to 3 months. When you’re ready to enjoy it, thaw overnight in the refrigerator, then reheat in a pan as described above, ensuring it’s thoroughly hot before serving.
Can I make chicken jalfrezi in the slow cooker?
Yes, you can adapt this for a slow cooker. Follow steps 1-5 (marinating, searing chicken, sautéing aromatics and blooming spices). After adding the peppers, tomatoes, stock, and tomato puree (step 6), bring the mixture to a boil in the pan. Then, transfer everything to your slow cooker. Cook on high for 3-4 hours or on low for 5-6 hours, until the chicken is tender and the flavors are well developed.
Swap out the chicken for lamb:
Lamb Jalfrezi is a fantastic alternative, offering a richer, deeper flavor. However, lamb requires a longer cooking time to become tender. If you choose to use lamb (cut into similar bite-sized chunks), you’ll need to add a little more liquid to the sauce (I recommend an extra 14oz/400g tin of chopped tomatoes or more stock). Simmer the lamb jalfrezi for at least 2 hours, stirring occasionally. Keep an eye on the consistency and add a splash of water or stock if the sauce appears to be drying out too much before the lamb is tender.
Nutritional Information:
Nutritional information is provided per serving for your convenience.
Nutrition (Per Serving)
Calories:
312
kcal
|
Carbohydrates:
18
g
|
Protein:
30
g
|
Fat:
14
g
|
Saturated Fat:
5
g
|
Polyunsaturated Fat:
3
g
|
Monounsaturated Fat:
4
g
|
Trans Fat:
1
g
|
Cholesterol:
95
mg
|
Sodium:
1484
mg
|
Fiber:
5
g
|
Sugar:
9
g
Nutrition information is automatically calculated and should only be used as an approximation. Factors such as exact ingredient brands, preparation methods, and serving sizes can affect accuracy.
Enjoyed this recipe? Leave a comment below and share your experience!
Some of the links in this post may be affiliate links – which means if you buy the product I get a small commission (at no extra cost to you). If you do buy, then thank you! That’s what helps us to keep Kitchen Sanctuary running. The nutritional information provided is approximate and can vary depending on several factors. For more information please see our Terms & Conditions.
Originally posted in Sept 2019. Updated in July 2020 and October 2021 with new hints, tips, and for general housekeeping purposes.