
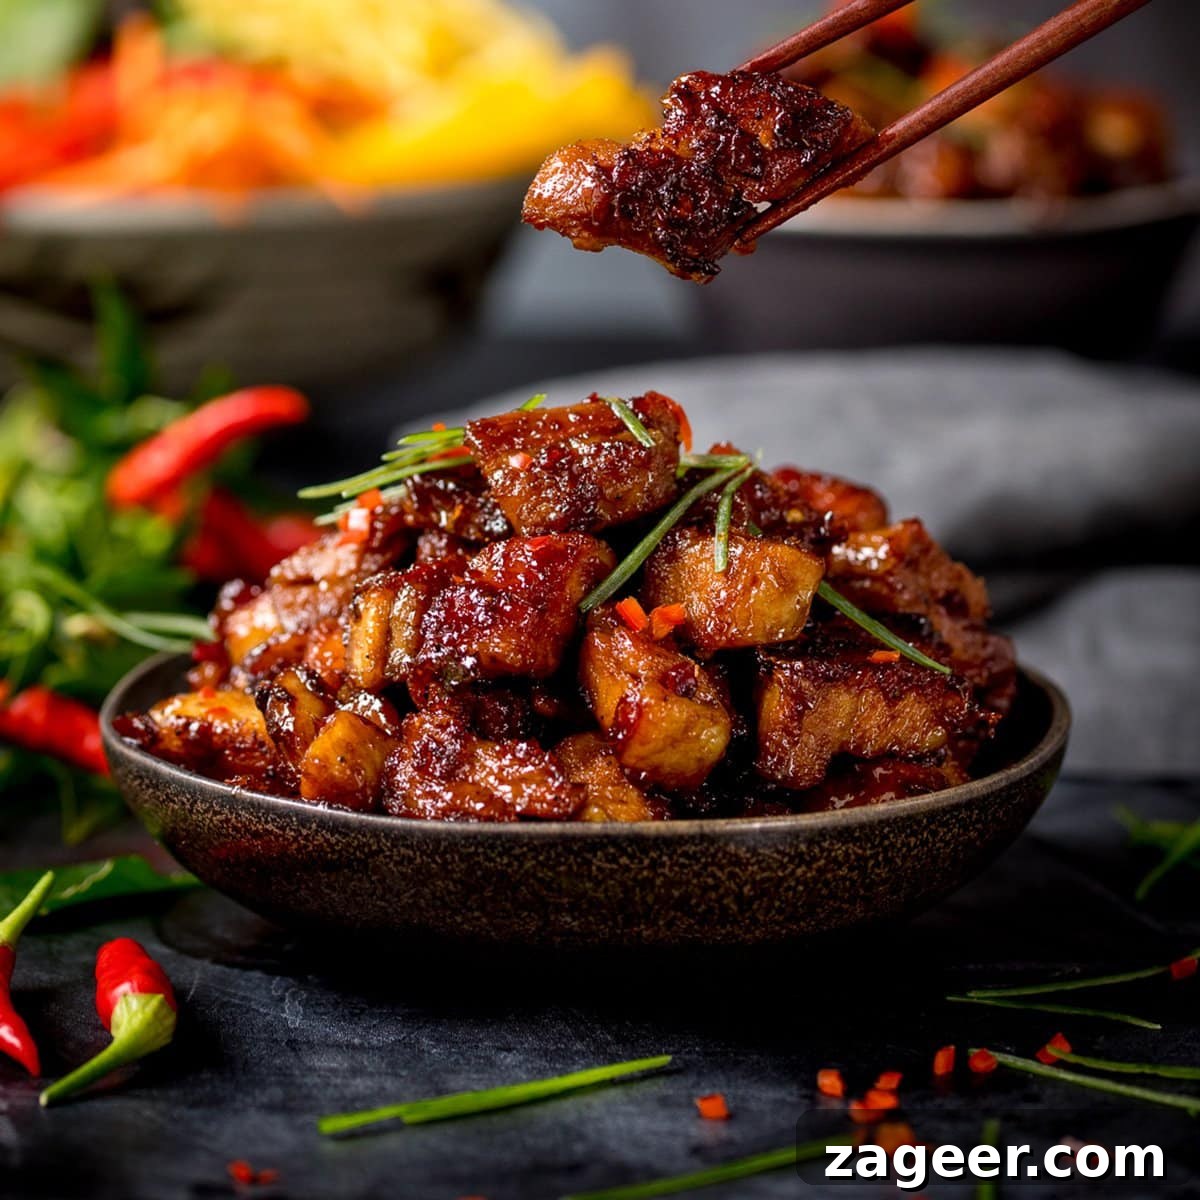
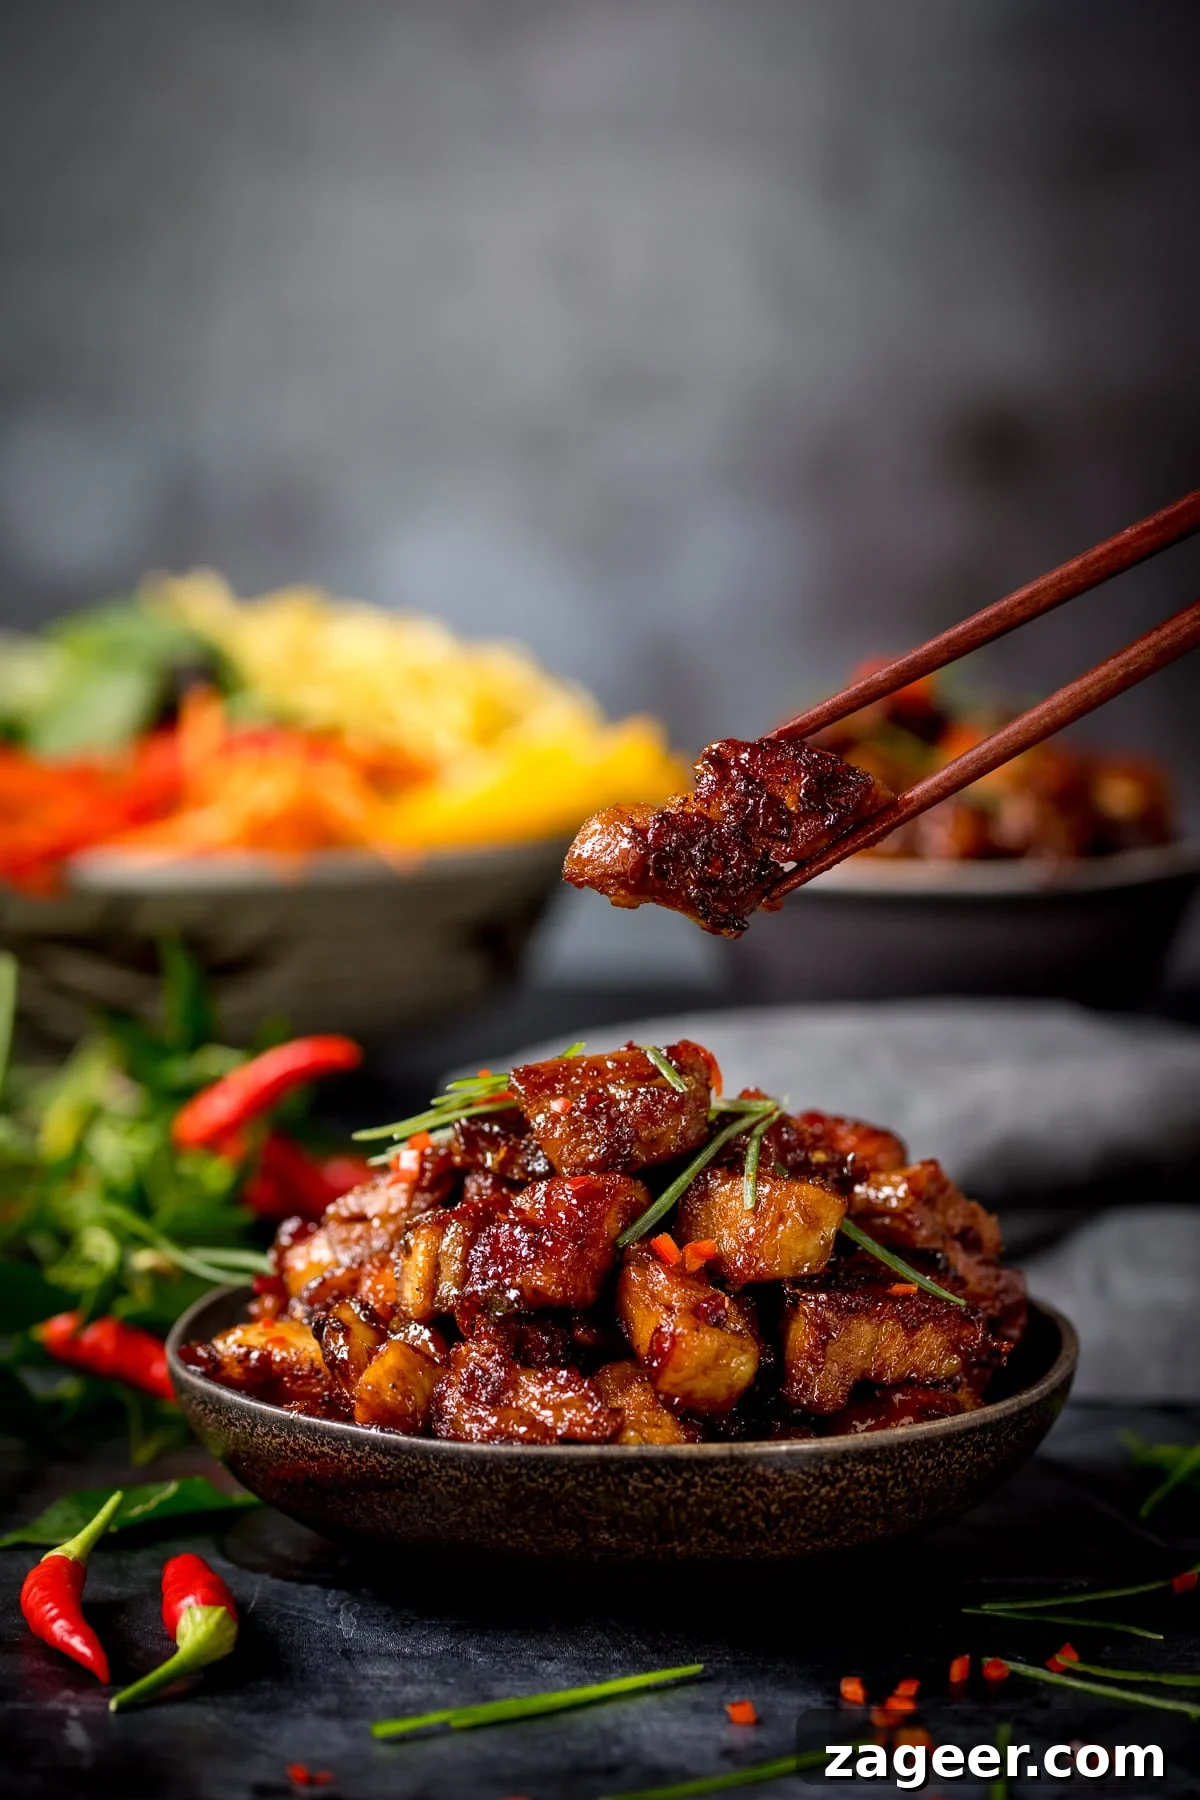
This Sticky Chinese Pork Belly recipe is a true showstopper and one of the most beloved dishes on our blog. Prepare to transform humble pork belly into an extraordinary culinary experience with our foolproof three-step process, resulting in meat that is meltingly tender on the inside, beautifully crispy on the outside, and coated in a glorious sticky, sweet, and spicy glaze.
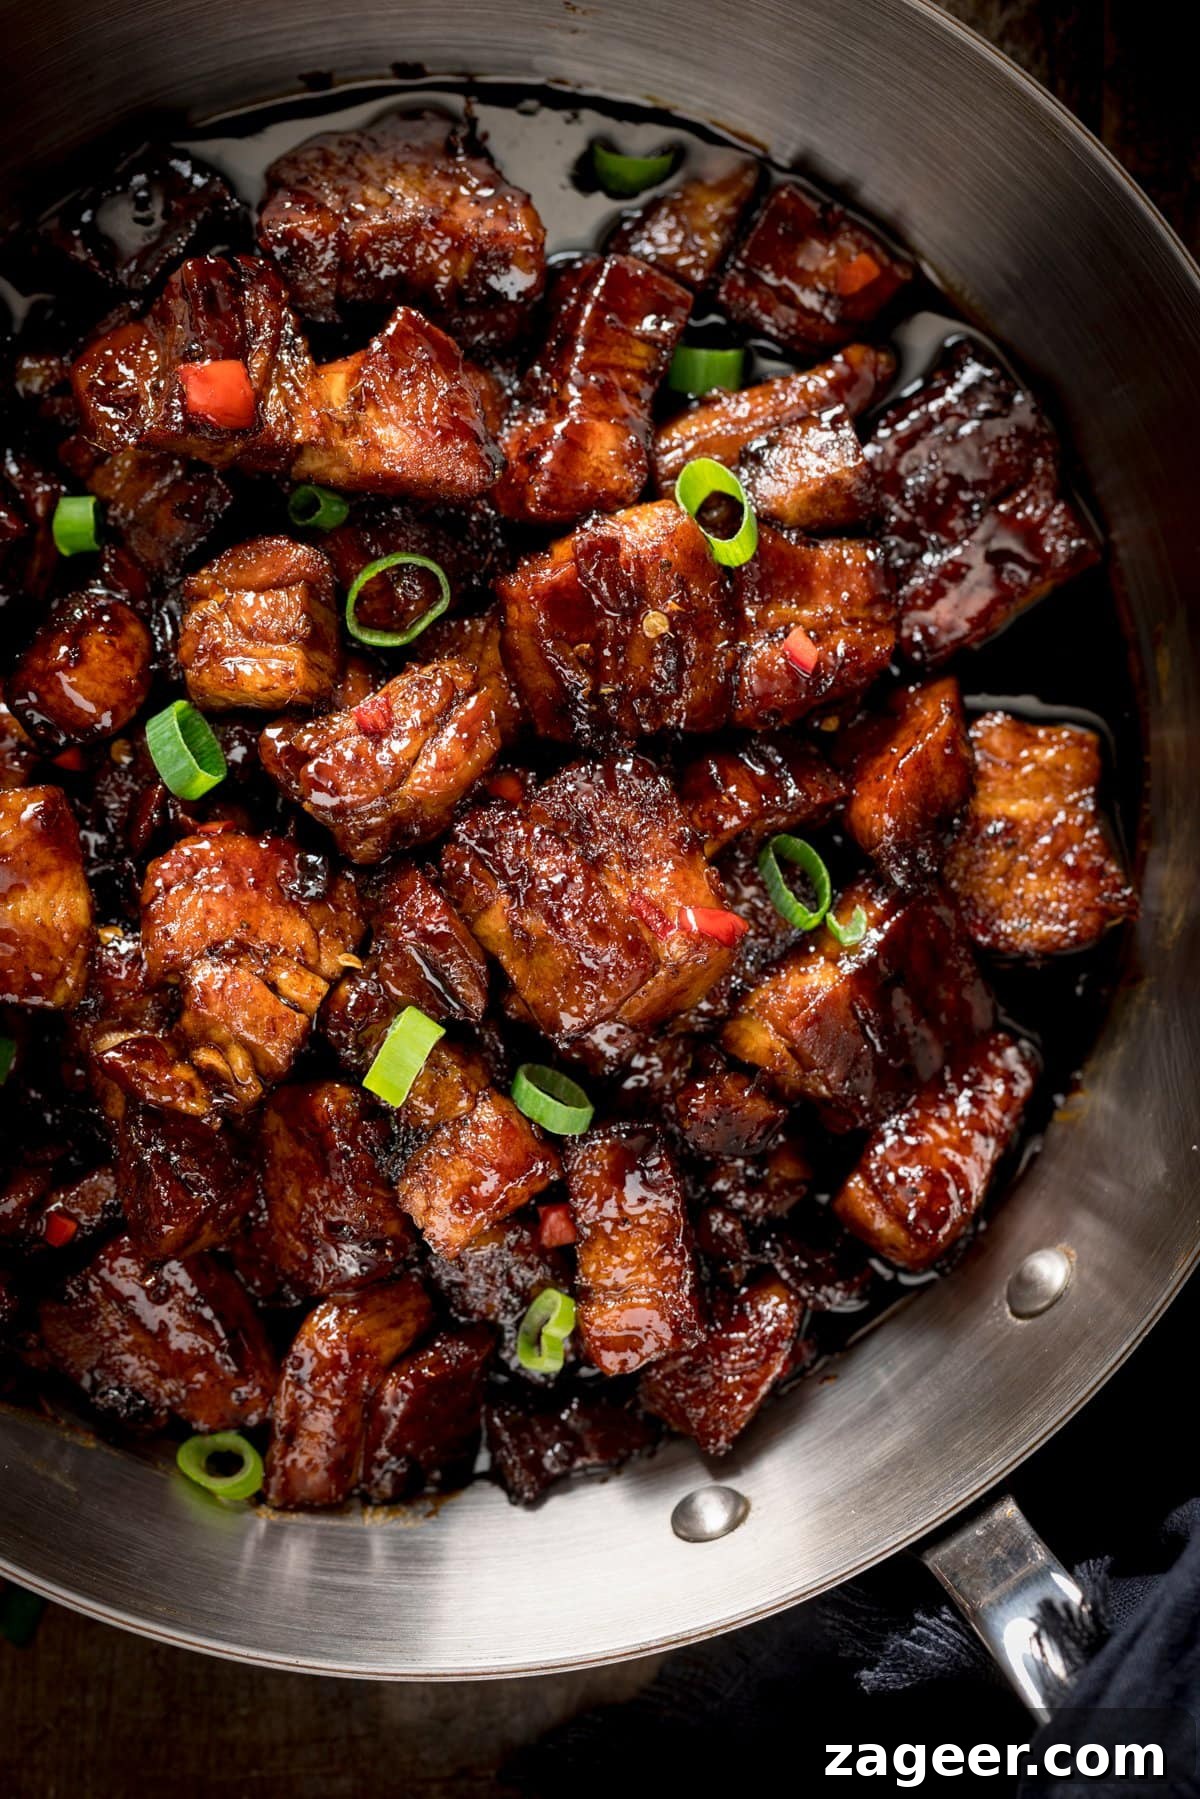
Table of Contents
Introduction to Sticky Chinese Pork Belly
There’s something truly magical about dishes with “sticky” in the title. Whether it’s Sticky Chicken Stir Fry, Gingerbread Cake with Sticky Whisky Glaze, or Sticky Asian Sea Bass, the promise of a rich, glossy coating hints at an explosion of flavor. This Sticky Chinese Pork Belly is no exception, embodying everything we love about deeply caramelized, intensely flavored cuisine.
While I might playfully refer to myself as “Sticky Nicky” (though maybe let’s not make that a permanent nickname!), the essence of a truly sticky dish lies in its exquisite caramelization. This isn’t just about adding sugar; it’s about transforming ingredients through heat, creating a dark, shiny, and utterly irresistible layer that elevates the entire dish. This process enhances both texture and taste, delivering a complexity that makes every bite memorable.
Why This Sticky Pork Belly Recipe Is a Must-Try
Pork belly, with its perfect ratio of succulent meat and rich fat, is an ideal canvas for the vibrant flavors of Chinese cuisine. When slow-cooked, it becomes incredibly tender, almost melting in your mouth. But this recipe goes a step further, ensuring a contrasting crispy exterior and then drenching it in a sweet, savory, and spicy glaze that clings to every piece. It’s a symphony of textures and flavors that’s hard to resist.
Many recipes rely on long marination times to infuse flavor, but for this Sticky Chinese Pork Belly, the magic happens in layers, with the final sticky glaze added right at the end. Don’t let the shorter glazing time fool you; the intense reduction and caramelization create a powerful flavor punch that ensures every piece of pork is saturated with deliciousness, making it incredibly impressive with minimal fuss.
The Three Layers of Flavor: Our Secret Process
What sets this recipe apart is its unique three-stage cooking approach, designed to build incredible depth of flavor and achieve perfect textures:
- Slow-Cooking for Tenderness: The first layer of flavor comes from gently simmering the pork belly for two hours in a aromatic broth. This broth is infused with chicken stock, fresh garlic, fragrant ginger, a splash of rice wine, and a touch of sugar. This crucial step renders the fat, moisturizes the meat, and infuses it with a foundational savory-sweet base, making it incredibly tender.
- Crisping for Texture: After slow-cooking, the pork is drained, patted dry, and then fried in a pan with a little vegetable oil and seasoning. This quick frying stage develops that highly sought-after crispy, golden-brown exterior. The contrast between the impossibly tender interior and the delightful crunch is truly addictive – it’s so good, you might be tempted to stop right here and eat it straight from the pan!
- The Glorious Sticky Glaze: The final, crowning layer of flavor is added right at the end. A vibrant mixture of soy sauce, chili, honey, brown sugar, and aromatic lemongrass paste is stirred together, then poured over the crisped pork. It bubbles and thickens quickly, coating each piece in a rich, glossy, and intensely sticky sauce. This quick reduction process creates a deeply caramelized finish that brings everything together in a harmonious blend of sweet, spicy, and umami notes.
Each step is simple, yet essential, contributing to a truly dynamic and irresistible dish that showcases the best of Chinese-inspired flavors and textures.
Selecting the Perfect Pork Belly
The quality of your pork belly makes a significant difference in the final dish. Look for slices that have a good balance of meat and fat. While some recipes call for pork belly with the rind on for extra crispiness, for this particular recipe, rindless pork belly slices are preferred as they absorb the flavors more effectively during slow cooking and achieve a beautiful crisp without the extra effort of scoring and intense searing. Opt for fresh, high-quality pork from a reputable butcher for the best results. If your slices are very large, remember to chop them into manageable, finger-length pieces as specified in the recipe.
📋 Ingredients for Sticky Chinese Pork Belly
Crafting this incredible dish requires a selection of fresh ingredients for both the initial slow-cook and the irresistible sticky glaze. Gather these essentials to create a culinary masterpiece:
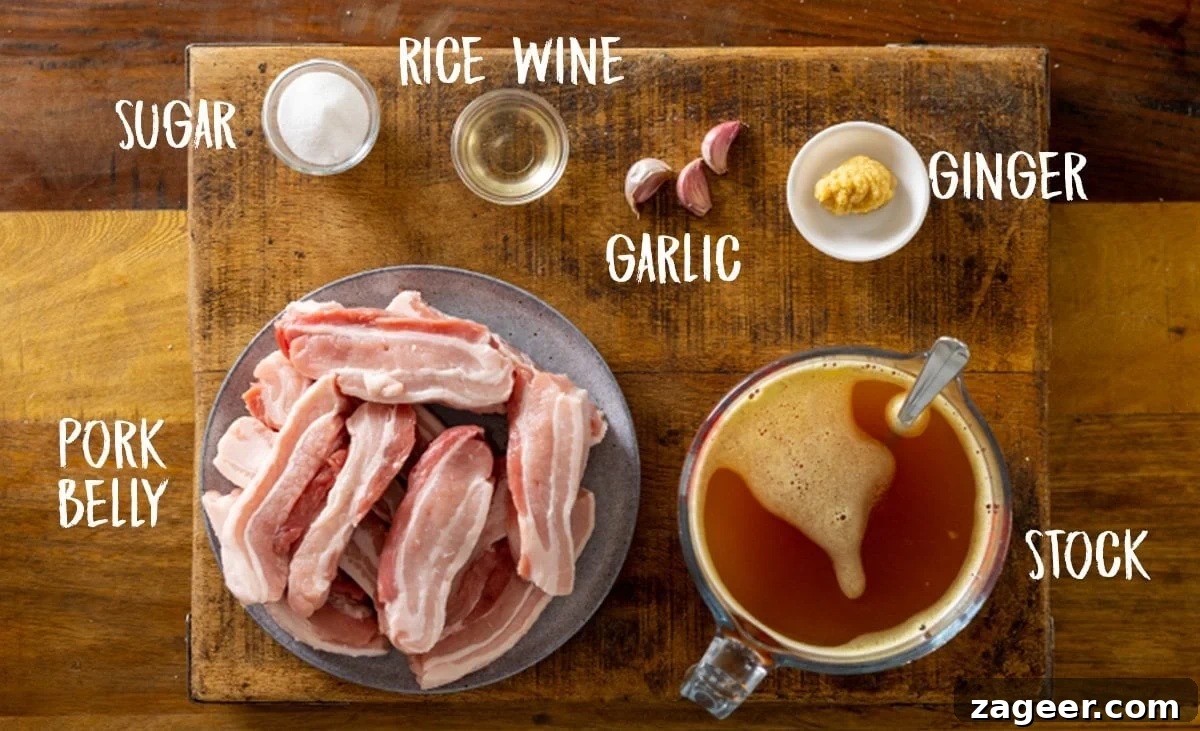
For the Slow-Cooked Pork Belly
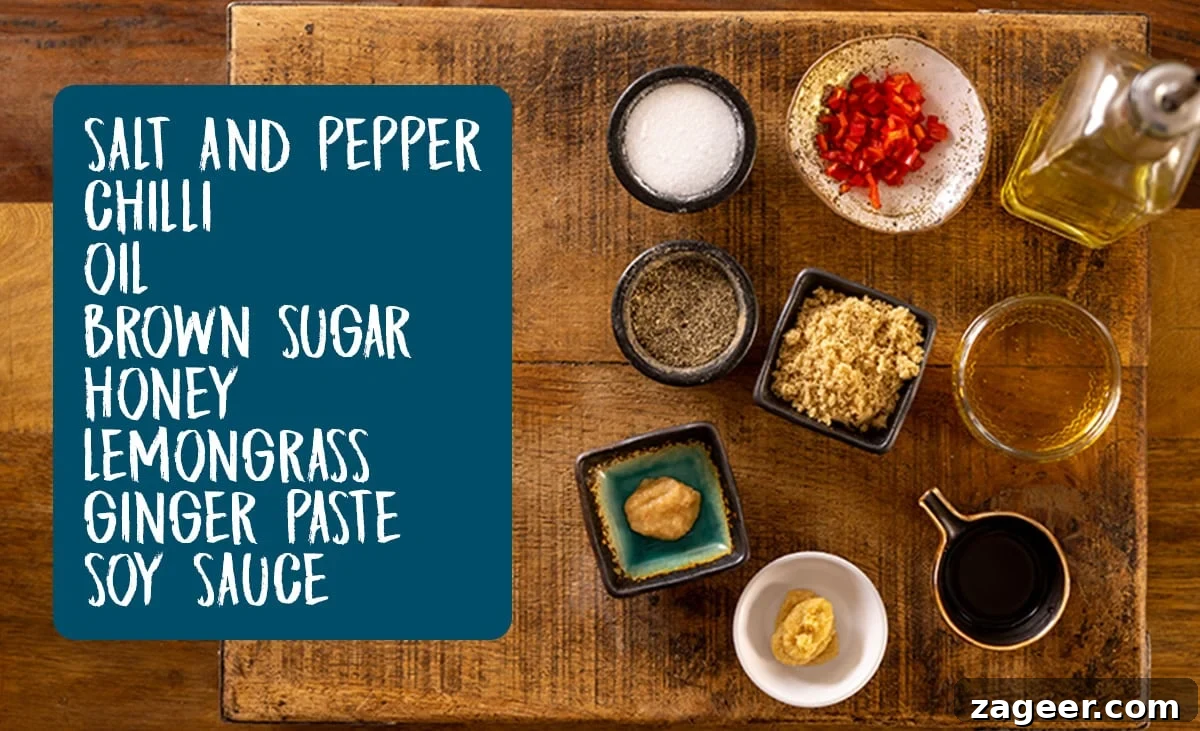
For the Sticky Glaze
To Serve
- Chopped spring onions (for freshness and garnish)
- Chopped red chillies (optional, for an extra kick and vibrant color)
📺 Watch How To Make It: Video Tutorial
For a visual guide and detailed demonstrations of each step, be sure to watch our comprehensive recipe video. The full written recipe with exact measurements and steps can be found in the recipe card at the end of this post.
Step-by-Step Instructions
Follow these simple steps to create your own perfectly tender, crispy, and sticky Chinese pork belly:
- Slow-Cook the Pork Belly: In a heavy-based pan (a cast iron casserole pan works wonderfully for even heat distribution), combine the pork belly slices, hot chicken stock, minced ginger, chopped garlic, rice wine, and caster sugar. Bring this mixture to a boil, then reduce the heat to a gentle simmer, cover with a lid, and cook for 2 hours. This slow simmering ensures the pork becomes incredibly tender and infused with flavor.
- Prepare the Pork for Frying: After 2 hours, turn off the heat. Carefully remove the cooked pork from the pan and pat it thoroughly dry using kitchen towels. It’s crucial to remove as much moisture as possible to achieve a crispy exterior in the next step. You can optionally reserve the flavorful cooking liquid to use as a base for a Thai or Chinese noodle soup later. Chop the now tender pork into convenient bite-sized chunks.
- Mix the Glaze: While the pork is preparing, whisk together the ingredients for your sticky glaze. In a small bowl, combine 1 tablespoon of vegetable oil, a pinch of salt and pepper, the remaining minced ginger, finely chopped red chili, honey, brown sugar, dark soy sauce, and lemongrass paste. Stir until all ingredients are well combined and the sugars begin to dissolve.
- Crisp the Pork: Heat the remaining 1 tablespoon of vegetable oil in a frying pan or skillet over a medium-high heat. Add the chopped pork belly pieces along with another pinch of salt and pepper. Fry, turning the pieces regularly, until they turn golden brown and develop a wonderfully crispy texture. Be mindful that the fat can spit at this stage; using a splatter screen/guard (affiliate link) is highly recommended to prevent hot oil splattering.
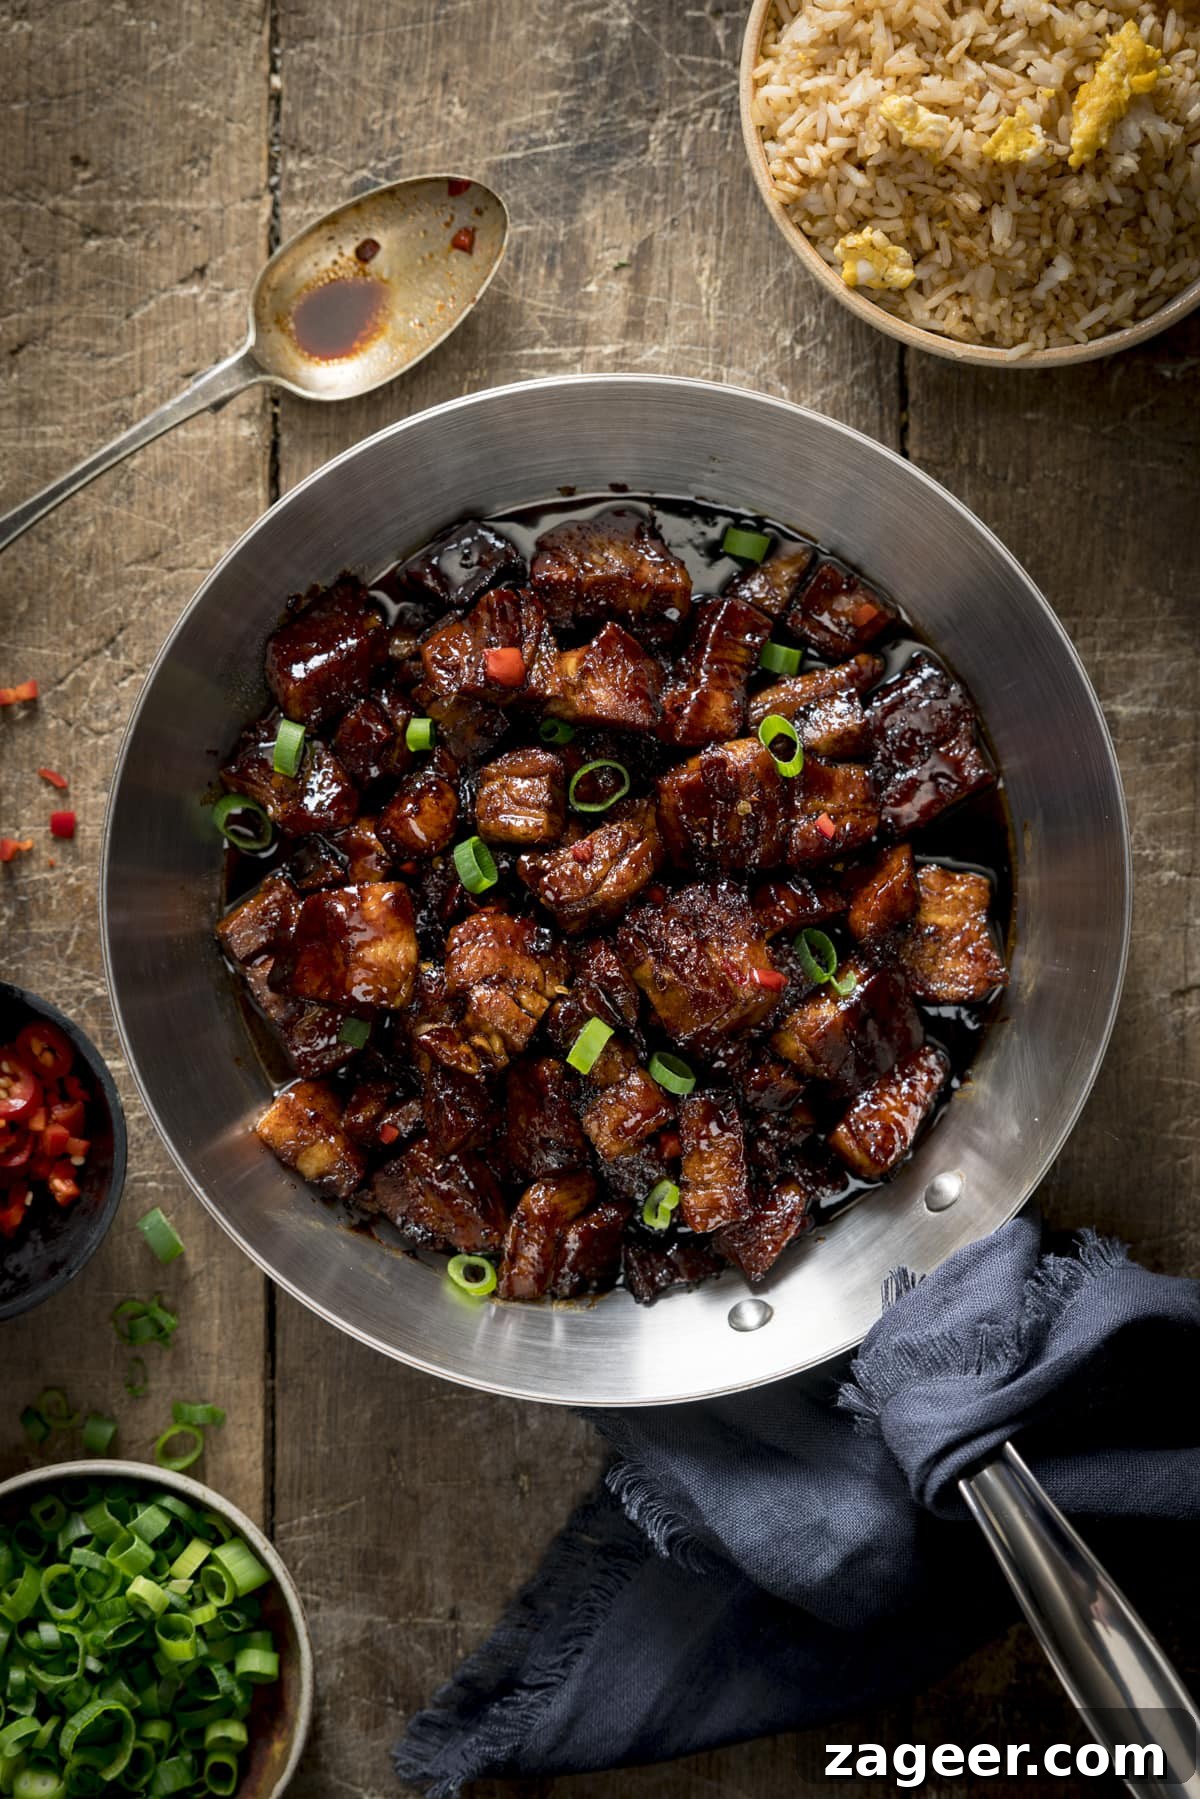
- Glaze and Serve: Once the pork is nicely crisped, pour the prepared sticky glaze over the pork in the frying pan. Continue to cook for a couple of minutes, tossing and turning the pork frequently to ensure every piece is evenly coated. The glaze will thicken and become dark and glossy, clinging beautifully to the pork. Remove from the heat immediately. Serve hot, garnished with freshly chopped spring onions and additional red chillies for an extra pop of color and subtle heat. Enjoy this sensational dish with your favorite Asian sides!
Pro Tips for Perfect Pork Belly
- Dry the Pork Thoroughly: This is perhaps the most important tip for crispy pork belly. After slow-cooking, pat the pork completely dry with kitchen paper. Any residual moisture will steam rather than crisp, preventing that desirable crunchy texture.
- Use a Splatter Guard: As noted in the instructions, the fat from the pork belly can spit quite a bit during the frying stage. A splatter screen/guard is an inexpensive but invaluable tool that will save you a lot of mess and potential burns.
- Don’t Overcrowd the Pan: When frying the pork, cook it in batches if necessary to avoid overcrowding the pan. Overcrowding lowers the pan’s temperature and can lead to steaming instead of crisping.
- Adjust Spice Level: If you love heat, feel free to add more red chili to the glaze, or even a dash of chili flakes. If you prefer a milder flavor, reduce the amount of chili or remove the seeds.
- Fresh Ingredients Matter: While ginger puree and store-bought stock can work, fresh ginger and garlic will always yield a more vibrant and authentic flavor profile.
🍽️ Serving Suggestions: Perfect Pairings
This rich and flavorful Sticky Chinese Pork Belly pairs beautifully with a variety of Asian-inspired side dishes. Here are some of our top recommendations to complete your meal:
- Egg Fried Rice: A classic pairing, the savory rice complements the sweet and spicy pork belly perfectly. The lightness of the egg and subtle seasoning won’t overpower the star of the show.
- Salt and Pepper Chips: For a delightful fusion experience, these crispy, seasoned chips offer a satisfying crunch and a hint of spice that stands up well to the bold pork flavors.
- Prawn Toast: A fantastic appetizer or side, the crunchy, savory prawn toast adds another layer of texture and rich flavor, making the meal feel even more special.
- Fluffy Boiled Rice: Sometimes, simplicity is key. A bed of plain, fluffy white rice is perfect for soaking up all that incredible sticky glaze.
- Sesame Noodles: These savory, slightly nutty noodles provide a wonderful textural contrast and a comforting side that balances the richness of the pork.
- Steamed Asian Greens: A simple side of blanched or stir-fried bok choy or gai lan (Chinese broccoli) with a drizzle of soy sauce and sesame oil can add a fresh, healthy balance to the meal.
Choose one or two of these sides to create a well-rounded and deeply satisfying Chinese feast at home!
That’s it – three straightforward steps, culminating in three distinct layers of flavor, all achieved with minimal effort for a truly impressive and delicious result. This recipe truly transforms humble pork belly into something extraordinary.
🍲 More Fantastic Chinese & Asian Recipes
If you loved this Sticky Chinese Pork Belly, you’re sure to enjoy these other incredible Asian-inspired dishes from our kitchen:
Asian
Crispy Sesame Chicken with a Sticky Asian Sauce
Asian
Salt and Pepper Chicken
Asian
Egg Fried Rice
Appetizers
Sesame Prawn Toast Recipe
Asian
Orange Chicken Recipe
Asian
Crispy Chilli Beef
Full Recipe Card: Sticky Chinese Pork Belly
Print Recipe
4.91 from 242 votes
Sticky Chinese Pork Belly
Nicky Corbishley
10 mins
2 hrs 15 mins
2 hrs 25 mins
6 small servings
Dinner
Asian, Chinese
Ingredients
Slow Cooked Pork Belly:
- 1 kg (2.2 lbs) rindless pork belly slices, chopped in half (each piece being approx. the length of your index finger)
- 1 litre (4 1/4 cups) hot chicken stock
- 1 thumb sized piece of ginger, peeled and minced (or 1 tbsp of ginger puree)
- 3 cloves garlic, peeled and roughly chopped
- 1 tbsp rice wine
- 1 tbsp caster sugar
Glaze:
- 2 tbsp vegetable oil (divided)
- Pinch salt and pepper
- 1 thumb-sized piece of ginger, peeled and minced
- 1 red chilli, finely chopped (adjust to taste)
- 2 tbsp honey
- 2 tbsp brown sugar
- 3 tbsp dark soy sauce
- 1 tsp lemongrass paste
To Serve:
- Chopped spring onions
- Chopped red chillies (optional garnish)
Instructions
- Add pork belly slices, hot chicken stock, minced ginger, chopped garlic, rice wine, and caster sugar to a heavy-based pan (a cast iron casserole pan is ideal).
- Bring the mixture to a boil, then place a lid on, reduce the heat, and simmer gently for 2 hours until the pork is meltingly tender.
- Turn off the heat. Carefully remove the pork from the pan and pat it thoroughly dry with kitchen towels. You may reserve the cooking liquid for future use in soups or stocks.
- Chop the tender pork into uniform bite-sized chunks.
- In a small bowl, prepare the glaze by mixing together 1 tablespoon of the vegetable oil, a pinch of salt and pepper, the remaining minced ginger, finely chopped red chili, honey, brown sugar, dark soy sauce, and lemongrass paste. Stir well to combine.
- Heat the remaining 1 tablespoon of vegetable oil in a frying pan or skillet over a medium-high heat.
- Add the chopped pork along with another pinch of salt and pepper. Fry, turning regularly, until the pork starts to turn golden brown and becomes crispy. Exercise caution, as the hot oil can splatter at this stage; a splatter guard is highly recommended.
- Pour the prepared glaze over the crisped pork. Continue to cook for a couple of minutes, stirring and turning the pork frequently, until the glaze thickens, becomes dark, and coats the pork beautifully with a sticky finish.
- Remove from the heat and serve immediately. Garnish generously with chopped spring onions and chopped red chillies for presentation and an extra flavor kick.
Video
Frequently Asked Questions (FAQs)
Can I make this Sticky Chinese Pork Belly ahead of time?
Absolutely! You can prepare the pork up to the end of step 2 (where it is slow-cooked and drained). Once cooled quickly, cover and refrigerate for up to two days, or freeze it for longer storage. Defrost overnight in the refrigerator before slicing and proceeding with the frying and glazing steps.
The glaze can also be made ahead of time, covered, and refrigerated for up to a day. Bring it to room temperature before pouring over the hot pork.
Is there a Gluten-Free option for this recipe?
Yes, making this recipe gluten-free is straightforward! Simply replace the regular soy sauce with tamari, which is a gluten-free alternative that works perfectly in this dish. Ensure that your rice wine (some varieties may contain gluten, so check labels) is gluten-free, or substitute it with sherry. Additionally, always double-check that the chicken stock you use is certified gluten-free.
Do you have a Vegetarian/Vegan alternative?
While this recipe specifically uses pork, you could explore meat-like alternatives. However, we highly recommend trying our Asian-style cauliflower wings for a delicious vegetarian dish with a similar flavor profile and satisfying sticky texture.
Can I use a slow cooker for the initial cooking stage?
Yes, the first stage of slow-cooking the pork belly can be done in your slow cooker. Cook on high for 4-5 hours or on low for 6-7 hours. Keep an eye on the liquid level and add a little more stock if it seems to be reducing too much during the cooking process to ensure the pork stays moist.
Nutrition
Calories:
531 kcal
|
Carbohydrates:
14 g
|
Protein:
33 g
|
Fat:
38 g
|
Saturated Fat:
15 g
|
Sodium:
654 mg
|
Sugar:
12 g
Nutrition information is automatically calculated, so should only be used as an approximation.
Enjoyed this recipe? Share your thoughts below!
This post was originally published in March 2015. It was comprehensively updated in October 2018 and then again in July 2022 to include new photos, a video tutorial, improved instructions, and enhanced readability.
Recommended Equipment
Having the right tools can make a significant difference in your cooking experience and the success of this recipe. Here’s a list of the essential equipment you’ll need, along with a brief explanation of why each item is useful:
- A Splatter Guard/Screen: Crucial for safely frying the pork belly, as it prevents hot fat from spitting and causing a mess or potential burns. A must-have for crispy results!
- A Good Kitchen Knife: Essential for preparing ingredients like ginger, garlic, and chilies, as well as for chopping the cooked pork belly into even pieces. A sharp knife ensures precision and safety. (In the video, a Leiths knife is used, but the Dalstrong is a recent favorite for its excellent balance and sharpness.)
- Chopping Board: A stable and clean surface for all your cutting and prepping needs. Using a separate board for meat is good practice for hygiene.
- Cast Iron Casserole Dish: Ideal for the slow-cooking stage. Cast iron distributes and retains heat exceptionally well, ensuring the pork belly cooks evenly and becomes wonderfully tender.
- Measuring Jug: For accurately measuring liquids like chicken stock and rice wine, ensuring the correct balance of flavors in your broth.
- Frying Pan/Skillet or a Wok: Essential for crisping the pork belly and creating that irresistible sticky glaze. A wide surface allows for even cooking and caramelization.
- Wooden or Silicone Coated Spoons: Perfect for stirring and tossing without scratching your non-stick pans. We love our new silicone-coated set for their gentle yet effective stirring capabilities.
- Small Mixing Bowl: Handy for whisking together the glaze ingredients. We often use several small white bowls for prepping, mixing, and serving, which helps keep everything organized.
Equipped with these items, you’ll be well on your way to mastering this delightful Sticky Chinese Pork Belly!
Stay updated with new recipes and cooking tips!
Subscribe to our newsletter to receive notifications when we post new recipes. You can also find us on YouTube(with new videos every week) and Instagram(for behind-the-scenes stories and beautiful food photos).
Some of the links in this post may be affiliate links – which means if you buy the product I get a small commission (at no extra cost to you). If you do buy, then thank you! That’s what helps us to keep Kitchen Sanctuary running. The nutritional information provided is approximate and can vary depending on several factors. For more information please see our Terms & Conditions.